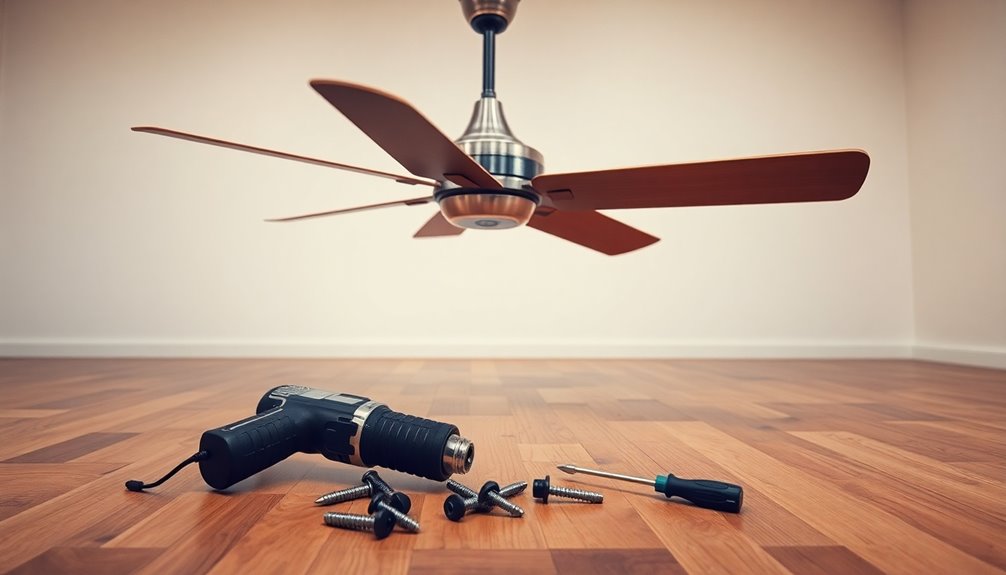
To install a ceiling fan, you'll need a few essential tools and some safety precautions. First, gather a ladder, screwdrivers, wire cutters, and a voltage tester. It's vital to turn off the power at the circuit breaker and test the wires to avoid electric shock. Make sure the junction box is rated for fan use and securely mounted. You'll connect the fan's black and white wires to the corresponding ceiling wires. Finally, secure the blades and install any light fixtures as per instructions. Stick around, and you'll find more tips to make your installation smooth and safe!
Key Takeaways
- A sturdy ladder is essential for safely accessing the ceiling during installation.
- Necessary tools include screwdrivers, wire cutters, and a voltage tester for electrical connections.
- Ensure the junction box is rated for ceiling fan use and securely mounted.
- Turn off power at the circuit breaker and test wires for safety before starting.
- Follow wiring guidelines for connecting power, neutral, and ground wires securely.
Types of Ceiling Fans

When it comes to choosing a ceiling fan, understanding the different types available can make all the difference in your comfort and style.
Standard fans are the most common, featuring a blade span ranging from 29 to 56 inches, making them suitable for various room sizes. If you have low ceilings, consider low-profile fans, also known as hugger fans. They provide a sleek look while maximizing headroom, guaranteeing you won't bump your head.
For outdoor spaces, moisture-resistant outdoor fans are specifically designed to withstand varying weather conditions, making them perfect for patios and porches.
When you're choosing a fan, don't overlook energy efficiency. Energy Star-certified fans can help you save money on electricity bills by using 20% to 40% less energy than standard models. Additionally, opting for energy-efficient models can contribute to your home's overall energy savings with commercial heat pumps, helping you maintain a sustainable lifestyle.
To guarantee effective air circulation, size matters. For rooms around 200 square feet, a fan with a blade span of 50 inches is recommended.
Additionally, consider how the fan will integrate with existing light fixtures to maintain your desired aesthetic.
Essential Tools and Materials

Choosing the right ceiling fan is just the beginning; having the right tools and materials on hand is key to a successful installation. Here's a quick list of what you'll need:
| Tool/Material | Purpose | Quantity |
|---|---|---|
| Ladder | For safe access to the ceiling | 1 |
| Screwdrivers | To secure components (flathead and Phillips) | 1 each |
| Wire Cutters | For preparing electrical connections | 1 |
| Voltage Tester | To verify the power is off | 1 |
| Wire Nuts | To connect and insulate wire connections | Several |
| Electrical Tape | For extra insulation of wire connections | 1 roll |
| Adjustable Wrench | To tighten bolts and secure the mounting bracket | 1 |
| Pliers | For gripping and twisting wires | 1 |
| Ceiling Fan Kit | Includes fan blades, motor, and mounting bracket | 1 |
Having these essentials will streamline your installation process and guarantee everything fits together perfectly. Make sure to double-check your supplies before you start!
Safety Precautions

Safety is paramount during any ceiling fan installation. Before you start, always turn off power at the circuit breaker to prevent electric shock. This simple step is vital for your safety.
After that, grab a voltage tester to confirm that no electricity is flowing through the wires. It's better to be safe than sorry!
While installing the fan, don't forget to wear safety goggles. They'll protect your eyes from dust and debris that may fall during the process.
Additionally, use a sturdy ladder to guarantee safe access to the ceiling. A stable base reduces the risk of falls while you're working at height.
If you're unsure about any electrical work, it's wise to consult a licensed electrician. This not only helps you comply with safety regulations but also makes certain the installation is done correctly and safely.
Remember, taking these precautions is essential for a smooth installation process and your well-being.
Preparing the Installation Site

Preparing your installation site is essential for a successful ceiling fan setup. Start by measuring the room size to choose the appropriate fan size; generally, you can divide the square footage by four. For instance, a 50-inch fan works well in a 200 sq ft room.
Verify the ceiling height is compatible, aiming for a height of 7–10 feet from the floor to optimize airflow.
Next, inspect the existing junction box. Confirm it's rated for ceiling fan use and securely mounted to a ceiling joist to safely support the fan's weight and vibrations.
Clear the installation area of any obstructions to maintain a safe working environment.
Gather the necessary tools for a smooth installation process:
- Ladder
- Screwdrivers
- Wire cutters
- Voltage tester
Additionally, ensure that the fan's placement allows for optimal airflow performance to enhance comfort in the room.
Wiring the Ceiling Fan

With the installation site ready, the next step involves wiring the ceiling fan to verify it operates correctly. Start by identifying the wires: the black wire, white wire, and ground wire. Connect the black wire from the fan to the black wire from the ceiling power supply, which powers the fan's motor.
Next, connect the white wire from the fan to the white wire from the ceiling for the neutral connection. If your fan includes a light kit, you'll need to connect the blue wire from the fan to the black wire of the power supply. This allows you to control the light separately.
Always confirm you connect the ground wire, typically green or bare copper, to the ground screw on the fan for proper grounding, ensuring safety during operation.
Once you've made all connections, use wire nuts to secure them. Twist the wire nuts clockwise until they're tight, making sure no bare wires are exposed outside the connectors.
Finally, tuck the wires neatly into the junction box to avoid interference with the fan's operation and maintain a clean installation.
Final Assembly and Testing

After securing the fan blades to the motor, it's important to guarantee all screws are tightened to prevent any wobbling during operation.
Next, you'll want to install the globe and light bulbs according to the manufacturer's instructions. Make sure they're properly seated and connected to guarantee peak functionality.
Once everything is securely attached, restore power at the circuit breaker. It's time to test the fan! Use the pull chain or wall switch to check the fan's operation across all speed settings.
Observe the fan during this process for several minutes to confirm it runs smoothly without any unusual noises or vibrations, which indicates proper installation.
If your model includes a light kit, check that the light operates correctly.
Here's a quick checklist to help you:
- Confirm all screws and components are securely fastened.
- Test the fan for noise and vibration during operation.
- Verify the light bulbs are functioning and properly connected.
Frequently Asked Questions
What Is Needed to Hang a Ceiling Fan?
To hang a ceiling fan, you'll need a ceiling fan kit, including the motor, blades, and any light fixture.
Make certain you have tools like a ladder, screwdrivers, and wire cutters ready. A fan-rated electrical box is essential for support, and proper wiring involves connecting the black, white, and green or bare copper wires securely.
Don't forget to turn off the power at the circuit breaker before starting to guarantee safety.
Is It Hard to Install Your Own Ceiling Fan?
Installing your own ceiling fan isn't too hard if you've got basic electrical skills and the right tools. Many DIY enthusiasts find it manageable, especially when they prepare properly and follow safety protocols.
You'll want to verify the ceiling height and fan size match for ideal airflow. If you're unsure or nervous about the electrical work, it's wise to consult a licensed electrician for peace of mind and compliance with local codes.
What Are the Requirements for a Ceiling Fan?
To install a ceiling fan, you'll need a fan-rated electrical box to support its weight, securely attached to a joist.
Verify you have adequate ceiling height, ideally 7-10 feet, with at least 8 inches of clearance for airflow.
Proper wiring is essential, so connect the black wires, white wires, and ground wire correctly.
You'll also need tools like a ladder, screwdrivers, and a voltage tester for safety during installation.
Can You Install a Ceiling Fan in Any Light Fixture?
You can't install a ceiling fan in just any light fixture.
The existing electrical box needs to be fan-rated to support the weight and movement of the fan safely. If it's not, you'll have to replace it with one that can handle the stress.
Plus, make sure the mounting bracket can anchor securely to ceiling joists.
Always check the wiring requirements too, especially if your fan has lighting components.
Conclusion
Now that you're equipped with the knowledge to install your ceiling fan, it's time to let the cool breeze of success wash over you. With the right tools and a bit of patience, you can transform your space while enjoying the comfort of a gently spinning fan overhead. So roll up your sleeves, follow the steps, and soon you'll be basking in the invigorating airflow, knowing you did it all yourself! Happy installing!
