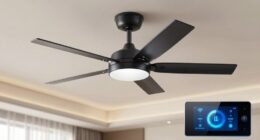
When you're installing a ceiling fan with a remote, use the red wire to control the light kit separately from the fan motor. If you're connecting it, attach the red wire to the black wire of the remote receiver. This setup allows the remote to manage your light independently. If you aren't using the red wire, cap it off securely with a wire nut to avoid any issues. Always verify the power is off before you start working with any wires. For further details on troubleshooting or optimizing your installation, there's more useful information ahead.
Key Takeaways
- Connect the red wire to the black wire of the remote receiver for independent light control.
- If not used, cap off the red wire with a wire nut to prevent interference.
- For wall switch control, connect the red wire to the fan's black wire for separate operation.
- Always verify the power is off at the circuit breaker before handling the red wire.
- Consult the manufacturer's wiring diagram to confirm the red wire's function and proper connections.
Understanding Ceiling Fan Wiring

When installing a ceiling fan, understanding the wiring is essential for a successful setup. You'll typically encounter several wires: black for the hot connection, white for neutral, blue for the light kit, and green for the ground wire.
The red wire plays a significant role, especially if you want to control the light and fan separately. This wire allows you to connect the light kit independently from the ceiling fan, giving you more flexibility.
If you're using a remote control for your ceiling fan, you can cap off the red wire if it's not needed, allowing you to operate both the fan and light through the remote.
Make certain to connect the white wires together to complete the circuit, and remember that the black wire from the receiver should connect to the red wire in the ceiling for proper functionality.
Before you handle any electrical components, double-check that the power is turned off. Secure all wiring connections to guarantee safety during your installation.
Function of the Red Wire

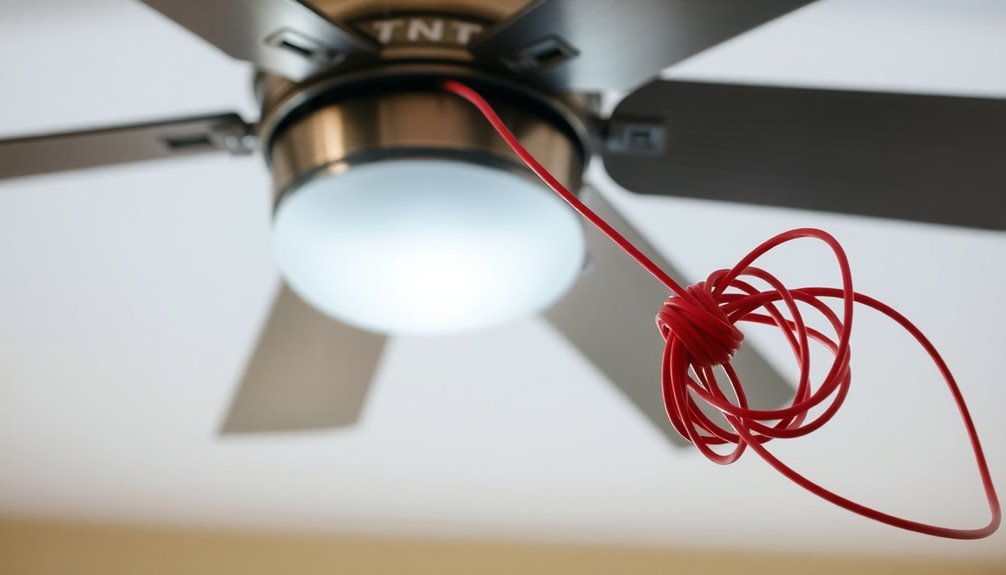
The red wire plays an essential role in your ceiling fan installation by providing separate power to the light kit, allowing you to control the light and fan independently.
Depending on your setup, you might need to connect the red wire to your receiver's black wire for this functionality.
If you don't need separate controls, simply cap off the red wire with a wire nut and leave it unused.
Red Wire Purpose
In many ceiling fan installations, the red wire plays an essential role as a secondary hot wire, allowing you to control the light kit independently from the fan motor. This feature is particularly useful when you want to adjust the brightness of your light without affecting the fan's speed.
If you're using a remote control for your ceiling fan, you can connect the red wire to the black wire of the remote receiver to enable easy light control.
In setups with a wall switch, the red wire allows you to power the light kit separately, providing added convenience. For example, if you have two switches controlling the fan and light independently, the red wire guarantees that when one switch is on, the light operates without impacting the fan motor.
However, if your ceiling fan operates solely through the remote and there's no separate wall switch for the light, you should cap off the red wire with a wire nut. This prevents any interference and keeps your installation clean.
Properly connecting the red wire enhances functionality and makes your ceiling fan system more user-friendly.
Wiring Considerations
Understanding the wiring considerations for your ceiling fan is vital, especially when it comes to the red wire's function. The red wire typically serves as a secondary hot wire, allowing you to control the light kit independently from the fan motor.
Here are a few key points to keep in mind:
- If you're using a remote control, you can cap off the red wire if it's not needed.
- To maintain wall switch control, connect the red wire to the fan's black wire.
- When separate controls are desired, connect the red wire to the light kit instead.
- Always verify the power is turned off at the circuit breaker before handling any wires.
Connection Scenarios
When it comes to connection scenarios for your ceiling fan, knowing how to handle the red wire can make a significant difference in functionality. The red wire typically provides separate power to the light kit, allowing for independent control of the fan and light.
If you're using a remote to control your ceiling fan, you can simply cap off the red wire with a wire nut and leave it unused. The remote will manage all operations without needing a wall switch.
However, if you prefer to connect a wall switch, you should attach the red wire to the receiver's black wire. This setup enables the wall switch to control both the fan and light separately.
In cases where the red wire isn't necessary—like when both fan and light are run from a single switch—secure it with a wire nut to avoid accidental contact.
Understanding the role of the red wire is essential for configurations requiring dual control. By following these connection scenarios, you can optimize your ceiling fan's functionality, ensuring a comfortable and convenient living space.
Connecting the Red Wire

Connecting the red wire is essential for controlling your ceiling fan's light kit independently. By doing this, you can enjoy the convenience of operating the fan and light separately with your remote control.
Here's how to properly connect the red wire:
- Identify the red wire: This wire is typically used to provide power to the light kit.
- Connect the red wire: Attach the red wire from the ceiling to the black wire on the remote receiver.
- Ensure safety: If you choose not to use the red wire, cap it off with a wire nut to prevent any accidental contact with live wires.
- Check the wall switch: Make sure the wall switch controlling the fan is in the ON position for the remote to function correctly.
Using Remote Control Options

Remote controls for ceiling fans offer several convenient options that enhance your comfort and control.
When you're installing a ceiling fan with a light, the red wire coming from the ceiling typically provides independent power to the light kit. This allows you to control the light separately from the fan using your ceiling fan remote. To make this work, verify your wall switches are in the 'ON' position; otherwise, the remote won't function.
If your remote has a built-in receiver, connect the red wire to the black wire coming from the receiver. This setup lets the wall switch override the remote controls, verifying you have flexibility in operation.
Depending on your specific model, you may need to refer to the wiring diagram to wire the ceiling fan correctly, as configurations can vary.
With these remote control options, you can easily adjust the fan direction, speed, and light settings without having to manually switch anything on or off.
Enjoy the convenience of controlling your ceiling fan and light with just a push of a button, making your space more comfortable and enjoyable.
Troubleshooting Common Issues

Getting your ceiling fan to work perfectly can sometimes be tricky, especially after installation. If you run into issues, here are some common troubleshooting tips:
- Check the red wire connection: Make certain it's connected to the receiver's black wire for power to the fan.
- Verify the wall switch: Make sure it's in the ON position; the remote won't operate the fan or light if it's off.
- Inspect the light kit: If it doesn't illuminate, the red wire should connect to the blue wire from the receiver for independent light control.
- Examine all connections: If you notice sparks during installation, recheck the red wire and its connections to avoid miswiring.
If you're still unsure about the red wire's purpose or if the fan isn't functioning properly, consult the fan's wiring diagram or call a professional electrician.
Proper installation and connections are essential for safe and effective operation. Don't risk potential hazards—taking the time to verify each step can save you from future headaches!
Safety Precautions and Best Practices

Before you start installing your ceiling fan, make certain to turn off the power at the circuit breaker to avoid any accidents.
Once that's done, verify your wire connections are safe to handle, and use insulated tools to protect yourself.
These simple steps can keep you safe and guarantee a smooth installation process.
Power Off First
Safety should always be your top priority when installing a ceiling fan. Before you begin any electrical work, it's vital to turn off the power at the circuit breaker. This simple action can prevent serious injuries and electrical shock.
Here are some best practices to follow:
- Use a non-contact voltage tester to verify the wires aren't live.
- Wear appropriate safety gear, like rubber gloves and eye protection.
- Familiarize yourself with your ceiling fan's wiring diagram for accurate connections.
- Confirm that all tools and equipment are insulated.
Verify Wire Connections
Once you've confirmed the power is off, it's time to verify your wire connections. Start by using a non-contact voltage tester to confirm that all wires, including the red wire, aren't live. This step is essential for your electrical safety.
Next, refer to the manufacturer's wiring diagram for your ceiling fan model to identify the specific function of the red wire. If you want to enable independent control of the light kit, connect the red wire to the black wire from the receiver. If you don't need this feature, cap off the red wire securely.
Make sure all wire connections are tight and secure to prevent any electrical issues or hazards later on. This includes double-checking the connections for the black wire and verifying they match the diagram.
Once everything is confirmed as secure, you can be more confident as you proceed with the installation. Remember, following these best practices not only enhances the functionality of your ceiling fan with remote but also promotes safety in your home.
Always prioritize safety by taking the necessary precautions with the power circuit breaker before working on any electrical wiring.
Use Insulated Tools
When working with electrical wiring, using insulated tools is essential to minimize the risk of electrical shock. Insulated tools, like screwdrivers and pliers, keep you safe while you handle the red wire during your ceiling fan installation.
Here are some key points to remember:
- Always choose insulated tools rated for the voltage levels you'll be working with.
- Inspect your tools for any signs of wear or damage before use.
- Use insulated tools to prevent accidental contact with live wires, especially if power is restored prematurely.
- Keep your insulated tools organized and within reach to avoid unnecessary movement and potential hazards.
Frequently Asked Questions
What Do You Do With the Red Wire When Installing a Ceiling Fan?
When installing a ceiling fan, you'll encounter the red wire, which typically connects to the light kit.
If you want separate control for the fan and light, connect the red wire to the appropriate source. If you don't need independent control, you can cap it off with a wire nut.
Always guarantee the wall switch stays ON for proper operation.
If you're unsure, consult the wiring diagram or a qualified electrician for clarity.
Can I Connect the Red and Black Wires Together?
Oh sure, connecting the red and black wires together sounds like a brilliant idea—until it isn't.
You shouldn't combine them, as that'll mess up how your fan and light operate. The red wire usually powers the light, while the black one powers the fan.
If you want both to work independently, connect them separately.
How to Connect Wires for Ceiling Fan With Remote?
To connect wires for your ceiling fan with a remote, start by connecting the fan's white wire to the bundled white wires from the ceiling.
Then, attach the black wire from the fan to the yellow wire from the receiver, while the blue wire connects to the blue wire for light control.
Don't forget to secure all ground wires to the ground screw.
Finally, double-check your connections before restoring power to guarantee safety.
What Do I Connect the Red Wire To?
When you're connecting the red wire, it's important to know its purpose.
If you want separate control for the light fixture, connect the red wire from the ceiling to the black wire on the remote receiver.
If you're only using the remote to operate the fan, cap the red wire with a wire nut to keep it safe.
Always double-check that all connections are secure and follow safety guidelines during installation.
Conclusion
When installing your ceiling fan, don't overlook the red wire—it's your key to accessing the fan's full potential with remote control. By properly connecting it, you can enjoy customized airflow and convenience at your fingertips. Isn't it amazing how a simple wire can transform your space? Remember, safety first! With the right precautions and knowledge, you'll not only enhance your home's comfort but also feel a sense of accomplishment in mastering your ceiling fan installation.
