To replace a ceiling fan light bulb safely, first turn off the power at the circuit breaker and wait several minutes for the bulb to cool. Use a sturdy ladder and wear gloves and goggles for protection. Carefully remove the old bulb, avoiding force, and handle the new bulb by its base. After installing, turn the power back on and check that the light works properly. Continue with these steps to guarantee safety and a successful replacement.
Key Takeaways
- Turn off power at the circuit breaker and wait at least 5–10 minutes for the bulb to cool before removal.
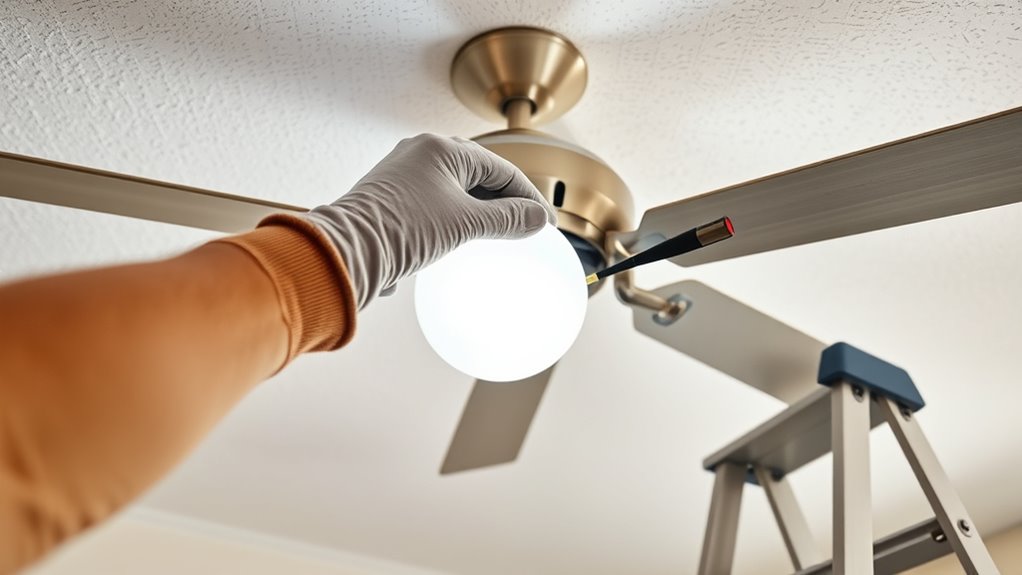
- Use a sturdy ladder or step stool and wear safety goggles and gloves for protection.
- Gently unscrew the old bulb counterclockwise, handling it by the base to avoid oil transfer.
- Install the new bulb by aligning it properly and turning clockwise until snug, avoiding force.
- Restore power, then turn on the switch to verify the new bulb functions correctly.

Ledytech 4 inch LED Retrofit Light Kit for Ceiling Fan Light Replacement Panel PCB 18W 6000K 2200LM 120V CRI90 Dimmable ETL (White 6000K)
1. Compatibility: This LED light replacement kit is compatible with AC120V ceiling fans or ceiling lights. It connects…
As an affiliate, we earn on qualifying purchases.
As an affiliate, we earn on qualifying purchases.
Turn Off Power to the Ceiling Fan and Light Fixture

Before replacing a ceiling fan light bulb, always turn off the power to guarantee safety. Use a soft touch to switch off the circuit breaker or main power switch before starting. Confirm the power is off by testing the fixture with a voltage tester or flicking the wall switch. Wait several minutes after turning off the power to let any residual electricity dissipate, reducing the risk of shock. If your fixture has a pull chain or switch, make sure it’s in the “off” position. Never attempt to replace a bulb while the fixture is still energized. Taking these precautions ensures you work safely and avoid electrical hazards during the replacement process. Always prioritize turning off and confirming power before handling any light fixture components. Digital literacy programs encourage playful communication that can help seniors feel more comfortable and confident when maintaining their devices. Additionally, understanding electrical safety principles is essential to prevent accidents and ensure a safe replacement process. Recognizing the importance of cookie consent helps ensure you adhere to privacy guidelines when working with electrical or online safety measures. Being aware of essential oils and their properties can also promote a calming environment during home repairs.

PARTPHONER E12 Base LED Light Bulbs B11 Candelabra Bulbs 60W Equivalent, Non-Dimmable 6W LED Bright Candle Small Base Chandelier Bulb 600 Lumen, 5000K Cold White for Ceiling Fan, Pack of 6
Efficient Illumination: Our E12 LED bulbs provide bright, energy-saving lighting equivalent to 60W incandescent bulbs, while consuming only…
As an affiliate, we earn on qualifying purchases.
As an affiliate, we earn on qualifying purchases.
Wait for the Bulb and Fixture to Cool Before Handling
Once you’ve turned off the power and confirmed the fixture is safe to handle, give the bulb and fixture at least 5 to 10 minutes to cool down. This prevents burns and skin irritation from hot surfaces. Additionally, being aware of city dynamics can help you understand the environment you’re working in, especially in busy urban settings. Remember, incandescent bulbs can reach over 150°F (65°C), so handling them too soon is risky. Even modern LEDs, which generate less heat, benefit from cooling time to avoid accidental burns. Before touching the bulb, check that the fixture feels cool to the touch. To ensure safety, consider these steps:
- Wait at least 5 minutes after turning off power.
- Feel the fixture gently to confirm it’s cool.
- Avoid rushing, especially with older incandescent bulbs.
- Use a cloth or gloves if you’re unsure about temperature.
Being aware of heat dissipation can help you better understand how long to wait before handling the bulb. Proper handling techniques are essential to minimize injury risk and keep you safe during replacement.
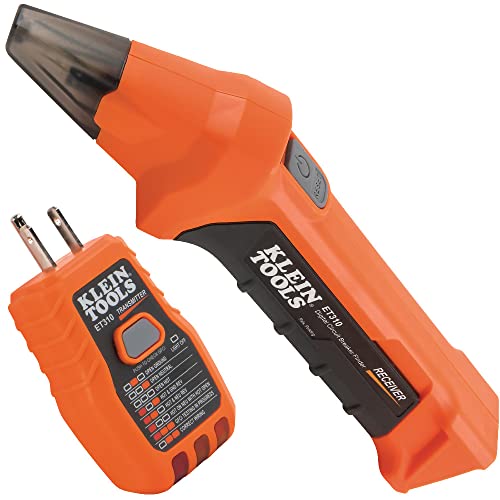
Klein Tools ET310 AC Circuit Breaker Finder, Electric and Voltage Tester with Integrated GFCI Outlet Tester
ACCURATE CIRCUIT BREAKER IDENTIFICATION: Quickly locate the correct breaker with precision using our circuit breaker finder, ensuring efficient…
As an affiliate, we earn on qualifying purchases.
As an affiliate, we earn on qualifying purchases.
Gather Necessary Tools and Protective Equipment
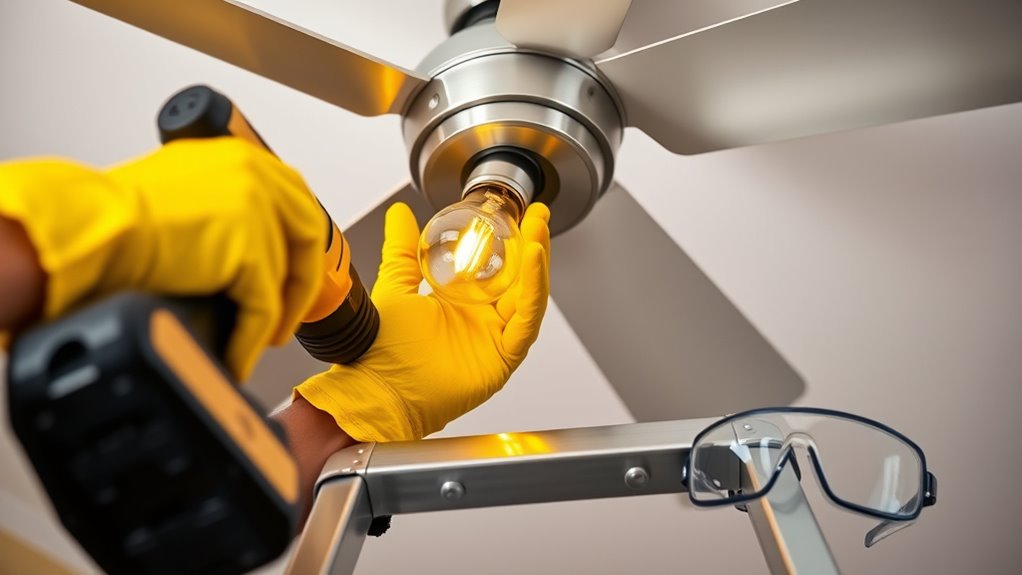
To guarantee a safe and efficient bulb replacement, gather all necessary tools and protective equipment beforehand. Wear fully enclosed safety goggles and leather gloves to protect your eyes and hands from broken glass and sharp edges. Make sure the ceiling fan is turned off and disconnected from power to prevent electrical shock. Bring a sturdy step ladder or stable platform to reach the fixture safely. Keep a clean cloth or towel nearby to handle the bulb and catch any accidental drops. Use the correct size and type of replacement bulb specified by the fan manufacturer to avoid damage or electrical issues. Additionally, considering seasonal variations can ensure you’re prepared for different environmental conditions. Being aware of electrical safety protocols helps prevent accidents and ensures proper handling during the process. Practicing safe handling techniques minimizes the risk of injury and damage to components. Ensuring proper lighting conditions can also help you see clearly while working, reducing the likelihood of mistakes. Being mindful of emergency procedures is also important in case an unexpected incident occurs. Having everything ready ensures a smooth process, minimizes risks, and helps you complete the task safely and efficiently.

KINGRACK 5 Step Ladder, Sturdy Steel Step Stool with Anti-Slip Wide Pedals, Handrail, Safe-Lock Design, 800lbs Folding Portable Ladder for Multi-Purpose, Home, Kitchen
800lbs Sturdy Step Ladder: High quality 5-Step Ladder with the robust high-strength steel frame, which ensure outstanding stability…
As an affiliate, we earn on qualifying purchases.
As an affiliate, we earn on qualifying purchases.
Prepare the Work Area for Safety and Accessibility

Before you start, clear furniture and obstacles from beneath the fan to guarantee safe access. Turn off the power at the circuit breaker and switch off the fan to prevent accidents. Consider laying down a drop cloth to protect your floor and catch any falling debris. Additionally, ensure proper lighting conditions in the workspace to see clearly and perform the task safely. Being aware of safety protocols can further help prevent potential hazards during the process. Also, understanding electrical safety best practices can help you work more securely. Incorporating regular home maintenance routines can reduce unexpected issues and make future repairs easier. Remember that toilet maintenance and repairs knowledge can also be useful if you encounter unexpected electrical issues related to fixtures.
Clear the Area
Have you made certain the area beneath and around the ceiling fan is clear? Clearing the workspace prevents injuries from falling tools or broken glass. Remove any furniture or obstacles that could hinder access or cause accidents during the bulb replacement. Keep children and unprotected persons away to maintain safety. Use a sturdy ladder or step stool that’s stable and properly positioned for safe reach. To guarantee a safe environment, follow these steps: 1. Clear the floor of any objects or clutter. 2. Move furniture away from the work area. 3. Keep children and pets in a safe distance. 4. Check that your ladder or step stool is secure before climbing. This preparation minimizes risks and creates a safe workspace. Additionally, ensuring adequate lighting in the work area can help prevent mishaps during the replacement process. Recognizing safety precautions related to electrical work is also essential to avoid potential hazards, especially considering the importance of proper electrical grounding to prevent shocks.
Turn Off Power
Make certain the power is completely turned off before handling the ceiling fan light bulb. Switch off the circuit breaker or power supply to prevent electrical shock. Use a voltage tester to confirm the fixture is de-energized—touch the tester to the socket or switch to verify no voltage is present. Confirming de-energization is crucial to avoid the risk of electric shock during the replacement process. Wait several minutes after turning off the power to allow the bulb and fixture to cool, reducing the risk of burns. To prevent accidental re-energizing, place a clear warning sign or lockout tag on the circuit breaker. Ensure your work area is well-lit and free of obstructions so you can access the fixture safely. Taking these precautions helps create a safe environment for replacing the bulb efficiently and without injury.
Use Drop Cloth
To protect your flooring and furniture during bulb removal or replacement, place a sturdy drop cloth directly beneath the ceiling fan. This catches any falling debris or broken glass, preventing damage. Make sure the drop cloth covers enough area around the fan to shield nearby furniture and flooring. Use a durable, washable material like canvas or plastic for easy cleanup.
Before starting, inspect the drop cloth for tears or holes to guarantee it offers full protection. Secure the edges with tape or weights to prevent shifting during work. This simple step minimizes mess and risk, keeping your workspace safe and accessible.
Properly prepared work areas make replacing the bulb safer and more efficient.
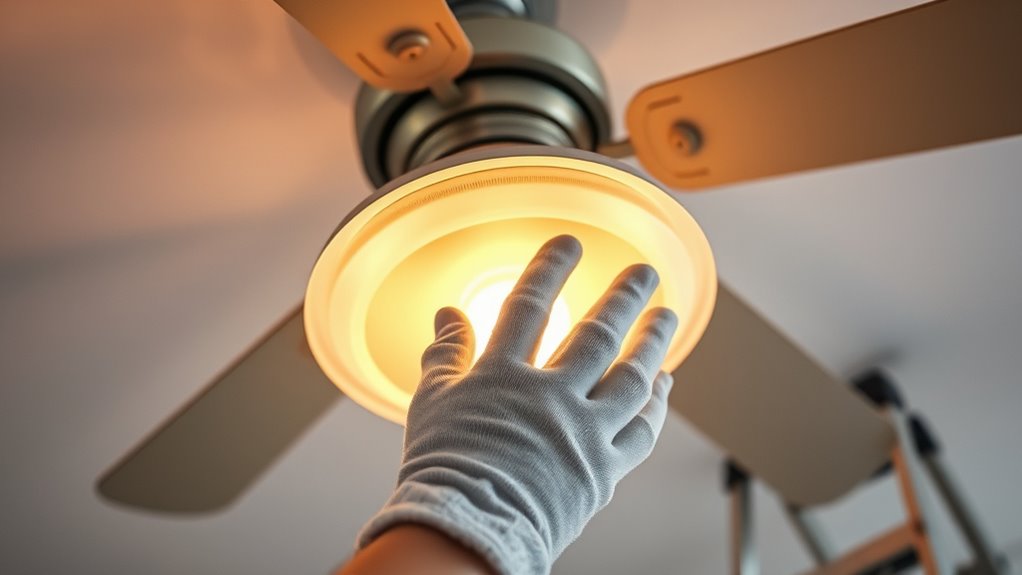
Carefully Remove the Old Light Bulb
Before removing the old light bulb, make certain the ceiling fan is turned off and the power supply at the breaker is switched off to prevent electrical shock.
If the bulb was recently on, give it time to cool completely to avoid burns or breakage.
Use a sturdy ladder or step stool to reach the fixture comfortably and securely.
Wear gloves to protect your hands from broken glass or sharp edges, especially if the bulb is fragile or broken.
Gently grip the bulb and rotate it counterclockwise until it loosens from the socket.
Apply steady, gentle pressure—avoid forcing it, as this can cause damage.
Once the bulb turns freely, carefully remove it from the fixture, ensuring you don’t drop or break it during removal.
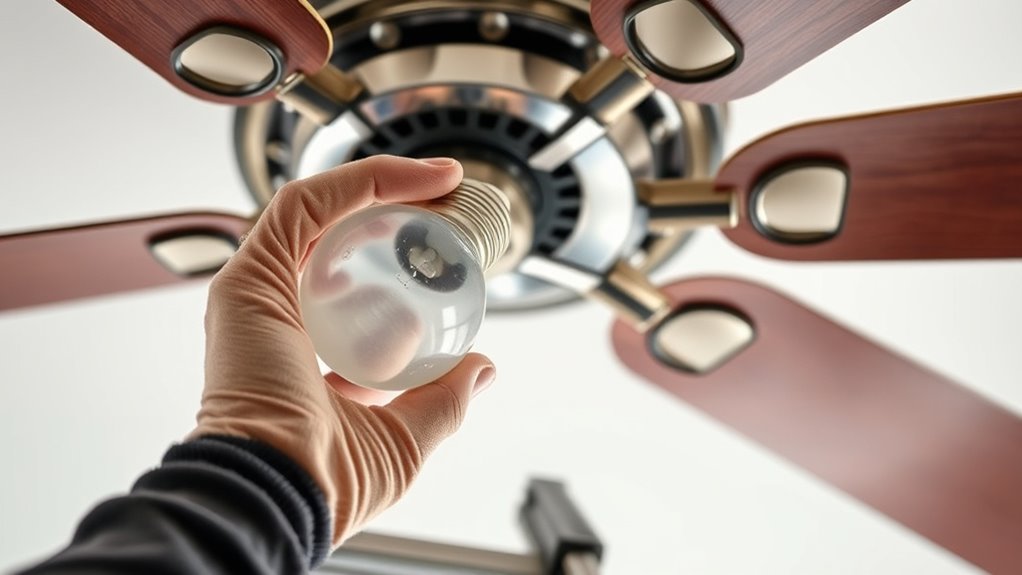
Insert the New Light Bulb Properly

Make sure the power is turned off at the circuit breaker before inserting the new light bulb to prevent electrical shock. Handle the bulb by its base to avoid transferring oils that could shorten its lifespan.
To insert the bulb properly:
- Align the bulb’s base with the socket’s contact points.
- Gently turn the bulb clockwise, ensuring it seats evenly.
- Don’t force the bulb; if it doesn’t fit easily, check for proper alignment or compatibility.
- Once the bulb is securely in place, restore power at the circuit breaker.
Take your time to ensure the bulb is properly aligned and snugly fitted. Proper insertion prevents damage to the socket and guarantees safe, reliable operation.
Test the Light to Confirm Proper Operation

After securing the new bulb, it’s time to verify that the light functions correctly. Turn on the ceiling fan light switch and check if the light illuminates. If it doesn’t, use a multimeter to test for voltage at the socket to ensure power is reaching it. Try replacing the bulb with a known working one and test again to identify if the original was faulty. Toggle the light switch multiple times, listening for any electrical noise, to confirm it’s functioning properly. If the light still won’t turn on, inspect the fixture’s wiring for security and damage. Use the table below to guide your checks:
| Step | Action |
|---|---|
| 1 | Turn on the switch and observe if the light works |
| 2 | Use multimeter to check voltage if no light |
| 3 | Replace with a working bulb and test again |
| 4 | Verify wiring and switch operation |
Address Any Issues or Troubleshooting
If your new bulb still doesn’t work, check that it’s compatible with your fixture’s wattage and type.
Confirm the power is off and the socket is clean and free of corrosion before inspecting further.
For stubborn bulbs or socket issues, consider gently wiggling or using a cloth.
Consult an electrician if problems persist.
Common Removal Challenges
Removing a ceiling fan light diffuser can sometimes present challenges, especially if it’s been over-tightened or exposed to corrosion. You might find it difficult to loosen without risking damage.
To avoid this, follow these tips:
- Gently tap around the diffuser’s edges to loosen it if it’s stuck, rather than forcing it.
- Use the appropriate tools, like a soft cloth or plastic gloves, instead of metal objects that could cause breakage.
- If corrosion or friction is present, loosen the diffuser gradually with a gentle turning motion.
- Avoid applying excessive force or sudden pulls, as this can cause the glass to break or shatter, leading to injury.
Always wear proper PPE for safety during removal.
Troubleshooting Tips
Are you experiencing issues with your ceiling fan light bulb not working properly? First, guarantee the power is off at the circuit breaker before troubleshooting. Check if the bulb is securely seated; sometimes, a loose connection causes flickering or failure. Inspect the socket for corrosion or damage, which can prevent proper contact and may need replacing. Test the light switch or dimmer for faults, as they could be the problem.
Use a multimeter to verify if power reaches the socket if everything else looks fine but the light still won’t turn on. Here’s a visual to help identify issues:
| Issue | Solution |
|---|---|
| Bulb not seated properly | Re-seat the bulb firmly |
| Corroded socket | Replace the socket |
| Switch or dimmer faulty | Test or replace switch/dimmer |
| No power at socket | Use multimeter to check voltage |
Restore Power and Final Safety Check
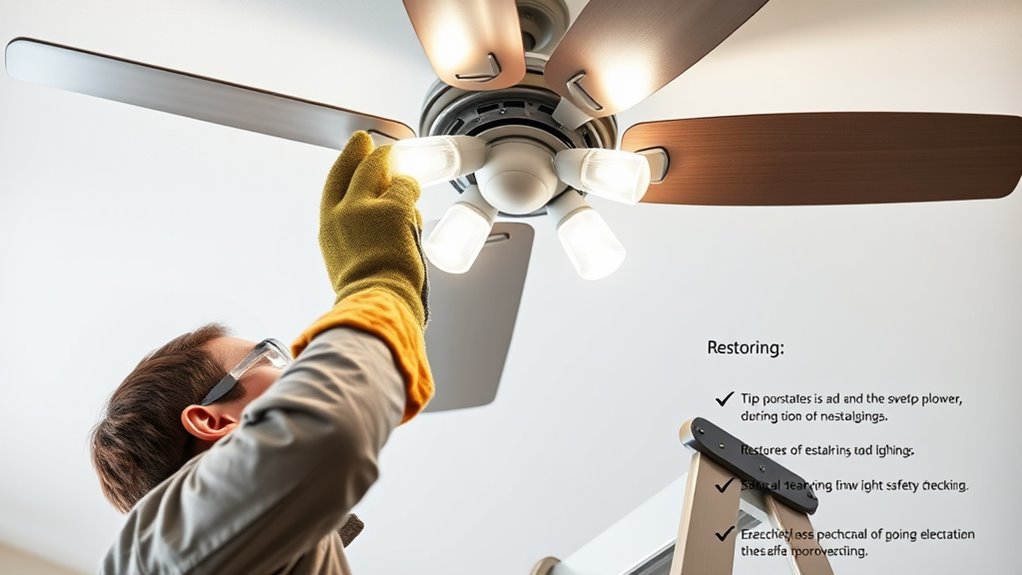
Before restoring power, make certain both the light switch and circuit breaker are turned off to prevent any risk of electric shock. Once you’ve confirmed that, double-check the new bulb to ensure it matches the wattage and type recommended by the manufacturer.
Carefully reassemble any glass covers or shades, making sure all parts are secure. When you’re ready, turn the circuit breaker back on, then switch on the light to test the new bulb.
Finally, perform a safety check by inspecting the work area for tools or debris. This guarantees everything is in order before leaving. Remember, a thorough final check helps prevent accidents and guarantees your ceiling fan light functions safely and properly.
Frequently Asked Questions
Can You Replace a Ceiling Fan Light Bulb?
You can replace a ceiling fan light bulb, but safety comes first. Turn off the power by unplugging the fan or flipping the circuit breaker.
Use a sturdy ladder or step stool to reach the fixture comfortably.
Carefully remove the cover or globe, then replace the old bulb with a new one that matches the manufacturer’s specifications.
Always handle bulbs carefully to avoid damage or fingerprints, ensuring a safe and proper replacement.
How to Remove Ceiling Fan Bulb Cover?
To remove the ceiling fan bulb cover, you need to be careful. First, turn off the fan and switch off the power at the breaker.
Use a sturdy ladder or step stool to reach the cover. Gently grasp it with both hands and twist counterclockwise to unscrew or unlatch it.
If clips hold the cover, release them gently. Avoid using excessive force to prevent damage.
Can You Replace Just the Light on a Ceiling Fan?
You can definitely replace just the light on a ceiling fan without changing the whole fixture. Most fans have removable covers or globes, making bulb replacement simple.
First, turn off the fan and switch off the power at the circuit breaker for safety.
Then, carefully remove the cover or globe, unscrew the old bulb, and screw in a new one.
Finally, reassemble the cover and turn the power back on to enjoy your updated lighting.
How to Change a 2 Pin Halogen Light Bulb?
To change a 2-pin halogen light bulb, first turn off the power at the circuit breaker.
Gently grip the old bulb and pull it straight out, avoiding twisting.
Handle the new bulb with gloves or a cloth to prevent oil transfer.
Align the pins with the socket and carefully insert until secure.
Restore power, then test the light to verify it works properly and is firmly in place.
Conclusion
Remember, safety always comes first—turn off the power, wait for everything to cool, and handle with care. Replacing a ceiling fan light bulb is simple, but rushing or neglecting safety can lead to accidents. Take your time, double-check your work, and restore power confidently. It’s quick, it’s easy, and when done right, it keeps your space bright and safe. Proper precautions make all the difference between a quick fix and a costly mistake.