
To set up a quiet ceiling fan, start by choosing a central location away from walls and corners, guaranteeing proper clearance and ceiling height. Gather your tools and safety gear, then turn off the power before removing the old fixture. Carefully install the mounting bracket, wire the fan following wiring codes, and attach the blades with balance for smooth operation. Finally, configure controls and perform final checks to make sure everything runs quietly and efficiently, with more tips ahead.
Key Takeaways
- Choose a central ceiling location, avoiding walls and corners, for optimal airflow and minimal noise.
- Gather all tools and safety gear, then turn off power before starting wiring to ensure safety.
- Remove old fixtures carefully, then securely install the mounting bracket aligned properly to prevent wobbling.
- Connect wires correctly by matching color codes, and attach blades firmly to avoid wobble and noise.
- Test remote controls and fan speeds at low setting, ensuring smooth operation and minimal noise before full use.

Forrovenco Ceiling Fans with Lights and Remote, 52 Inch Outdoor Ceiling Fan for Patios Indoor with 3 Downrods, 3 Blades Modern Ceiling Fan, 6 Speed Reversible Quiet DC Motor Solid Wood Fan,52in,Walnut
Modern Ceiling Fan with Light: Our 3 blade ceiling fan with light features unique, planet-friendly, and renewable high-quality...
As an affiliate, we earn on qualifying purchases.
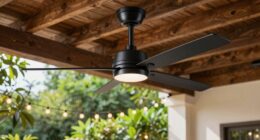
Selecting the Ideal Location for Your Ceiling Fan
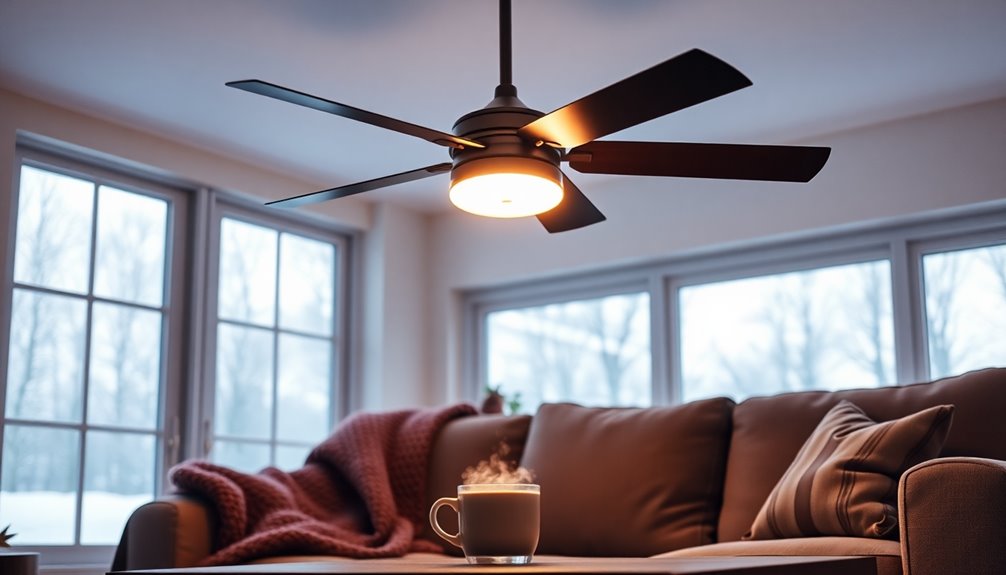
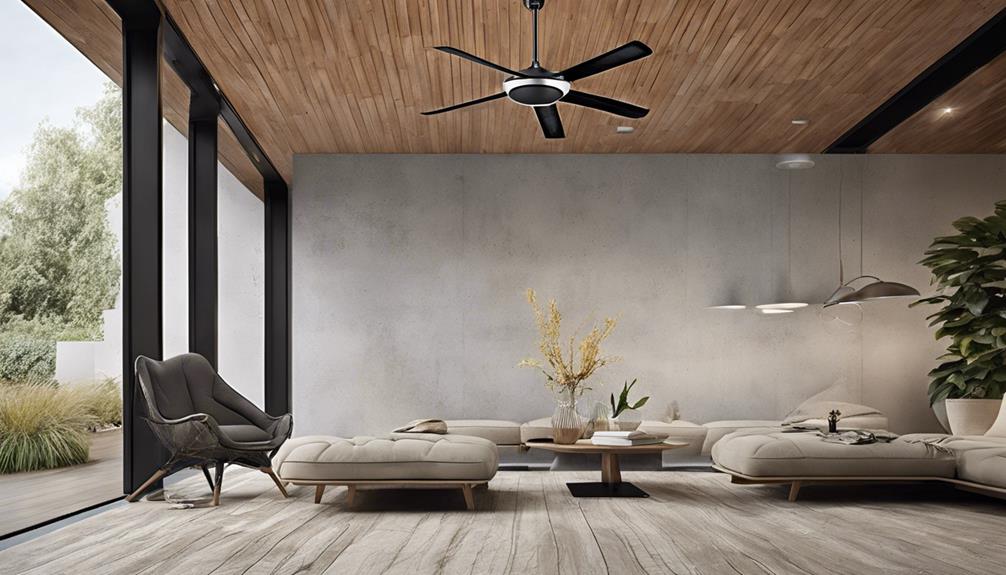
Choosing the right location for your ceiling fan is essential to guarantee ideal airflow and quiet operation. Positioning the fan near the center of the room ensures maximum ventilation improvement, helping circulate air efficiently. Avoid placing it too close to walls or corners, as this can create uneven airflow and noise. Consider the ceiling height; a fan installed at the proper height reduces wobbling and noise. The location also impacts aesthetic enhancement—select a spot that complements your room’s design, blending seamlessly with decor. Proper placement not only maximizes comfort but also minimizes operational noise, making your space more relaxing. Additionally, choosing a fan with a quiet motor can further enhance comfort by reducing noise levels during operation. Take time to analyze the room layout, ensuring your fan’s position promotes both effective ventilation and visual appeal.

addlon Ceiling Fans with Lights, 42 Inch Low Profile Ceiling Fan with Light and Remote Control, Flush Mount, Reversible, 3CCT, Dimmable, Quiet, Black Small Ceiling Fan for Bedroom Indoor/Outdoor Use
Ceiling Fan with Light: Bring more than just wind and light, but comfort! addlon modern ceiling fan, with...
As an affiliate, we earn on qualifying purchases.
Preparing Your Tools and Safety Equipment
Before you start, gather all the essential tools listed on your checklist to keep the process smooth. Make sure you have your safety gear, like goggles and gloves, ready to protect yourself. Clear and prepare your workspace so you can work efficiently and safely throughout the installation. Additionally, understanding Gold IRA Rollovers can help you make informed decisions if you plan to incorporate precious metals into your retirement strategy.
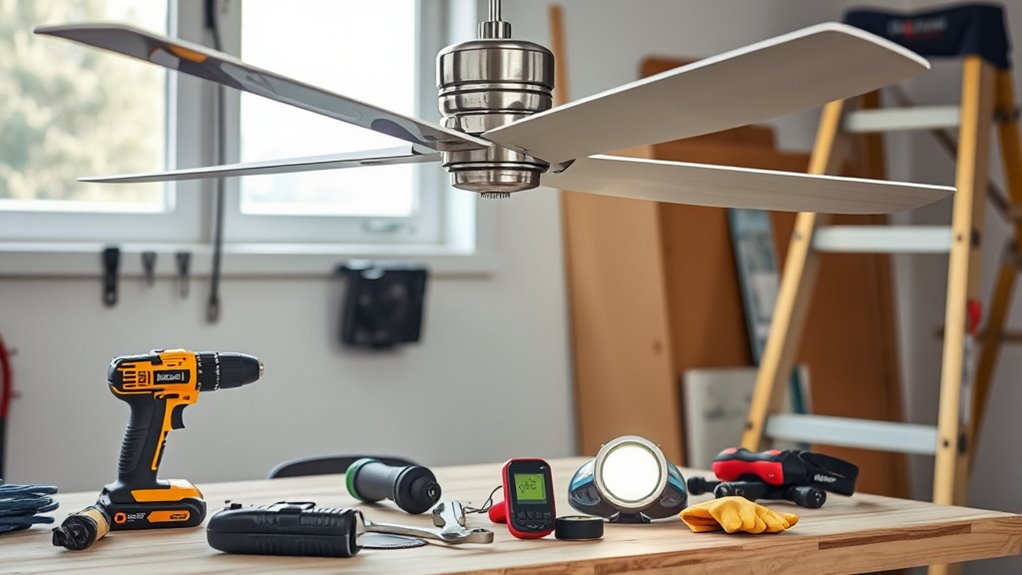
Essential Tools Checklist
To guarantee a smooth and safe installation, you’ll need to gather the essential tools and safety equipment beforehand. Having the right items ensures your ceiling fan setup goes without a hitch. Make sure to have:
- A sturdy step ladder to reach the ceiling comfortably
- A screwdriver set for securing mounting brackets and blades
- A voltage tester to check wireless connectivity and power flow
- Adjustable pliers for tightening connections and adjusting decorative options
These tools help you handle electrical wiring safely and ensure the fan operates quietly. Preparing your toolkit in advance minimizes delays and keeps the process efficient. While focusing on the tools, don’t forget safety gear for protection. With the right equipment, installing your new ceiling fan becomes straightforward, safe, and quick. Additionally, understanding sound vibrations can help optimize the fan’s quiet operation and overall performance.
Safety Gear Essentials
Having the right tools is only part of a safe ceiling fan installation; protective safety gear is equally important. Before you begin your wireless installation, make sure you wear safety goggles to protect your eyes from debris and gloves to safeguard your hands. A sturdy ladder or step stool is essential for reaching the ceiling safely, especially if you’re handling decorative lighting or securing the fan. Wear a dust mask if you’re working in an area with potential dust or insulation. Keep a fire extinguisher nearby in case of electrical issues. Safety gear minimizes risks during installation and helps you work confidently, especially when dealing with electrical components or adjusting ceiling fixtures. Prioritizing safety gear keeps your project efficient and injury-free. Additionally, staying informed about AI security vulnerabilities can help you recognize potential hazards in smart home installations.
Workspace Preparation
Preparing your workspace is essential to guarantee a smooth and safe ceiling fan installation. Clear the area beneath the ceiling to avoid accidents and make room for tools. Gather all necessary equipment to streamline the process, ensuring you won’t need to search mid-task. Use protective gear like gloves and goggles to prevent injuries. Keep your tools organized and within reach to stay efficient. This preparation allows you to focus on decorating ideas that enhance energy efficiency, like positioning the fan for ideal airflow. Imagine a clutter-free zone, where your screwdriver, ladder, and safety glasses sit ready, making installation quicker and safer. Incorporating knowledge about essential oils can also promote a calming atmosphere during setup, reducing stress. Proper workspace prep reduces risks and helps you achieve a quiet, effective ceiling fan setup with minimal hassle.
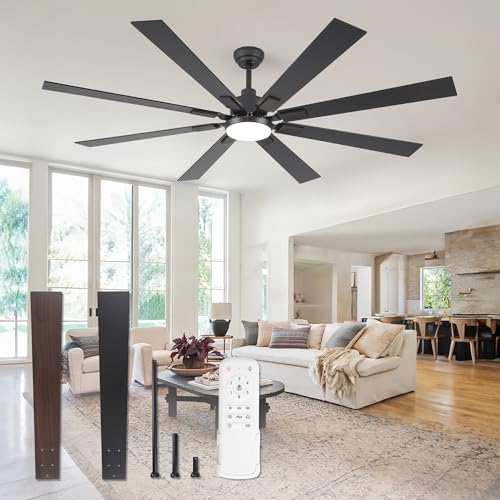
ZMISHIBO 72 inch Large Ceiling Fans with Lights and Remote, Indoor/Outdoor Black Modern Ceiling Fan for Kitchen Living Room Patio, 6 Speed Reversible Quiet DC Motor, 3 CCT, Dual Finish 8 Blades
72 Inch Ceiling Fan: This large ceiling fan includes 4“, 8”, and 24“ down rods, making it a...
As an affiliate, we earn on qualifying purchases.
Turning Off Power and Ensuring Electrical Safety
Before you start working on your ceiling fan, turn off the main power to prevent any shocks. Make sure you’re wearing proper safety gear, like insulated gloves and goggles, to protect yourself. Taking these steps keeps you safe and helps you work confidently. Additionally, understanding the best hotels with water parks in Orlando can inspire ideas for family-friendly setups and safety features in themed or resort-style environments.
Turn Off Main Power
To guarantee your safety, always turn off the main power supply before starting any ceiling fan installation or maintenance. This prevents accidental electrical shocks and protects your wiring. Before disconnecting the power, visualize the process:
- Cutting off power at the breaker box
- Ensuring no current flows to the existing electrical wiring
- Confirming the fan placement is secure
- Preparing your tools for safe handling
Turning off the main power ensures that when you work on the electrical wiring or adjust the fan placement, you won’t risk electrocution. It also allows you to work confidently, knowing the circuit is dead. Always double-check that the power is off before touching any wiring, and handle the fan’s electrical connections carefully to avoid damage or injury. Additionally, understanding electrical safety is crucial for a safe installation process.
Use Proper Safety Gear
Have you ever considered how essential proper safety gear is when working on electrical fixtures? Wearing the right personal protective equipment (PPE) is crucial to prevent injury. Before beginning, follow electrical safety protocols by turning off the power supply and confirming the circuit is dead. Use insulated gloves and safety glasses to protect against accidental shocks and debris. A voltage tester can help verify that no current is flowing before you start handling wires. Always wear non-conductive footwear and a dust mask if needed. Remember, safety gear isn’t just a recommendation—it’s a vital part of staying safe while working with electrical components. Proper safety gear and electrical safety protocols minimize risks and ensure a safer, more efficient ceiling fan setup.

ZMISHIBO 2 Pack 52 Inch Outdoor Ceiling Fans with Remote, Black Ceiling Fan No light with Quiet Reversible DC Motor, 6 Speeds, 3 Blade Modern Ceiling Fans for Patio Living Room Bedroom Indoor
Indoor and Outdoor Use: The 2 pack black ceiling fans come with 4'' and 8'' downrods, so you...
As an affiliate, we earn on qualifying purchases.
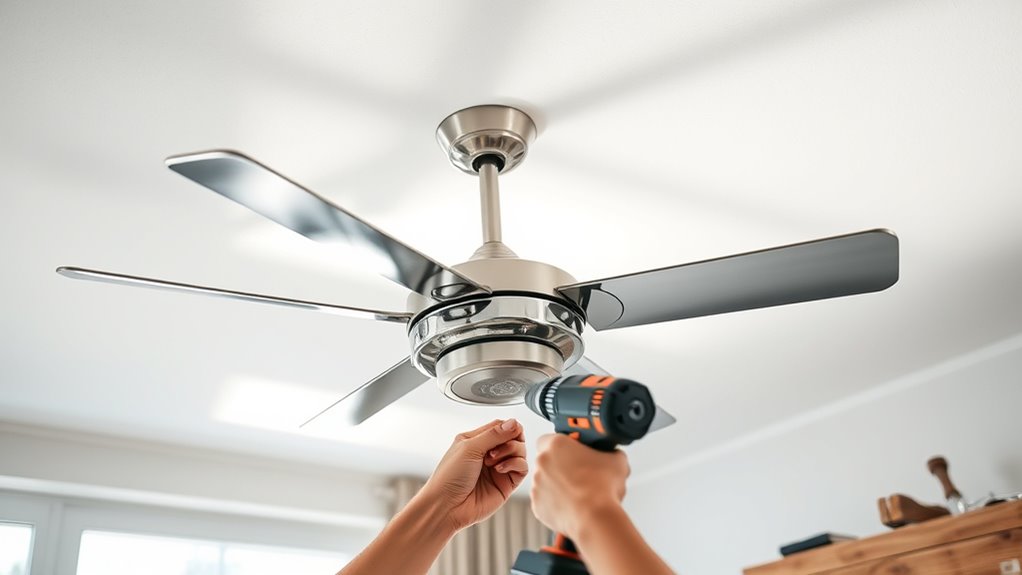
Removing the Old Fixture and Installing the Mounting Bracket

Removing the old ceiling fan fixture is your first step before installing the new mounting bracket. Carefully unscrew the fixture’s canopy, exposing the mounting hardware. Gently disconnect the wiring, noting how everything connects. Once the fixture is free, support the weight as you lower it from the ceiling. Next, remove any remaining mounting hardware or old brackets. Considering the importance of data privacy challenges in modern automation, ensure your wiring connections are secure to prevent any issues. Now, prepare to install the new mounting bracket. Picture yourself aligning the bracket with the ceiling junction box, ensuring it’s level. Secure it tightly with screws, feeling confident that it will support the fan’s weight. With the fixture out of the way and the mounting bracket in place, you’re ready for wiring and final assembly.
Wiring Your Ceiling Fan Correctly and Safely

Once the mounting bracket is securely in place, it’s time to focus on wiring the ceiling fan correctly and safely. Start by turning off the circuit breaker to prevent any shocks. Familiarize yourself with wire color codes: black or red typically carry the hot wire, white is neutral, and green or bare copper is ground. Connect the fan’s black wire to the hot wire, the white to white, and the ground wire to the grounding screw or wire. Make certain your circuit breaker is appropriately sized, usually 15 or 20 amps, to handle the fan’s power load. Double-check all connections for security and proper insulation. Proper wiring ensures safe operation and reduces noise, so take your time and follow safety protocols diligently. Understanding floating on water concepts can help you better appreciate the importance of a smooth, quiet operation free from vibrations and noise.
Attaching the Fan Blades and Ensuring Balance

After securing the fan motor to the mounting bracket, you can begin attaching the blades. Carefully align each blade with the mounting holes, ensuring the blade attachment points match up precisely. Use the provided screws to secure each blade firmly, avoiding overtightening that could crack the blades. As you work, picture yourself:
- Aligning the blades so they sit flush against the motor hub
- Using a screwdriver to tighten screws in a cross pattern for even pressure
- Checking each blade for secure attachment without wobbling
- Rotating the blades gently to test for smooth movement and proper fan balance
- Remember, credit card security is vital for online transactions, which emphasizes the importance of secure setup practices even in home installations.
Achieving a balanced setup prevents wobbling and noise, keeping your fan quiet and efficient. Proper blade attachment directly impacts fan balance and overall quiet operation.
Configuring Speed and Remote Controls for Quiet Operation
To guarantee your ceiling fan operates quietly, start by configuring the speed and remote controls properly. Begin with remote control pairing, ensuring the remote syncs correctly with your fan. Follow the manufacturer’s instructions to complete this process smoothly. Once paired, adjust the fan speed to the lowest setting to minimize noise during operation. Use the remote’s fan speed adjustment feature to cycle through the settings, confirming each level operates quietly. Avoid setting the fan to high speeds unless necessary, as higher speeds tend to generate more noise. Regularly check the remote connection and make sure the controls respond accurately. Proper remote control pairing and careful fan speed adjustment are essential for maintaining a peaceful, quiet environment while enjoying ideal airflow. Additionally, understanding the potential pitfalls in adopting new payment technologies can help ensure your setup remains secure and reliable.
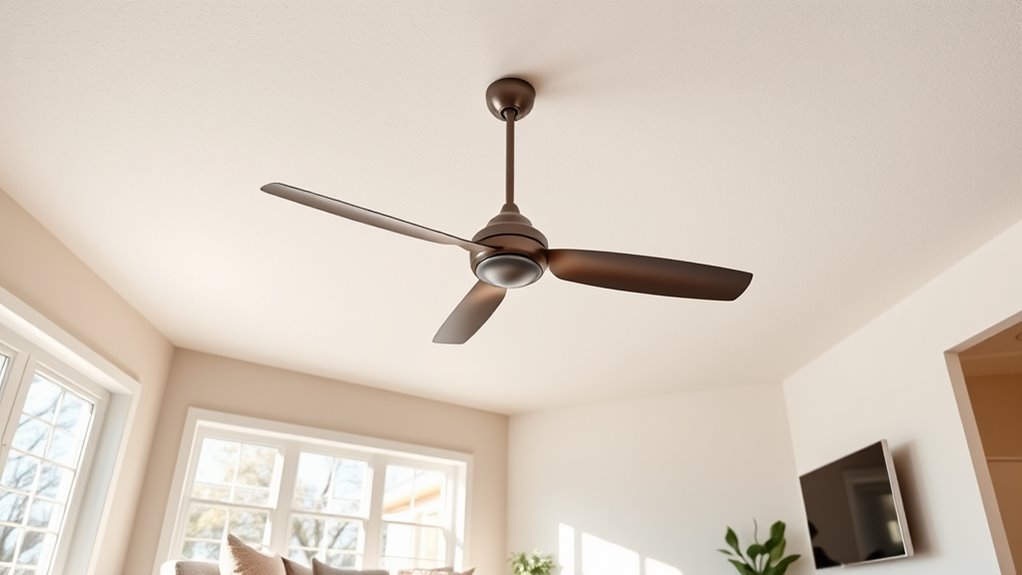
Final Checks and Testing Your Newly Installed Ceiling Fan
With the remote controls paired and the fan speed set at a quiet level, it’s time to perform final checks to guarantee everything works correctly. Turn on the fan and test all functions, including speed adjustments and lighting controls. Verify that the decorative lighting operates smoothly and enhances your room’s ambiance without flickering. Listen for any unusual noises indicating loose blades or wobbling. Check that the fan’s movement is steady and quiet, ensuring best energy efficiency. Inspect the remote’s responsiveness from different angles, confirming reliable control. Finally, confirm the fan’s mounting is secure, and the blades are aligned properly. These steps ensure your ceiling fan not only operates quietly but also maximizes decorative lighting and energy efficiency, providing comfortable airflow and aesthetic appeal for years to come. Additionally, reviewing home security systems can help protect your investment and enhance your peace of mind.
Frequently Asked Questions
How Do I Troubleshoot if My Ceiling Fan Wobbles After Installation?
If your ceiling fan wobbles after installation, start by checking for balance issues. Turn off the fan and carefully inspect the blades for dirt or damage, cleaning or replacing them if needed. Tighten all mounting hardware to fix mounting problems that could cause wobbling. Use a ceiling fan balancing kit to identify and correct imbalance. Ensuring blades are aligned and hardware is secure will considerably reduce wobbling and improve performance.
Can I Install a Ceiling Fan on a Sloped or Vaulted Ceiling?
You can definitely install a ceiling fan on a
What Should I Do if the Fan’s Remote Control Is Unresponsive?
If your fan’s remote control is unresponsive, start by replacing the batteries to confirm power isn’t the issue. If that doesn’t work, try a remote reset, which usually involves pressing a specific button or sequence. Make certain there’s no obstructions between the remote and the receiver. If problems persist, consult your fan’s manual for troubleshooting or consider reprogramming the remote to re-establish communication.
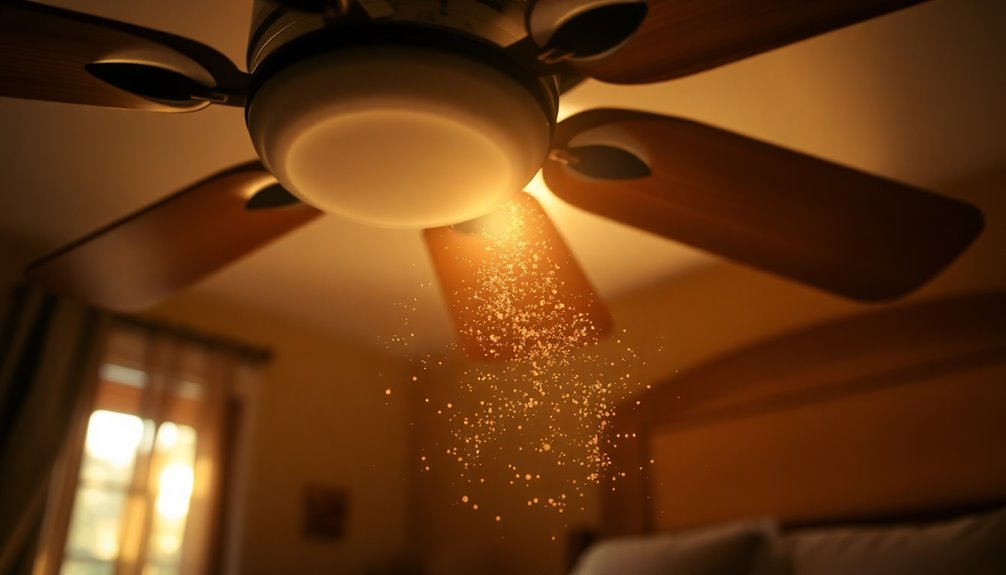
How Do I Maintain Optimal Quiet Operation Over Time?
Did you know that properly maintained ceiling fans can last up to 20 years? To guarantee quiet operation, regularly apply lubrication tips to the motor and check for dust buildup. Also, perform blade balancing to prevent wobbling, which can cause noise. These simple steps, done every few months, keep your fan running smoothly and quietly, saving you energy and extending its lifespan.
Is It Possible to Retrofit a Ceiling Fan With Smart Home Compatibility?
Yes, you can retrofit your ceiling fan with smart home compatibility using smart switch retrofit options. By installing a compatible smart switch, you can control your fan remotely via your smartphone or voice commands. Just guarantee the smart switch is compatible with your fan’s wiring and motor type. This upgrade is straightforward, affordable, and enhances convenience without needing a new fan.
Conclusion
With your ceiling fan now humming smoothly like a gentle breeze, you’ve turned a formidable task into a breeze itself. Remember, patience and safety are your best tools, guiding you to a quiet, efficient setup. Just like tuning an instrument, a little finesse ensures perfect harmony. Now, sit back, enjoy the cool comfort, and let your new fan be the quiet guardian of your space, whispering serenity with every rotation.