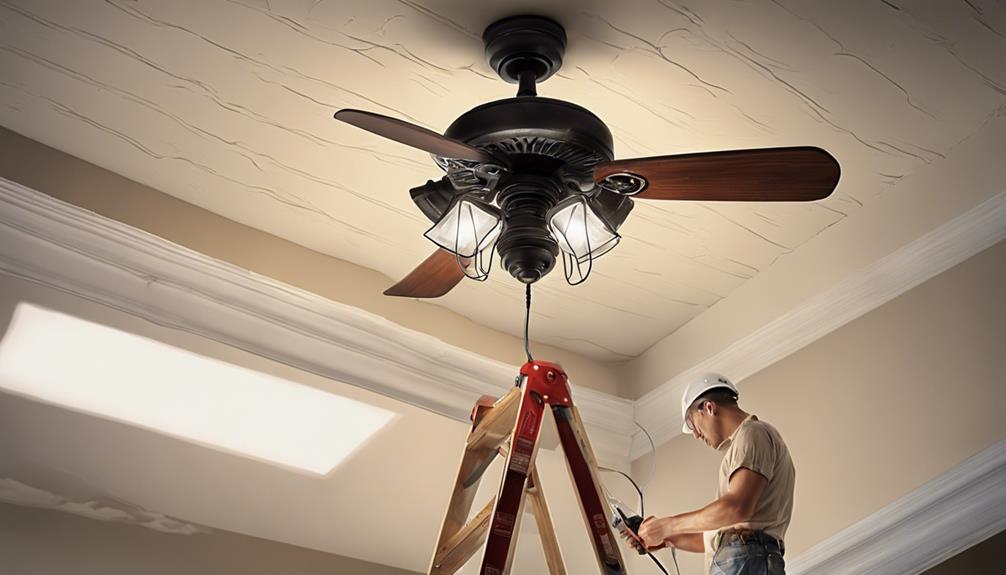
Installing a ceiling fan can be an easy DIY project, especially if you're handy and prepared. You'll need some basic tools like a screwdriver, wire strippers, and a ladder. First, verify your electrical setup can handle the fan's load and that the mounting box is secure. It's important to turn off the power before you begin. Follow the manufacturer's instructions carefully for assembly and wiring. Once it's all set, turn the power back on to test it out. If you want to discover tips for making the process smoother, keep exploring your options!
Key Takeaways
- Installing a ceiling fan can be manageable with proper preparation, including measuring room size and gathering necessary tools.
- Following the manufacturer's instructions simplifies the assembly and mounting process for quick-install models.
- Ensuring electrical compatibility and safety by confirming the circuit can handle the fan's load is crucial for a successful installation.
- Turning off power at the circuit breaker and using a voltage tester enhances safety during installation.
- Troubleshooting common issues post-installation helps maintain fan performance and longevity, making the process easier in the long run.

ZMISHIBO 52 Inch Ceiling Fan with Light, App&Remote Control, Flush Mount Low Profile, Dimmable 20W LED Light, Quiet Reversible Motor for Bedroom, Living Room, Apartment, Black
Perfect Size for Rooms: This 52-inch ceiling fan is ideal for cooling and illuminating spacious areas like living...
As an affiliate, we earn on qualifying purchases.
Benefits of Installing a Ceiling Fan

Installing a ceiling fan can offer you a range of benefits that go beyond just keeping your space comfortable. One of the most significant advantages is the potential reduction in energy costs. By improving HVAC efficiency, ceiling fans can help you save up to 30% on your heating and cooling bills.
In the summer, the effective airflow creates a wind-chill effect, making rooms feel cooler without needing to lower the thermostat, which can further enhance your comfort. Additionally, using ceiling fans in conjunction with energy-efficient heat pumps can maximize your home's heating and cooling performance. This synergy not only boosts comfort but also contributes to indoor air quality by enhancing air circulation. Furthermore, integrating ceiling fans with renewable energy sources can further optimize energy savings and sustainability.
During the winter months, running your ceiling fan in reverse helps distribute warm air evenly, reducing heating costs and keeping your space cozy. Opting for an Energy Star-certified ceiling fan can yield energy savings of around $15 to $25 annually, making it a smart investment. Furthermore, proper installation practices can ensure that your ceiling fan operates efficiently and effectively.
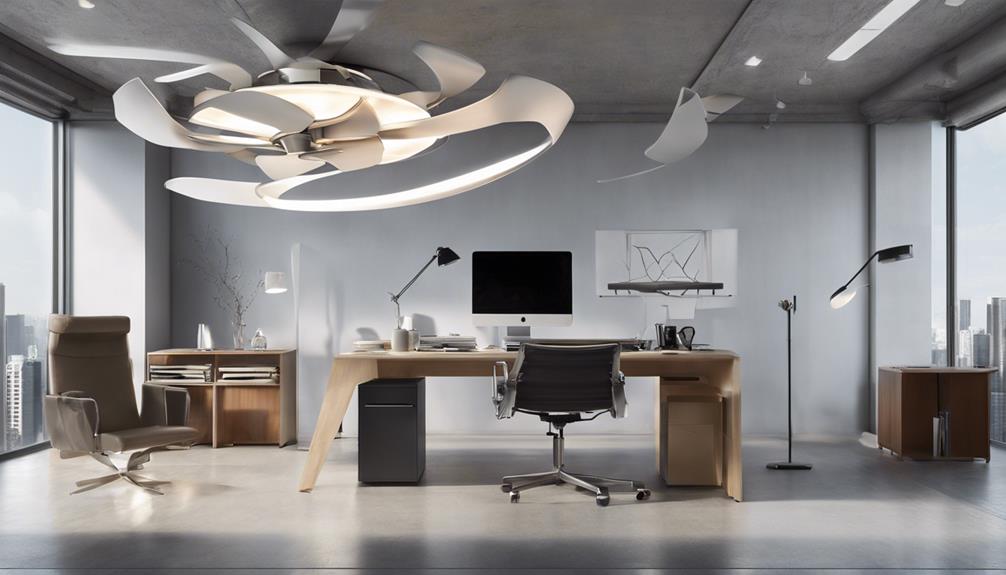
Beyond functionality, ceiling fans also add aesthetic appeal to your home. With a variety of designs and styles available, you can find one that perfectly complements your decor while providing practical benefits.
Sofucor 52" Smart Ceiling Fan, Indoor/Outdoor Ceiling Fans with Lights and Remote, Compatible with Alexa/Google/App, 3-Color Light 6-Speed Timing Reversible DC Motor for Bedroom Living Room Patio
Voice & App & Remote Control: Sofucor alexa ceiling fan with light can be controlled in 3 ways....
As an affiliate, we earn on qualifying purchases.
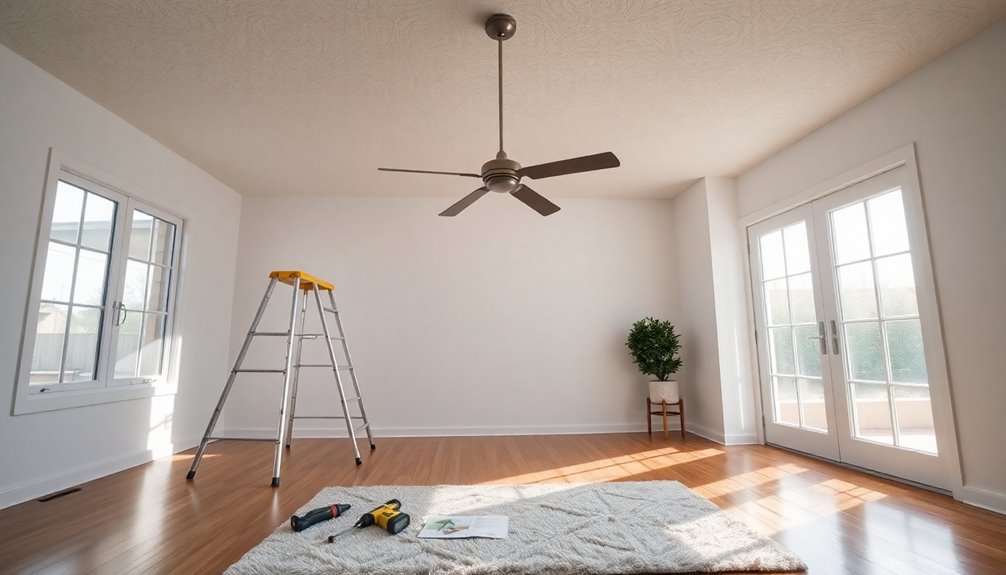
Preparing for Installation

Before you start installing your ceiling fan, measure the room size to find the right fan size for ideal airflow.
You'll also want to gather your tools, like a screwdriver and ladder, to keep the process efficient.
Finally, check that your electrical setup can handle the fan to guarantee a safe installation.
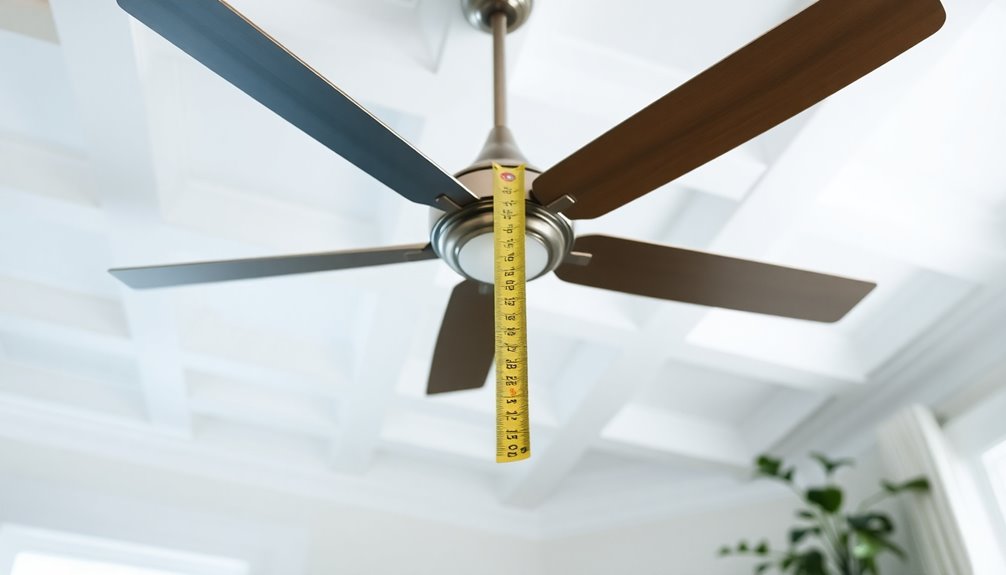
Measure Room Size
To kick off your ceiling fan installation, measuring the room size is essential for selecting the right fan. Start by calculating the room's square footage; this number will help you determine the appropriate blade span for ideal airflow.
Divide the square footage by four to find the recommended blade span in inches. For example, a 36-inch fan suits rooms under 12 feet, while a 42-inch fan works well in spaces between 12 to 15 feet, and a 52-inch fan is perfect for rooms between 15 to 18 feet.
Consider the ceiling height as well; ideally, your fan should be positioned 7–10 feet above the floor. Maintain a distance of at least 1.5 feet from walls to guarantee proper airflow.
If you're dealing with larger or long narrow rooms, you might want to install two smaller fans instead.
Before you begin your installation, check for any ceiling obstructions like wiring or plumbing that could interfere with the fan mounting bracket or electrical connections.
Also, examine the existing light fixture and ceiling joists to make sure everything's ready for a smooth installation.
Gather Necessary Tools
Gathering the right tools is essential for a successful ceiling fan installation. Before diving into the project, make certain you have a screwdriver—both flathead and Phillips—on hand.
You'll also need a wire stripper and pliers to handle the electrical connections. A ladder or step stool will help you reach the mounting area safely.
Safety is paramount, so grab a voltage tester to confirm the power is off before starting. This guarantees you can work without risk of electrical shock.
You should also have electrical tape ready for securing connections, which helps prevent any accidental disconnections once your fan is up and running.
Prepare your ceiling fan kit, making sure it includes the fan blades, motor, mounting bracket, and any light kit components you might need.
If you've opted for a quick-install ceiling fan model, you'll likely find it comes with all the necessary tools and simplified assembly instructions, making your job easier.
Additionally, ensure that you understand the proper toilet maintenance and repairs to avoid any plumbing issues that could arise during installation.
With these tools gathered, you're well on your way to successfully installing your ceiling fan.
Check Electrical Compatibility
Checking electrical compatibility is essential for guaranteeing a smooth ceiling fan installation. First, confirm that your existing electrical box is rated for ceiling fan support, as it must handle the fan's weight and movement. Next, examine your home's wiring to verify it's compatible with the ceiling fan's setup, which typically includes a black wire (hot), a white wire (neutral), and a green ground wire.
Here's a quick reference table to help you:
| Component | Check For | Importance |
|---|---|---|
| Existing Electrical Box | Rated for ceiling fan support | Prevents structural failure |
| Circuit Breaker | Can handle 70-100 watts load | Avoids tripping and overheating |
| Light Switch | Rated for fan use | Prevents damage to the fan |
Before you start, use a voltage tester to verify the power is off, preventing electrical shock. If you're using a light switch to control the fan, make sure it's compatible to avoid any issues. Following these steps will guarantee a safe and effective ceiling fan installation.
ZMISHIBO 72 inch Large Ceiling Fans with Lights and Remote, Indoor/Outdoor Black Modern Ceiling Fan for Kitchen Living Room Patio, 6 Speed Reversible Quiet DC Motor, 3 CCT, Dual Finish 8 Blades
72 Inch Ceiling Fan: This large ceiling fan includes 4“, 8”, and 24“ down rods, making it a...
As an affiliate, we earn on qualifying purchases.
Safety Measures to Follow

When installing a ceiling fan, safety should always take precedence. Start by turning off the power at the circuit breaker to prevent electrical shock. After that, use a voltage tester to confirm that the power is off by checking the wires in the electrical box. This step is essential to protect yourself from any unexpected electrical hazards.
Don't forget to wear safety goggles and gloves during the installation. They'll shield you from dust and debris that can fly around as you work.
Verify that the electrical box is rated for ceiling fan use and is securely attached to a ceiling joist to support the fan's weight.
If you're unsure about any wiring or installation steps, it's wise to consult a licensed electrician. They'll help guarantee that everything is done safely and in compliance with local codes.
Additionally, when connecting wires, make sure to use appropriate wire connectors to secure your connections properly. Following these safety measures will give you peace of mind during your ceiling fan installation. Also, ensure that you have the right HEPA filtration system in place to maintain good air quality while working in your home.

52in Smart Low Profile Ceiling Fans with Lights Remote,Quiet DC Motor,Outdoor Indoor Flush Mount Ceiling Fan,Control with WIFI Alexa App,Dimmable,6-speed,3 White Wood blades,for Modern Bedroom Patio
【Voice &APP &Remote Control】52 inch Ceiling fan with lights and remote (handheld and wall mounted), still in control...
As an affiliate, we earn on qualifying purchases.
Installation Process Overview

Before you start installing your ceiling fan, it's important to prepare and plan your steps carefully.
Make certain you follow safety precautions to protect yourself during the process.
Once everything's in place, you can move on to the final assembly and testing to guarantee your fan works perfectly.
Preparation and Planning Steps
Installing a ceiling fan requires careful preparation and planning to guarantee a smooth process. Start by measuring your room size to determine the appropriate ceiling fan size, confirming ideal airflow with the recommended blade span based on your room's square footage. This step is essential for effective cooling and comfort.
Next, gather all necessary tools, including a screwdriver, wire stripper, pliers, and a ladder. Having these tools on hand will streamline the installation process and minimize interruptions.
Before you begin, verify that your ceiling fan is anchored to a fan-rated electrical box, which assures safety and compliance with electrical codes during installation.
Consider opting for a quick-install ceiling fan model, as it simplifies the assembly and mounting process, making it more accessible for DIY enthusiasts.
Additionally, ensure that the ceiling fan is free from dangerous clicking noises, as these may indicate mechanical failure or electrical issues that could complicate installation or pose safety risks.
Finally, always read the manufacturer's instructions specific to your ceiling fan model. Following these guidelines will help you execute proper installation steps and avoid any potential issues.
With thorough preparation and planning, you'll be well on your way to successfully installing a ceiling fan that enhances your space.
Safety Precautions Required
Safety is paramount during the installation of a ceiling fan. Before you start, always turn off power at the circuit breaker to prevent electrical shock. It's vital to confirm the power to the fan is completely off. Use a voltage tester to verify that there's no electricity flowing through the wires you'll be working with.
While installing a new ceiling fan, wearing safety goggles and gloves is essential. These will protect you from any debris or sharp edges that may arise during the installation process.
Check that the electrical box is rated for ceiling fan use and is securely fastened to a ceiling joist or support beam. This helps to support the weight of the fan and maintains stability.
Follow the manufacturer's installation instructions closely; this not only guarantees a safe setup but also assures compliance with local electrical codes.
#
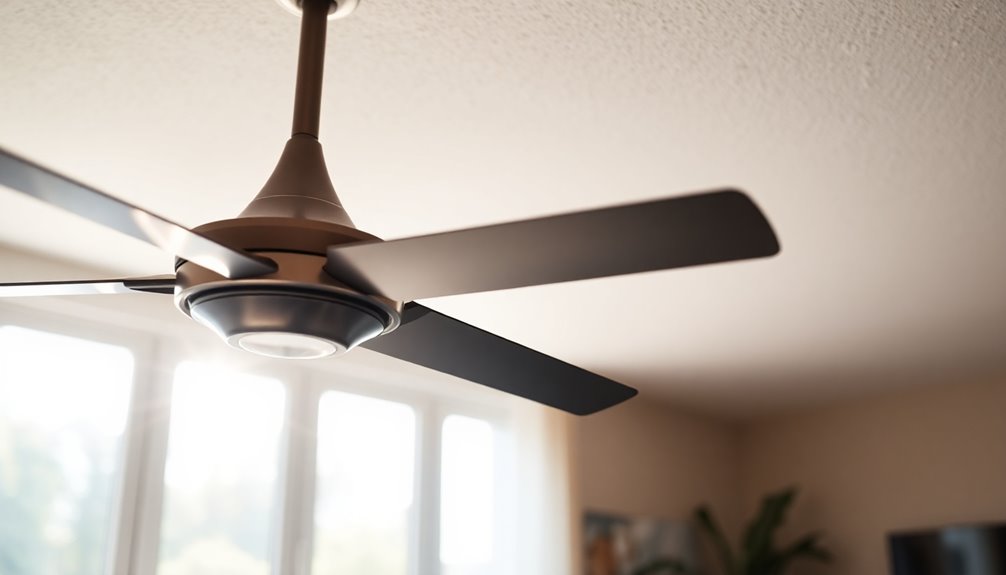
Final Assembly and Testing
Once you've securely attached the fan blades according to the manufacturer's instructions, it's vital to confirm all screws are tightened to prevent any wobbling during operation.
The final assembly and testing of your ceiling fan is significant to verify it functions properly.
Follow these steps to complete the process:
- Assemble the light kit: If your fan includes a light kit, connect the light kit wires to the fan's switch housing per the wiring diagram in the manual.
- Attach the canopy onto the mounting bracket: Once the fan is assembled, clip the canopy onto the mounting bracket and make sure screws are tightened to cover the wiring.
- Restore power: Go to the circuit breaker and restore power to your fan.
- Conduct testing: Test the fan operation using its pull chain or remote control to confirm all functions, including speed settings and light, are working correctly.
Finally, conduct a final inspection for stability and proper alignment.
Adjust the blades if necessary to guarantee smooth and efficient airflow.
Following these steps assures a well-installed ceiling fan that enhances your space effectively.
## Final Assembly and Testing

After securing the fan motor assembly to the mounting bracket, it's vital to guarantee all screws are tightened and the fan is level to prevent any wobbling during operation.
Next, attach the fan blades according to the manufacturer's instructions, typically using screws and brackets provided. Make sure each blade is securely locked into place.
If your ceiling fan includes a light kit, connect the light kit wires to the fan's switch housing, following the wiring diagram for proper connections. This step is important for ensuring the light operates correctly.
Once all components are assembled, restore power at the circuit breaker to test the fan and light functionality, confirming that everything operates as intended.
Conduct a final inspection to make sure all wiring is tucked safely into the electrical box, checking that no bare wires are visible. If necessary, secure connections with electrical tape to enhance safety.
Troubleshooting Common Issues

When you encounter issues with your ceiling fan, it's important to troubleshoot them promptly to keep your space comfortable.
Here are some common problems and solutions to ponder:
- Wobbling Fan: Check that all blades are firmly attached and the mounting bracket is level and tightly secured to the junction box.
- Fan Not Operating: Verify the power is on at the circuit breaker. Confirm that all electrical wires are securely connected and properly insulated.
- Dim or Flickering Lights: Inspect the light kit's bulbs. Make sure they're compatible, properly installed, and that the wiring connections are secure.
- Single Speed Operation: If your fan runs only at one speed, examine the pull chain or remote control settings. Check that any speed control switch is functioning correctly and matches your fan model.
Frequently Asked Questions
Is It Hard to Install Your Own Ceiling Fan?
You might find installing your own ceiling fan a bit challenging, but it's definitely doable with some basic DIY skills.
If you're comfortable handling electrical work, you can follow the manufacturer's instructions to remove an old fixture, secure a mounting bracket, and connect the wires.
Just remember to turn off the power and use a voltage tester for safety.
With patience and care, you'll have your fan up and running in no time!
Can the Average Person Install a Ceiling Fan?
Absolutely, the average person can install a ceiling fan! With the right tools and a little determination, you can tackle this task.
Start by safely securing your setup, then follow the manufacturer's instructions step-by-step. Many fans feature quick-install options, making the process smoother.
Just remember, if you're unsure about any electrical connections, it's wise to consult a professional.
Do You Need an Electrician to Install a New Ceiling Fan?
You don't always need an electrician to install a new ceiling fan, especially if you're comfortable with basic electrical work.
However, if you're unsure about wiring or don't have experience, it's wise to hire one. They can verify the electrical box is rated for fan support and can help with proper wiring and placement for best airflow.
Always prioritize safety and check local codes before starting your installation.
How Much Does It Cost to Have Someone Install a Ceiling Fan?
Hiring someone to install a ceiling fan typically costs between $100 and $300.
If you need electrical work, like new wiring, that could add another $50 to $150.
Some electricians charge hourly rates, generally between $50 and $100, which might increase your total if the job takes longer.
The type of fan you choose also impacts the price, with more complex models costing more to install.
Always check for quick-install options to save money.
Conclusion
Installing a ceiling fan can feel like bringing a gentle breeze into your home, a symbol of comfort and ease. With the right preparation and safety measures, you can transform your space into a haven of relaxation. As you stand back and admire your handiwork, the fan whirling above serves as a reminder of your accomplishment. So go ahead, embrace the challenge; you're not just installing a fan, you're creating a serene atmosphere where cherished memories can unfold.