
To install a ceiling fan remote control, start by turning off the power and removing the fan’s canopy to access the wiring. Connect the receiver’s wires, matching them to your fan’s, and secure all connections. Mount the receiver inside the canopy, then reassemble and restore power. Install batteries in the remote, pair it with the receiver, and test all functions. Following these steps carefully will get your remote system working smoothly, and you’ll discover more tips along the way.
Key Takeaways
- Turn off power, remove the fan canopy, and identify wiring connections following safety standards.
- Connect the receiver’s wires to the ceiling, fan, and light, ensuring secure and correct wiring.
- Mount the receiver inside the canopy or mounting box, then reassemble and restore power.
- Install batteries in the remote, set the dip switches to match the receiver, and test remote functions.
- Pair the remote with the receiver within 3 minutes, confirming successful synchronization and operation.

addlon Ceiling Fans with Lights, 42 Inch Low Profile Ceiling Fan with Light and Remote Control, Flush Mount, Reversible, 3CCT, Dimmable, Quiet, Black Small Ceiling Fan for Bedroom Indoor/Outdoor Use
Ceiling Fan with Light: Bring more than just wind and light, but comfort! addlon modern ceiling fan, with...
As an affiliate, we earn on qualifying purchases.
Preparing for Installation
Before you begin installing the ceiling fan remote control, guarantee safety by turning off the main power at the circuit breaker. This prevents electrical shock during wiring. Use a voltage tester to confirm the power is off before working on the fan wiring. Data privacy concerns are an important consideration when dealing with smart home devices, including remote controls. Suction power of the remote receiver can influence the responsiveness of your control signals. Set the fan to high speed and turn on the light using pull chains to prepare for wiring. Carefully remove the canopy by unscrewing the external canopy screws with a screwdriver. Inside, identify the wiring connections for the remote control receiver. Guarantee all wiring matches the receiver’s instructions, and double-check the power supply and switch connections for safety before proceeding with the installation. Additionally, ensure that the receiver’s wire compatibility matches your existing wiring to prevent any issues during operation. Be aware that security considerations for smart devices are essential to protect your home network and data. Recognizing essential oils for respiratory health can be helpful in understanding maintenance or troubleshooting of smart devices that may be sensitive to air quality.

Forrovenco Ceiling Fans with Lights and Remote, 52 Inch Outdoor Ceiling Fan for Patios Indoor with 3 Downrods, 3 Blades Modern Ceiling Fan, 6 Speed Reversible Quiet DC Motor Solid Wood Fan,52in,Walnut
Modern Ceiling Fan with Light: Our 3 blade ceiling fan with light features unique, planet-friendly, and renewable high-quality...
As an affiliate, we earn on qualifying purchases.
Installing the Remote Receiver
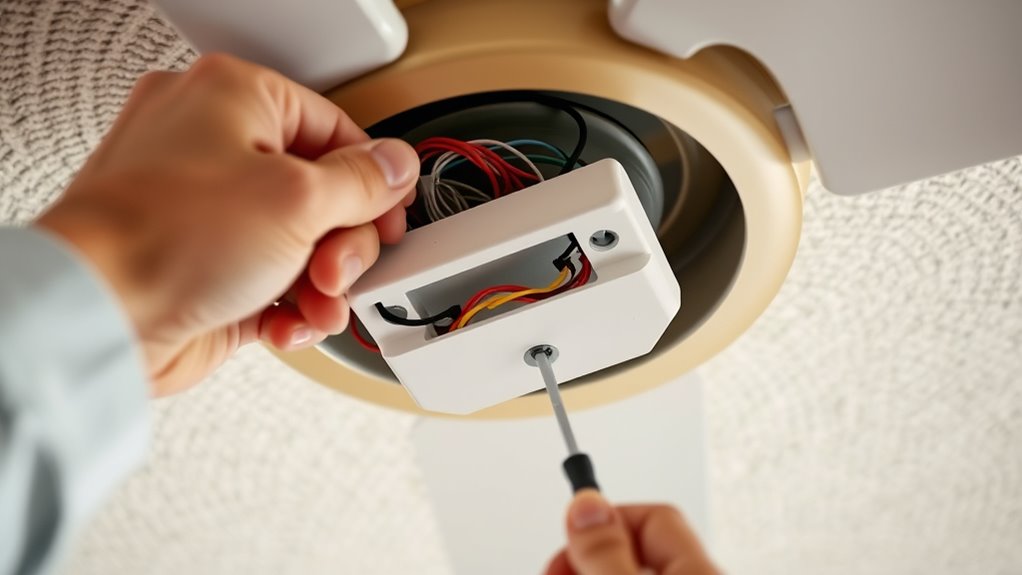
Begin by installing the remote control receiver inside the fan’s canopy, following the manufacturer’s wiring diagram.
Connect the receiver’s wires to the fan wiring, matching the white (neutral), black (fan power), and blue (light) wires with wire nuts. Confirm each connection is secure and properly insulated.
Set the dip switches on the receiver to match the remote control’s programming code, ensuring proper communication.
Carefully tuck the receiver inside the canopy or mounting bracket, making sure all wires are twisted tightly and secured.
Once everything is in place, reassemble the canopy.
Double-check your wiring connections to confirm they’re correct and secure.
Restoring power, test the remote control to verify that the fan and light respond properly, completing the installation process.
Additionally, understanding self watering plant pots can help you maintain your plants with less effort, ensuring they stay healthy while you focus on other tasks.

ZMISHIBO 52 Inch Ceiling Fan with Light, App&Remote Control, Flush Mount Low Profile, Dimmable 20W LED Light, Quiet Reversible Motor for Bedroom, Living Room, Apartment, Black
Perfect Size for Rooms: This 52-inch ceiling fan is ideal for cooling and illuminating spacious areas like living...
As an affiliate, we earn on qualifying purchases.
Wiring the Fan and Receiver
Wiring the fan and receiver involves connecting the correct wires securely to guarantee proper operation. You’ll match the neutral, hot, and ground wires according to the manufacturer’s diagram. Make sure all connections are insulated. Double-check your work before reattaching the canopy and restoring power to prevent issues. Additionally, ensure that the electrical connections meet safety standards for optimal performance and safety.
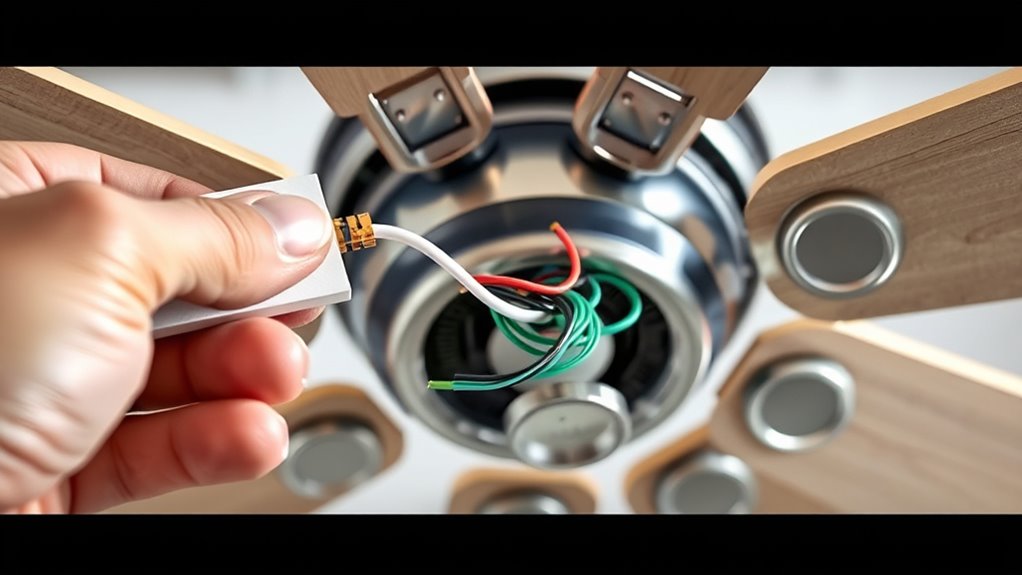
Wiring Components Overview
When wiring the fan and receiver, you’ll connect the main power wires—typically a black (hot), white (neutral), and green or bare copper (ground)—to the corresponding wires on the remote receiver. The black wire supplies power to the fan motor, while the blue wire handles the light wiring, both connecting to the receiver’s output wires. The white wire from the ceiling, fan, and receiver should be joined together with a wire nut to form a neutral wire connection. The ground wire, usually green or bare copper, connects to the receiver’s ground wire and the ceiling’s ground wire, ensuring safety. Proper fan wiring involves matching the receiver’s wires to the fan motor and light wiring, capping any unused wires securely per manufacturer instructions. Additionally, understanding father-daughter bond can remind us of the importance of connections and support during this wiring process, emphasizing safety and trust in every step. It is also helpful to review electrical wiring guidelines to ensure proper installation and safety compliance, especially considering the increasing integration of AI in home automation systems. A thorough understanding of electrical safety procedures can prevent common wiring mistakes that may lead to hazards. It’s also essential to follow manufacturer guidelines carefully to prevent potential cybersecurity vulnerabilities that could arise from incorrect wiring or installation procedures.
Ensuring Safe Connections
Before connecting the fan and receiver, make sure the power is turned off at the circuit breaker to prevent electrical shock.
Carefully follow the wiring diagram to guarantee proper wire connections.
Start by connecting the neutral wires from the ceiling, fan, and receiver using a wire nut, creating a common neutral path.
Attach the ground wire, usually green or bare copper, from the ceiling to the fan’s ground wire and the receiver’s ground connection for electrical safety.
Connect the black (hot) wire from the ceiling to the receiver’s black wire.
Connect the receiver’s blue wire to the fan’s light wire if controlling the light separately.
Cap off any unused wires, like a red wire, following the manufacturer’s instructions to ensure a safe installation.

Amico Ceiling Fans with Lights, 42 inch Low Profile Ceiling fan with Light and Remote Control, Flush Mount, Reversible, 3CCT, Dimmable, Noiseless, Black Ceiling Fan for Bedroom, Indoor/Outdoor Use
Ceiling Fan with Light: Decorate your home with Amico ceiling fan! While bringing you coolness and comfort, it...
As an affiliate, we earn on qualifying purchases.
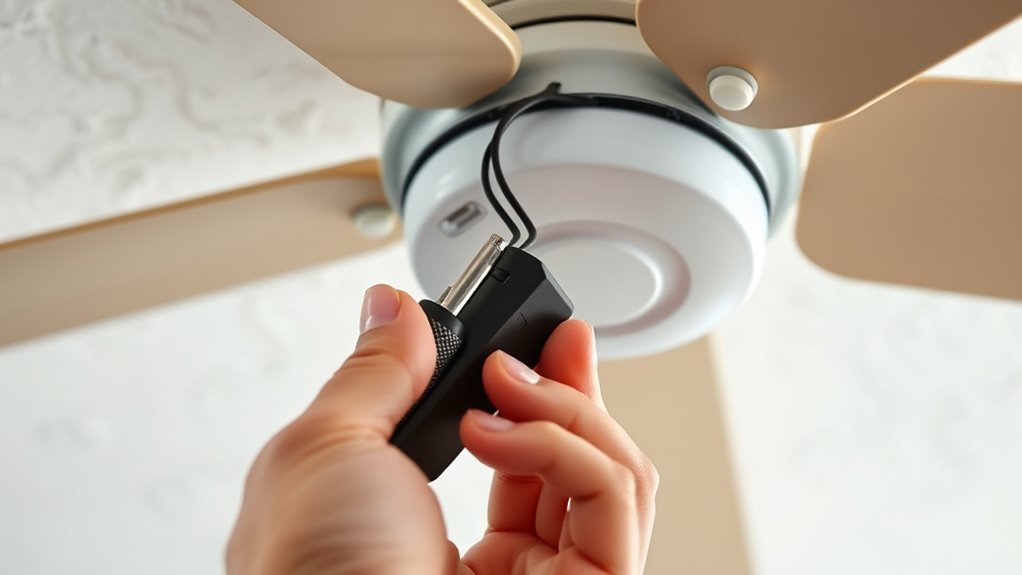
Installing and Configuring Remote Batteries
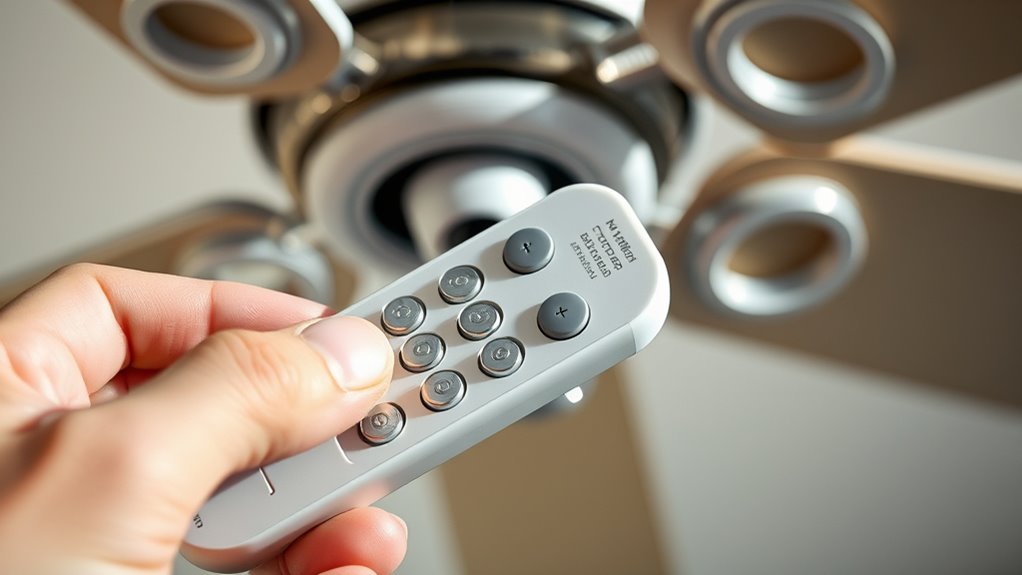
To install and configure the remote batteries, start by removing the battery compartment cover with a Phillips screwdriver or gently prying it open if it’s designed for hand access. Insert the correct batteries, ensuring the positive (+) side faces the proper direction as indicated inside the compartment. Use the specified batteries, typically AAA or coin cell, to ensure proper operation and reliable power. Once the batteries are in place, reattach the compartment cover securely to prevent battery loss or moisture entry. Confirm the remote’s power by pressing a button—if installed correctly, the remote should activate the fan or lights. Proper installation guarantees smooth remote control operation and remote activation of your ceiling fan. Additionally, understanding how sound vibrations influence overall health can help optimize your environment for better well-being. Ensuring the remote is within the optimal range will also improve its responsiveness and performance. Regularly checking the battery contact points can prevent connectivity issues over time. Paying attention to remote frequency settings can help avoid interference from other electronic devices.
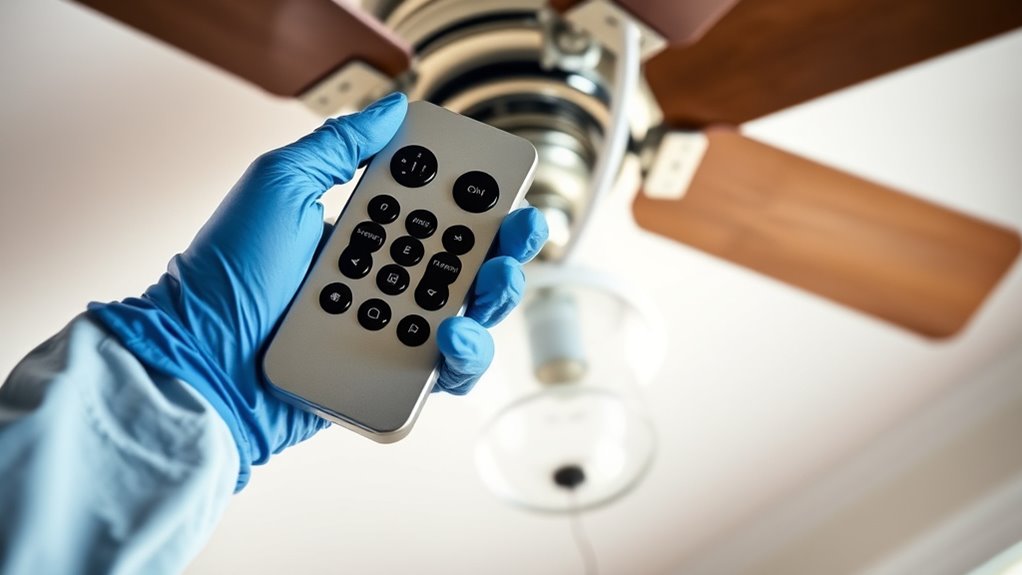
Pairing the Remote Control With the Receiver
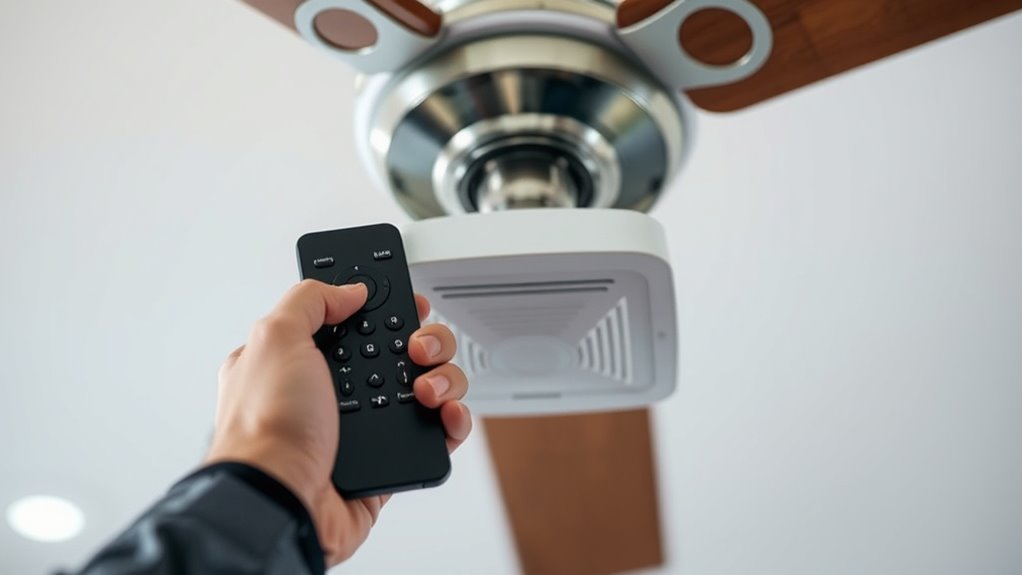
Once you’ve installed the batteries and confirmed the remote powers on, pairing it with the receiver guarantees they work together seamlessly. To do this, start by ensuring the dip switches on both the remote and receiver are set to matching positions. Proper pairing techniques are essential to achieve a reliable connection and avoid issues later on. A security vulnerability in new technologies can pose risks during setup, so it’s important to follow manufacturer instructions carefully. If your remote requires manual pairing, press the designated buttons (like “FAN” and “SPEED 3”) within three minutes of turning on the fan. You should see a beep or indicator light confirming successful synchronization. If pairing fails, turn off the power, wait a moment, and reset both the remote and receiver, then repeat the process. Carefully follow your manufacturer’s instructions to verify the code matches and the remote and receiver are properly synchronized, and ensure that the compatibility between devices is confirmed to prevent pairing issues. Additionally, understanding the wireless communication protocols can help troubleshoot connectivity problems effectively. Properly configuring the frequency settings ensures a stable connection and minimizes interference.
Testing and Troubleshooting the Remote System
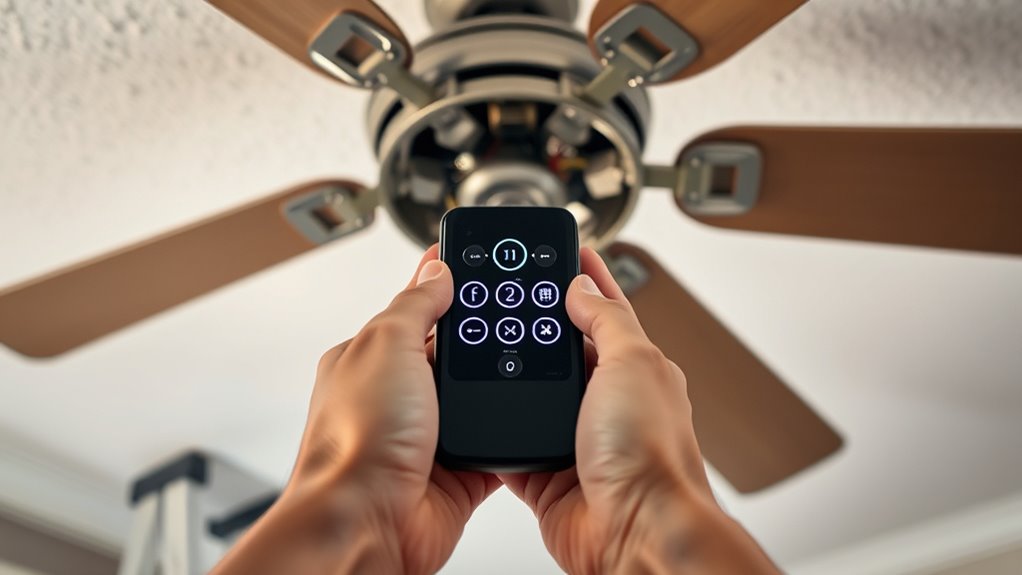
Even though most ceiling fan remote systems come pre-paired from the factory, troubleshooting is sometimes necessary if the remote isn’t responding or the system isn’t functioning correctly. Start by checking that the remote batteries are fresh and installed properly, as weak batteries can disrupt remote response. If the remote still isn’t working, power cycle the fan by turning off the power, waiting one minute, then following the pairing instructions to re-establish communication. During pairing, press the designated buttons within the time window to reconnect the remote and receiver. Test all remote functions, including fan speed control and light operation, to confirm proper operation. Additionally, ensuring your system has the latest security protocols can prevent connectivity issues.
| Step | Action | Result |
|---|---|---|
| 1 | Check remote batteries | Remote response improves |
| 2 | Power cycle the fan | Re-establish communication |
| 3 | Follow pairing instructions | Re-pair remote and receiver |
| 4 | Test remote functions | Ensure full remote response |
| 5 | Troubleshoot further | Contact support if issues persist |
Frequently Asked Questions
Can You Add a Remote to an Existing Ceiling Fan?
You can add a remote to your existing ceiling fan if it’s compatible. First, check if there’s a receiver compartment inside the fan housing. If so, purchase a remote control kit designed for your model.
Turn off the power, wire the receiver, and follow the manufacturer’s instructions to pair the remote. If unsure about compatibility or wiring, consult a professional to guarantee a safe, proper installation.
What Do I Do With the Red Wire When Installing a Ceiling Fan With Remote?
When installing a ceiling fan with a remote, you’ll need to handle the red wire carefully.
Usually, it connects to the switched hot wire that powers the light or fan when you use the remote.
If your setup doesn’t need separate control, you can cap the red wire with a wire nut and leave it unused.
Always check your remote’s wiring diagram to make sure of proper connection and safe installation.
How to Convert Normal Ceiling Fan to Remote Control?
Converting your ceiling fan to remote control is simple and smart. First, check compatibility, then install a wireless receiver inside the fan housing.
Connect the receiver following the instructions, and replace or bypass the pull chain or wall switch if needed.
Pair the remote transmitter with the receiver, then test all functions—speed, direction, and light—to make sure everything works perfectly.
Now, enjoy easy, efficient control at your fingertips.
How Do You Program a Replacement Ceiling Fan Remote?
To program a replacement ceiling fan remote, start by inserting fresh batteries, making certain they’re aligned correctly.
Turn on your fan and press the remote’s pairing or program button, following your manufacturer’s instructions.
Hold the button until you see a confirmation, like a beep or the fan responding.
Test all functions—speed, light, and direction—to confirm your remote is properly synced and working correctly.
Conclusion
Once you’ve completed these steps, your ceiling fan remote system will work like magic, transforming your space instantly. With your new setup, controlling your fan becomes a breeze—literally! Don’t forget to test everything thoroughly to guarantee smooth operation. If issues arise, revisit the troubleshooting tips. Now, enjoy effortless comfort and convenience every day—your home will feel like a palace, all thanks to your DIY skills. You’ve just made your life way easier!