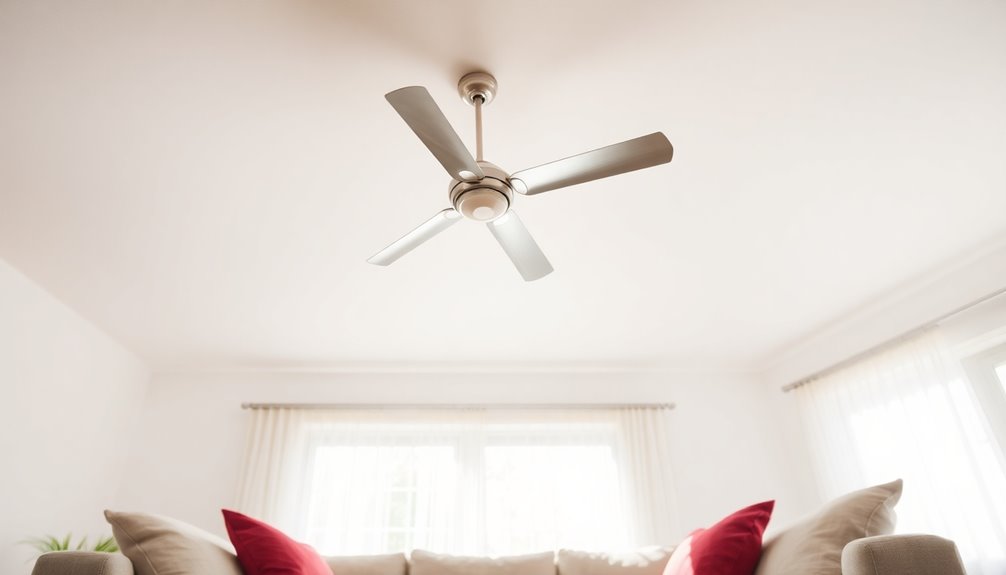
Installing a ceiling fan is quite easy if you're comfortable with basic tools. You'll need a ladder, wire cutters, and a screwdriver. Start by ensuring the power is off at the circuit breaker. Measure the room to pick the right fan size, and check the ceiling height for ideal performance. Follow the manufacturer's guidelines for wiring and mounting. Attach the blades securely and test the fan once you restore power. With a little preparation and attention, you can have a stylish, functional ceiling fan up in no time. Stick around to discover more tips and steps for a successful installation!
Key Takeaways
- Installing a ceiling fan is manageable for DIY enthusiasts with basic electrical knowledge and the right tools.
- Ensure safety by turning off power at the circuit breaker and using a voltage tester before starting installation.
- Follow the manufacturer's guidelines for wiring connections and mounting to ensure proper installation and functionality.
- Properly size the fan for the room and maintain recommended clearance from the ceiling for optimal performance.
- Regular maintenance, such as dusting blades and checking screws, ensures longevity and efficient operation of the ceiling fan.

ZMISHIBO 52 Inch Ceiling Fan with Light, App&Remote Control, Flush Mount Low Profile, Dimmable 20W LED Light, Quiet Reversible Motor for Bedroom, Living Room, Apartment, Black
Perfect Size for Rooms: This 52-inch ceiling fan is ideal for cooling and illuminating spacious areas like living...
As an affiliate, we earn on qualifying purchases.
Types of Ceiling Fans

When choosing a ceiling fan, you'll find several types designed to meet different needs and preferences. Standard ceiling fans are the most common, usually featuring blade spans from 29 to 56 inches, making them suitable for general room use.
If you've got a low ceiling, low-profile fans, also known as hugger fans, are your best option. They provide an unobtrusive design, ensuring adequate clearance while still circulating air effectively. Regular maintenance is essential for ensuring Proper sizing and efficiency, as an incorrectly sized fan can lead to inadequate airflow. Many of these fans also incorporate advanced technology integration, enhancing functionality and user experience. These fans can also improve airflow efficiency, making them a practical choice for tight spaces.
For outdoor spaces, consider outdoor fans. These are specifically built to withstand moisture and various weather conditions, making them perfect for patios or porches. Additionally, energy-efficient models can help reduce energy consumption and improve durability in outdoor settings.
If you're looking to save on energy bills, energy Star-certified fans are a smart choice. They use less electricity compared to non-certified models, helping you stay eco-friendly and economical. Energy-efficient models can reduce electricity costs by 30-50%, contributing to overall savings.
When selecting a fan, consider the size of the room and its ceiling height. To find the right fan size, divide the room size in square feet by four.
For instance, a 200 sq ft room typically requires a fan with a 50-inch blade assembly for ideal airflow. This way, you'll enhance comfort while ensuring your space looks great. Additionally, energy-efficient options are available for various fan types, which can further reduce your energy consumption while providing optimal air circulation.
Sofucor 52" Smart Ceiling Fan, Indoor/Outdoor Ceiling Fans with Lights and Remote, Compatible with Alexa/Google/App, 3-Color Light 6-Speed Timing Reversible DC Motor for Bedroom Living Room Patio
Voice & App & Remote Control: Sofucor alexa ceiling fan with light can be controlled in 3 ways....
As an affiliate, we earn on qualifying purchases.
Preparing for Installation

Before diving into the installation of your ceiling fan, it's crucial to take a few preparatory steps to guarantee everything goes smoothly.
Start by measuring the room size to make sure you choose the right fan. For instance, a 50-inch fan is ideal for a 200 sq ft room. Next, check the ceiling height; maintain a distance of 7–10 feet from the floor for the best airflow.
Here's a quick checklist to help you prepare:
- Measure the room size to select an appropriately sized ceiling fan.
- Confirm that the ceiling height is compatible with your fan choice.
- Gather the necessary tools: ladder, wire cutters, circuit tester, and screwdrivers.
- Turn off electrical power at the circuit breaker and verify with a voltage tester that no electricity is present.
Finally, read the manufacturer's instructions specific to your fan model. This guarantees you follow all preparation steps correctly, especially if you're replacing an existing light fixture.
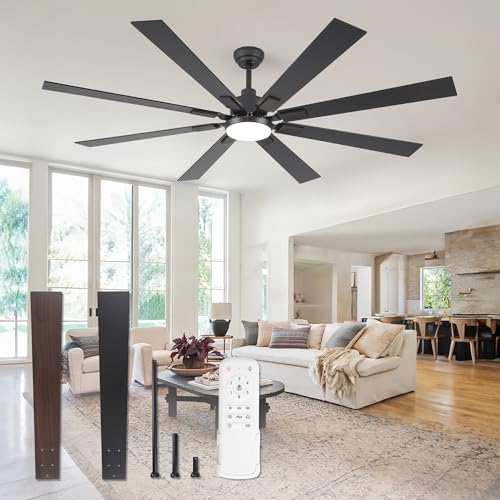
ZMISHIBO 72 inch Large Ceiling Fans with Lights and Remote, Indoor/Outdoor Black Modern Ceiling Fan for Kitchen Living Room Patio, 6 Speed Reversible Quiet DC Motor, 3 CCT, Dual Finish 8 Blades
72 Inch Ceiling Fan: This large ceiling fan includes 4“, 8”, and 24“ down rods, making it a...
As an affiliate, we earn on qualifying purchases.
Choosing the Right Location

When you're choosing the right location for your ceiling fan, think about ideal airflow and how high the ceiling is.
You'll want to keep the fan at least 1.5 feet from walls and mount it between 7 to 10 feet from the floor for best results.
Centering it in the room will also help guarantee even air distribution.
Optimal Airflow Considerations
To achieve ideal airflow from your ceiling fan, choosing the right location is essential. Proper installation guarantees that your fan operates efficiently and enhances comfort in your space.
Here are some key considerations to keep in mind:
- Distance from Walls: Install your ceiling fan at least 1.5 feet away from any walls to prevent airflow obstruction.
- Center the Fan: Position the fan directly in the middle of the room to maximize air circulation.
- Clearance Requirements: Maintain at least 8 inches of clearance between the fan blades and the ceiling for peak airflow and smooth operation.
- Sloped Ceilings: If you have a sloped ceiling, use specialized mounting kits to guarantee the fan operates correctly.
Ceiling Height Requirements
Installing a ceiling fan at the right height is vital for guaranteeing ideal airflow and comfort in your space. The recommended ceiling height for installing a fan is between 7 to 10 feet above the floor.
If you're working with ceilings lower than 8 feet, consider using a low-profile fan to maintain adequate clearance. It's important to install the fan at least 8 inches away from the ceiling to allow for maximum airflow and prevent overheating.
When you're looking to install a new fan, make certain it's at least 1.5 feet away from walls to maximize airflow efficiency. This distance helps the fan circulate air effectively throughout the room.
If you have sloped ceilings, don't worry—special mounting brackets are available to guarantee your fan is level and operates correctly.
Wall Proximity Guidelines
Choosing the right location for your ceiling fan is essential for maximizing airflow and efficiency. To achieve peak performance, you need to take into account several wall proximity guidelines. Here are some key points to keep in mind:
- Distance from Walls: Install your fan at least 1.5 feet away from any walls to prevent airflow obstruction.
- Height Matters: Aim for a fan height between 7 to 10 feet from the floor for effective air distribution.
- Ceiling Clearance: Maintain at least 8 inches between the ceiling and the fan blades to allow proper airflow and minimize noise.
- Centering the Fan: Position the fan centrally in the room to enhance air circulation and create a balanced look.
When you're ready to install, make sure you secure the mounting hardware to the ceiling joists for stability.
Also, think about the location of your wall switches for easy access.
By following these guidelines, you'll create a comfortable atmosphere while making certain your fan operates efficiently.
Enjoy your newly installed fan and the cool breeze it provides!

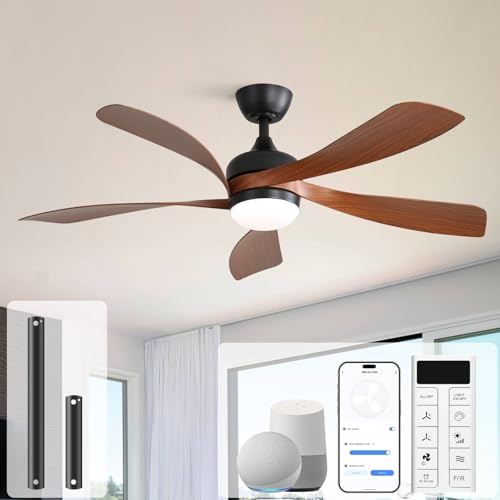
52in Smart Low Profile Ceiling Fans with Lights Remote,Quiet DC Motor,Outdoor Indoor Flush Mount Ceiling Fan,Control with WIFI Alexa App,Dimmable,6-speed,3 White Wood blades,for Modern Bedroom Patio
【Voice &APP &Remote Control】52 inch Ceiling fan with lights and remote (handheld and wall mounted), still in control...
As an affiliate, we earn on qualifying purchases.
Electrical Preparation and Inspection

Before you start, you need to identify the power source and verify it's turned off at the circuit breaker.
Next, check the electrical box to confirm it's fan-rated and securely fastened.
Following these safety precautions will help you avoid potential hazards during installation.
Power Source Identification
When tackling the installation of a ceiling fan, identifying the power source is essential for safety and effectiveness. You need to verify the power to the fan is properly managed to avoid accidents during installation.
Here are some key steps to follow:
- Always turn off the power at the circuit breaker before starting.
- Use a voltage tester to confirm there's no electricity flowing to the wires.
- Identify the correct circuit breaker that controls the power supply to your installation area.
- Inspect the existing electrical box to verify it's fan-rated and can support the fan's weight.
If the existing electrical box isn't suitable, you'll need to replace it with a fan-rated box securely attached to a ceiling joist or support beam. This verifies stability and safety during operation.
If you're unsure about any step, don't hesitate to consult a licensed electrician to assist you. Proper power source identification not only sets the stage for a successful installation but also guarantees that your ceiling fan operates safely and efficiently.
Electrical Box Inspection
After verifying the power source is properly managed, the next step involves inspecting the electrical box. First, check if it's labeled as fan-rated. This is essential because standard electrical boxes often can't support the weight and motion of a ceiling fan.
You'll want to inspect the box for any signs of wear, damage, or corrosion that could compromise its integrity during installation.
Next, confirm that the electrical box is securely fastened to a ceiling joist or support beam. Improper anchoring can lead to instability, posing safety risks. Confirm that the box can support a ceiling fan's weight, typically requiring at least 70 pounds of support.
If you find that the existing electrical box isn't fan-rated or shows any concerns, you should consider a replacement with a new fan-rated electrical box. This step not only meets safety standards but also guarantees the installation proceeds smoothly and securely.
Safety Precautions Checklist
How can you guarantee a safe installation while working with electrical components? Following a checklist of safety precautions is essential.
Here's what you should do before you engage in your fan installation:
- Turn off the power at the circuit breaker to eliminate shock hazards.
- Use a voltage tester to confirm that no electricity is flowing through the wiring.
- Inspect the electrical box to verify it's fan-rated and securely fastened to a ceiling joist for proper support.
- Check the wiring for any signs of wear or damage; replace compromised components for safety.
- It's also wise to consider preventive maintenance strategies that can help ensure the longevity of your ceiling fan and reduce the risk of electrical issues.
Installation Steps
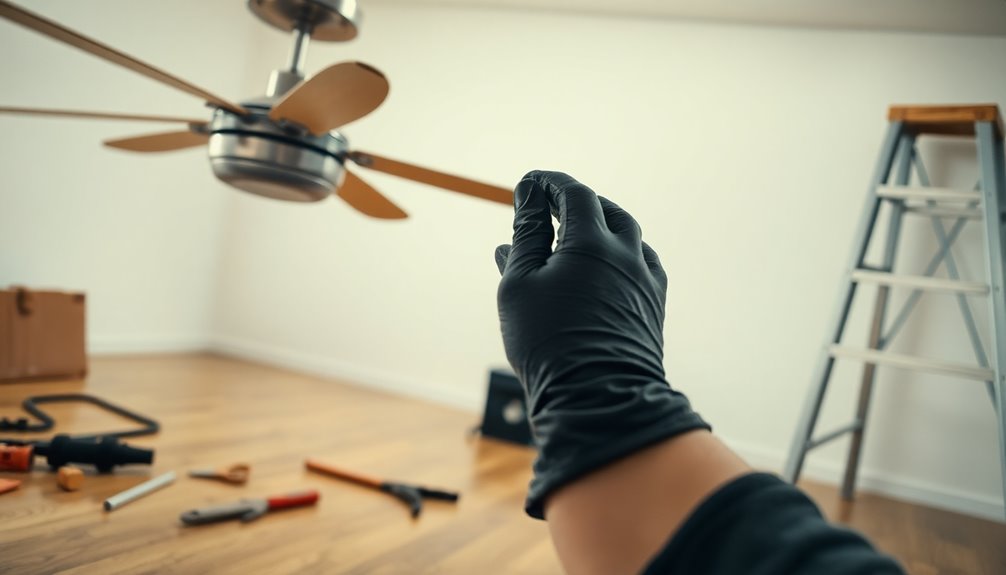
Installing a ceiling fan can be a straightforward DIY project if you follow the right steps. Start by turning off the power at the circuit breaker and using a voltage tester to verify it's safe to work.
Next, remove the existing light fixture and securely attach a fan-rated electrical box to a ceiling joist or brace. This is essential for supporting the weight of your new ceiling fan.
Once the box is in place, follow the manufacturer's instructions to connect the fan wires to your household wiring. Typically, you'll connect the black wires together and the white wires together, using wire nuts to secure them.
After that, secure the mounting bracket to the electrical box and hang the fan motor from it.
Now it's time to attach the fan blades and the light kit according to the included hardware and instructions. Make sure everything is tight and secure.
Before you finish, double-check the stability and connections one last time. Once you've confirmed everything's in place, restore power to the circuit and test the fan's operation. Enjoy your cool new ceiling fan!
Finalizing Installation
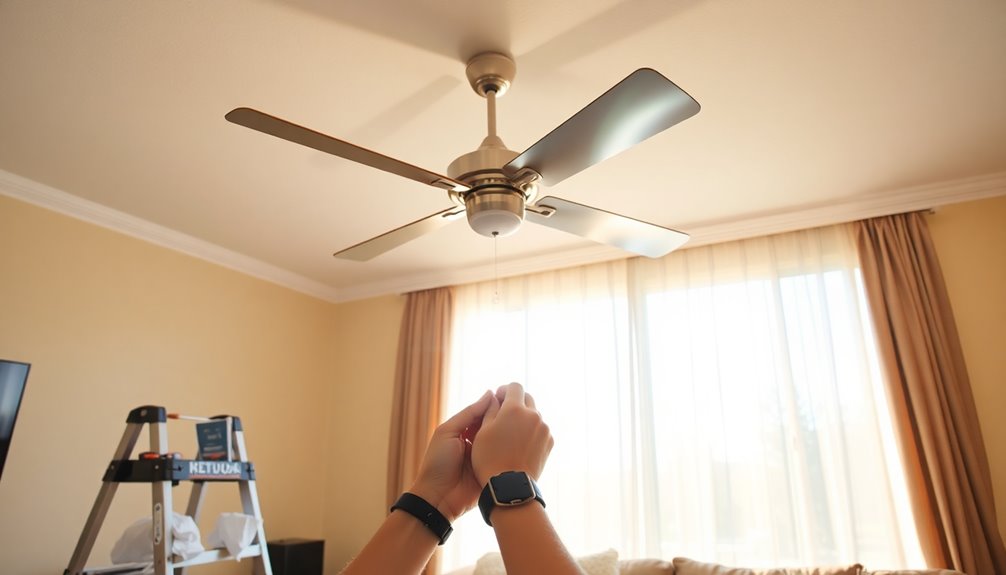
Once you've secured the ceiling fan to the mounting bracket, it's time to attach the fan blades. Start by using the provided mounting screws to fasten each blade to the fan assembly. Remember to begin by starting all screws before tightening to guarantee even distribution.
Once the fan blades are in place, you can proceed to finalize the installation.
Here's what to do next:
- Restore power at the circuit breaker to get your fan ready for action.
- Remove the existing light fixture if you haven't done so yet, making room for the fan.
- Test the fan operation, using the pull chain or remote control to make sure everything works as expected.
- Clean up the installation area by disposing of any packaging materials and storing tools properly.
After testing, check for any wobbling during operation. If needed, adjust the blade alignment or mounting for stability and safety.
Finally, review the manufacturer's maintenance tips to guarantee peak performance and longevity of your new ceiling fan. With everything in place, you can now enjoy the benefits of your hard work!
Benefits of Ceiling Fans

Ceiling fans offer a fantastic way to enhance your home's comfort while also saving on energy costs. When you use a ceiling fan in conjunction with your air conditioning, you can reduce energy costs by up to 40%. This efficient air circulation helps keep cool air moving throughout your space, preventing those uncomfortable hot or cold spots.
During the winter months, many ceiling fans can operate in reverse, distributing warm air that has risen to the ceiling. This simple adjustment can lead to savings of up to 10% on your heating bill.
Beyond energy efficiency, ceiling fans serve as a stylish decorative element in any room. Available in a variety of designs and finishes, they can complement your home's decor while providing functional benefits.
Moreover, modern ceiling fans operate quietly, allowing you to enhance comfort in spaces like bedrooms and living areas without disruptive noise.
Ultimately, installing a ceiling fan can greatly improve indoor air circulation, making your home a more comfortable and inviting place to be.
Maintenance Tips for Longevity

To keep your ceiling fan running smoothly and efficiently, regular maintenance is essential. By following these simple tips, you can guarantee your fan performs at its best and lasts for years to come:
- Dust the blades: Use a microfiber cloth to regularly clean the fan blades, preventing dust buildup that can hinder performance.
- Check screws: Every six months, inspect and tighten the screws on the fan and blade brackets to avoid wobbling and enhance safety during operation.
- Reverse in winter: Run the fan in reverse during colder months to circulate warm air, potentially reducing heating costs by up to 15%.
- Inspect electrical connections: Annually check the fan's electrical connections for any signs of wear or damage to guarantee safe operation and prevent electrical issues.
Additionally, remember to keep the fan motor clean and lubricated according to the manufacturer's guidelines.
By consistently maintaining your ceiling fan, you'll enhance its performance, guarantee safety, and extend its lifespan.
Taking these steps not only keeps your fan in top shape but also contributes to a comfortable living environment.
Frequently Asked Questions
Is It Hard to Install a Ceiling Fan Yourself?
Installing a ceiling fan yourself isn't hard, especially if you've got some basic DIY skills.
With user-friendly features in many modern fans, you'll find parts are often pre-assembled, making setup simpler. If you follow the manufacturer's instructions and verify your electrical box is fan-rated, you'll have a smoother experience.
Just gather essential tools like a ladder and screwdrivers, and remember to turn off the power beforehand for safety.
Can the Average Person Install a Ceiling Fan?
Yes, the average person can install a ceiling fan. You just need basic tools, a little patience, and a willingness to follow instructions.
You'll gather your screwdrivers, wire cutters, and voltage tester. You'll turn off the power, check your electrical box, and verify the ceiling height is right.
With pre-assembled components and simple wiring, you'll find it's manageable. In just a few hours, you'll have a new fan spinning overhead.
Do You Need an Electrician to Hang a Ceiling Fan?
You don't necessarily need an electrician to hang a ceiling fan, but it's often a smart choice.
If you're not comfortable with electrical work, hiring a pro guarantees safety and compliance with local codes. An electrician can confirm your existing electrical box is fan-rated and securely mounted.
Plus, they can upgrade outdated wiring and add features like remote controls, making your fan easier to operate. Investing in their expertise can save you headaches down the line.
What Is the Number One Concern When Installing a Ceiling Fan?
When installing a ceiling fan, your number one concern should be ensuring that the electrical box is fan-rated and securely anchored. This is vital for supporting the fan's weight and handling vibrations.
Safety is key, so always turn off the power at the circuit breaker and double-check with a voltage tester.
Proper wiring connections are essential, too—make sure to match the black, white, and ground wires correctly to avoid electrical hazards.
Conclusion
Installing a ceiling fan is like planting a tree in your home; with a little effort, you'll enjoy the shade and comfort it brings. By following the steps outlined, you can turn a intimidating task into a rewarding experience. Just as a tree needs care to thrive, regular maintenance guarantees your fan runs smoothly for years. So, roll up your sleeves, embrace the challenge, and watch your space transform into a breezy oasis where comfort reigns.