To remove a ceiling fan remote in five easy steps, begin by accessing the top piece and uncovering the internal wiring. Next, locate and disconnect the remote control receiver, labeling wires before gently disconnecting them. Then, rewire the fan for manual operation by connecting specific wires and bypassing the remote control receiver. Secure the cover tightly in place, ensuring it sits flush with the ceiling for stability. Finally, test the fan and light functions by adjusting speeds using the wall switch and listening for any unusual noises or flickering lights. By following these steps, you can effectively remove the ceiling fan remote and ensure proper functionality.
Key Takeaways
- Locate and remove screws from the top piece of the fan to access internal wiring.
- Find and unscrew the housing of the remote control receiver in the fan assembly.
- Label wires before disconnecting them: neutral, live, and fan wires.
- Gently disconnect the wires to remove the remote control receiver from the fan.
- Ensure the fan is rewired without the remote, connecting wires properly for manual control.

ZMISHIBO 52 Inch Ceiling Fan with Light, App&Remote Control, Flush Mount Low Profile, Dimmable 20W LED Light, Quiet Reversible Motor for Bedroom, Living Room, Apartment, Black
Perfect Size for Rooms: This 52-inch ceiling fan is ideal for cooling and illuminating spacious areas like living...
As an affiliate, we earn on qualifying purchases.
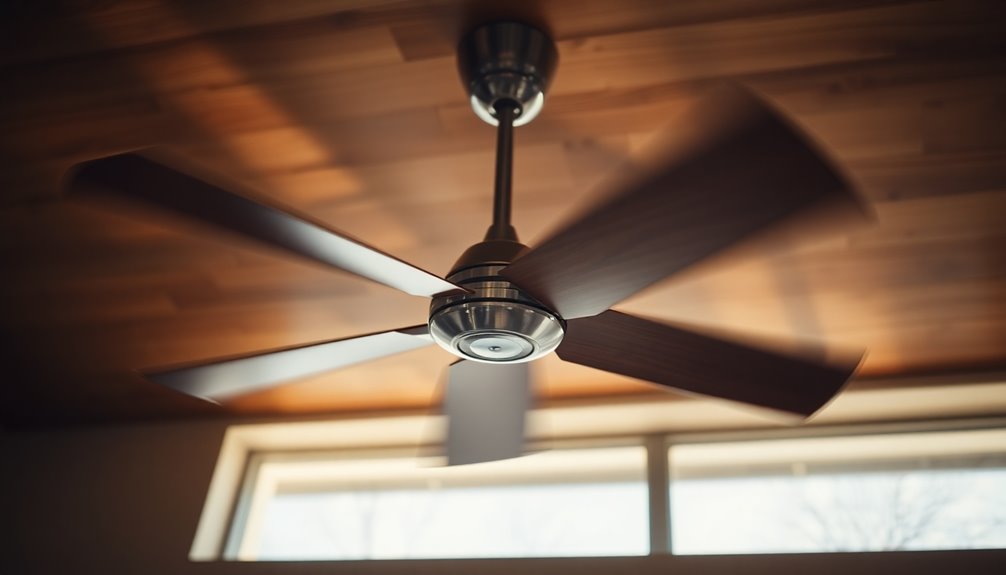
Accessing the Ceiling Fan Top Piece
To access the ceiling fan top piece, remove the screws holding it in place, then rotate it to reveal the internal wiring and components. Once the top piece is off, you'll see the junction box where all the electrical connections are housed. This box is crucial as it connects the fan to the power source in your home. It's essential to handle the wires within the junction box carefully to avoid any mishaps. Remember, safety first!
Inspect the junction box for any loose or damaged wires before proceeding further. This step ensures that the electrical connections are secure and in good condition. If you notice any issues, it's best to address them promptly to prevent any electrical problems down the line.
Understanding the layout of the junction box will help you navigate the wiring more efficiently. Take your time to familiarize yourself with the components inside the junction box, as this will make the process smoother and safer.
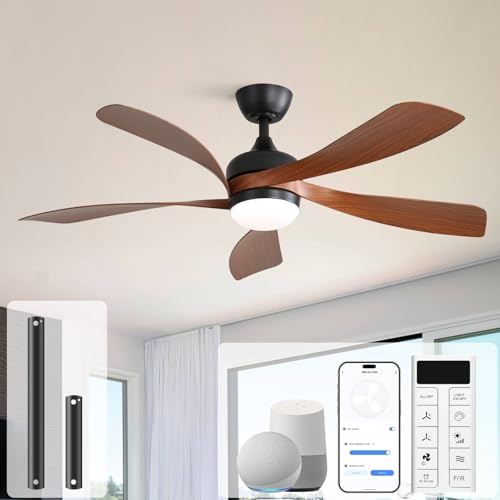
Sofucor 52" Smart Ceiling Fan, Indoor/Outdoor Ceiling Fans with Lights and Remote, Compatible with Alexa/Google/App, 3-Color Light 6-Speed Timing Reversible DC Motor for Bedroom Living Room Patio
Voice & App & Remote Control: Sofucor alexa ceiling fan with light can be controlled in 3 ways....
As an affiliate, we earn on qualifying purchases.
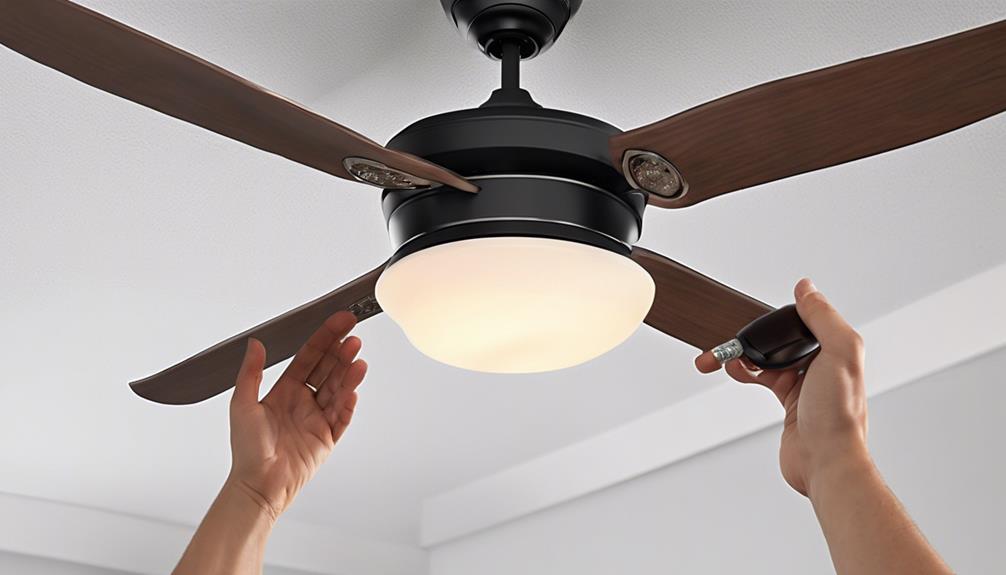
Disconnecting the Remote Control Receiver

Identifying and removing the screws holding the top piece of the fan in place reveals the remote control receiver within the fan assembly, typically located near the top of the ceiling fan.
To disconnect the remote control receiver, follow these steps:
- Unscrew the housing: Carefully unscrew the housing to access the remote control receiver, ensuring a steady hand to avoid dropping any components.
- Label the wires: Before disconnecting the wires, label them to remember their placements and avoid confusion during reassembly.
- Disconnect the wires: Remove the wires attached to the remote control unit, including the neutral, live, and fan wires, by gently pulling them apart.
Taking these steps will allow you to remove the remote control receiver from the ceiling fan efficiently, enabling you to proceed with the next steps in transitioning to a fan without a remote control.
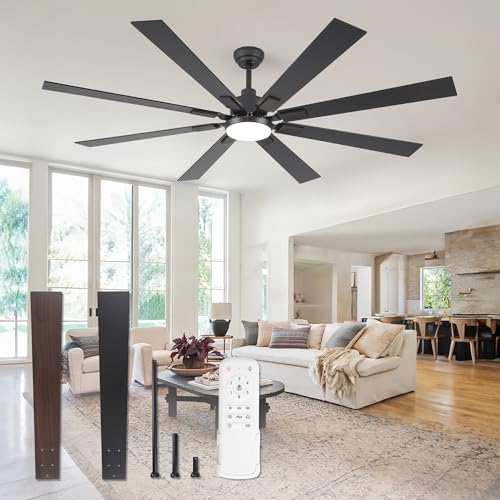
ZMISHIBO 72 inch Large Ceiling Fans with Lights and Remote, Indoor/Outdoor Black Modern Ceiling Fan for Kitchen Living Room Patio, 6 Speed Reversible Quiet DC Motor, 3 CCT, Dual Finish 8 Blades
72 Inch Ceiling Fan: This large ceiling fan includes 4“, 8”, and 24“ down rods, making it a...
As an affiliate, we earn on qualifying purchases.
Rewiring the Fan Without Remote
When rewiring a ceiling fan without a remote, connecting the blue and black wires to the hot line bypasses the remote control receiver. This step ensures that the fan operates directly without the need for a remote control system. Additionally, linking the white wire to the neutral line and grounding the green wire to the fan frame are essential for electrical safety. By bypassing the remote control sensor, you enable manual control of the fan. Here's a helpful table to guide you through rewiring your fan without a remote:
| Wire Color | Connection |
|---|---|
| Blue | Hot Line |
| Black | Hot Line |
| White | Neutral Line |
| Green | Fan Frame |
| Red | Not Used |
Following these connections will allow you to rewire your fan effectively, ensuring it functions properly without the remote control feature. Remember, safety first!

52in Smart Low Profile Ceiling Fans with Lights Remote,Quiet DC Motor,Outdoor Indoor Flush Mount Ceiling Fan,Control with WIFI Alexa App,Dimmable,6-speed,3 White Wood blades,for Modern Bedroom Patio
【Voice &APP &Remote Control】52 inch Ceiling fan with lights and remote (handheld and wall mounted), still in control...
As an affiliate, we earn on qualifying purchases.
Securing the Cover in Place
Ensuring the cover fits securely over the fan housing and aligns properly is crucial for maintaining the fan's stability and appearance. Here are three key steps to make sure your cover is in place:
- Align the Cover: Position the cover over the fan housing and rotate it until it locks into position. This step ensures that the cover sits flush with the ceiling, keeping the fan stable and enhancing its overall look.
- Tighten the Screws: Secure the cover by tightening the screws properly. This not only holds the cover in place but also prevents any potential wobbling or loosening that could affect the fan's operation.
- Check the Trim Cover: Ensure the trim cover fits snugly over the top cover. This final touch conceals the wiring and components, giving your fan a polished finish that complements the room's décor.
Testing Fan and Light Functions
Testing the fan and light functions after bypassing the remote control can help ensure their proper operation using the wall switch. To verify that everything is working correctly, take a look at the table below:
| Fan Functionality | Light Functionality |
|---|---|
| Adjust fan speeds | Turn light on/off |
| Ensure proper rotation | Check brightness levels |
| Confirm no remote interference | Verify switch responsiveness |
| Test different settings | Ensure consistent operation |
| Listen for any unusual noises | Look for flickering lights |
After bypassing the remote control, it's essential to make sure that the fan speeds can be adjusted and the light can be controlled without any issues. Check that the ceiling fan operates smoothly and that the light responds promptly to the wall switch commands. If you encounter any difficulties or uncertainties during this process, consider seeking assistance from a qualified electrician to ensure everything is set up correctly. Enjoy the convenience of having direct control over your fan and light, simplifying your daily routine.
Frequently Asked Questions
How Do I Change My Remote Ceiling Fan to Manual?
To change my remote ceiling fan to manual operation, I'll need to remove the remote control receiver unit.
This involves:
- Identifying and removing the screws securing the top cover,
- Accessing and disconnecting the wires from the receiver,
- Rewiring the fan to bypass the remote system.
Testing the fan and light functions using the wall switch will confirm successful removal of the remote control component.
Can You Replace a Fan Remote?
Yes, you can replace a fan remote easily. By bypassing the remote control receiver, you can operate the fan and light directly from the wall switch.
This process, known as remote programming, enhances the fan's efficiency. Following correct wiring connections ensures the fan works well without the remote control. It's a simple way to improve functionality.
How Do I Pair My Replacement Ceiling Fan Remote?
When troubleshooting a replacement ceiling fan remote, first locate the receiver in the fan housing.
Ensure the new remote matches the frequency. Follow manufacturer instructions to sync it.
Test by operating the fan and light. If issues arise, try resetting both fan and remote.
Confirm proper pairing for seamless functionality.
Where Is the Remote Receiver on a Ceiling Fan?
I found the remote receiver on my ceiling fan tucked away in the fan's canopy. It's a small unit that picks up signals from the remote control, letting me adjust the fan's speed, direction, and lights.
Once I located it, I was able to remove it, giving me direct control over the fan without using the remote. It's a handy fix for when the remote isn't working as expected.
Can I Remove the Ceiling Fan Remote and Still Control the Fan Without the Chain?
Yes, you can still control the ceiling fan without the remote or chain. If you have removed the ceiling fan chain off, you can install a wall control switch to operate the fan speed and light. It provides a convenient alternative to using a remote or pulling a chain.
Conclusion
In conclusion, removing a ceiling fan remote is a simple process that can be completed in just 5 easy steps.
For example, I recently helped my friend remove their ceiling fan remote, and after following these steps, their fan and light functions were back to normal without any issues.
By following these steps, you can easily troubleshoot and resolve any problems with your ceiling fan remote.