Yes, ceiling fans need to be oiled regularly to guarantee they run smoothly and last longer. This maintenance helps prevent grinding or squeaking noises and reduces the risk of overheating. You should check the oil levels every 1-5 years and clean the blades to maintain effective airflow. Start by turning off the power for safety, then locate and fill the oil hole with a non-detergent electric motor oil. If you've been hearing noises or experiencing a decrease in performance, it's vital to address these issues. You might discover even more helpful maintenance tips ahead.
Key Takeaways
- Ceiling fans require regular oiling to ensure smooth operation and prevent overheating of motor components.
- Oiling reduces wear and tear, extending the lifespan of the fan and enhancing its performance.
- Lack of lubrication can lead to noises like grinding or squeaking, indicating the need for maintenance.
- It's recommended to check oil levels every 1-5 years, depending on usage, for optimal functionality.
- Regular cleaning of fan blades is also essential to maintain airflow and efficiency alongside oiling.

Binxus 29 Pcs Ceiling Fan Blade Balancing Kit, Including 8 Pcs Plastic Balancing Clips and 6 Self Adhesive Metal 5g Weights and 15 Metal 3g Weights
Adequate Quantity: You will receive 8 sets of ceiling fan balancing kits including 8 pcs balancing clips, 15…
As an affiliate, we earn on qualifying purchases.
As an affiliate, we earn on qualifying purchases.
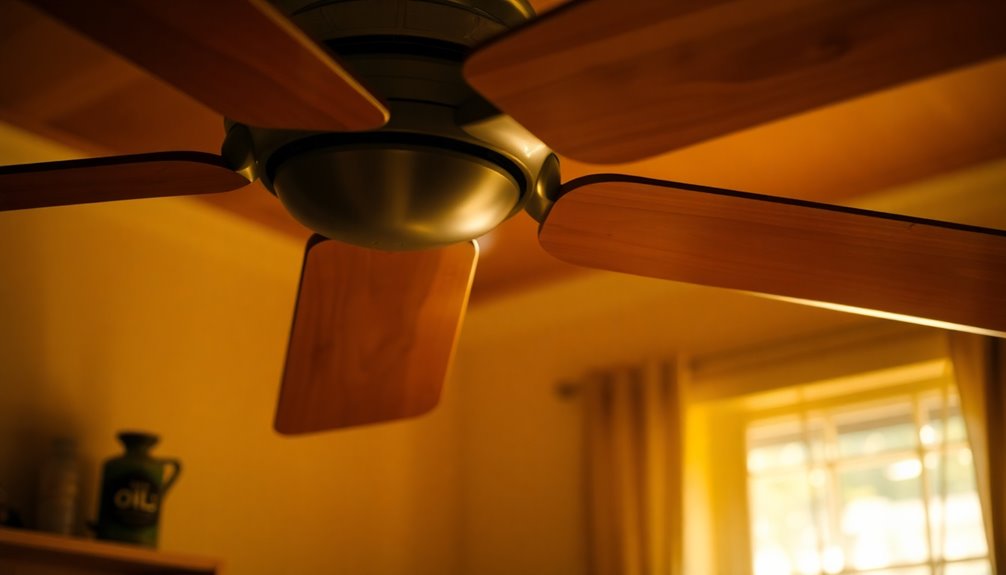
Importance of Oiling Ceiling Fans

Oiling your ceiling fan is vital for keeping it running smoothly and extending its lifespan. Regular maintenance, including proper lubrication, guarantees the motor operates efficiently and reduces wear on internal components. If you ignore oiling, you might notice grinding or squeaking noises, which often signal low oil levels and potential motor damage.
Many ceiling fans, especially older models, require oiling to maintain peak performance. While some modern fans come with sealed, maintenance-free motors, it's still important to check if your fan needs lubrication. Oiling not only enhances performance but also helps prevent overheating of the motor, markedly reducing the risk of electrical fires and other safety hazards. Additionally, regular maintenance of your fan can help improve indoor air quality by ensuring it circulates air effectively, contributing to a healthier living space.
It's recommended to check oil levels every 1-5 years, depending on how frequently you use your ceiling fan. By staying proactive about lubrication, you can guarantee your fan runs efficiently, prolonging its lifespan and enhancing safety in your home.
Don't wait until you hear those warning sounds; make oiling a part of your ceiling fan maintenance routine, and enjoy the comfort of a well-functioning fan for years to come.

3-IN-ONE-10045 Motor Oil, 3 OZ (pack of 1)
Lubricates the moving parts in small electric motors to extend the motor's life by reducing wear and tear
As an affiliate, we earn on qualifying purchases.
As an affiliate, we earn on qualifying purchases.
Required Tools and Materials

Maintaining your ceiling fan's performance hinges on having the right tools and materials for oiling. By gathering the proper supplies, you can guarantee effective ceiling fan maintenance and keep your fan running smoothly. Here's what you'll need:
| Tool/Material | Purpose | Notes |
|---|---|---|
| Non-detergent electric motor oil | Lubricates the fan's motor | Use 10, 15, or 20 weight options |
| Step ladder | Safely accesses the fan and oil hole | Make sure it's stable |
| Pipe cleaner | Checks oil levels | Insert into the oil hole |
| Paper towels | Cleans up excess oil | Prevents mess around the fan |
| WD-40 (optional) | Cleans the oil hole | Not a substitute for motor oil |

Zavrski Ceiling Fan Cleaner Duster with 6 Ft/72'' Extension Pole High Ceiling Fan Blade Cleaning Tool Microfiber Duster Reusable Pads for Cleaning Ceiling Fan, Baseboard, Blind, Cobweb, Molding
【Multipurpose Household Cleaning Tool】Zavrski ceiling fan cleaner duster could be used to clean ceiling fan, baseboard, blinds, moldings,…
As an affiliate, we earn on qualifying purchases.
As an affiliate, we earn on qualifying purchases.
Oiling Procedure Steps

Now that you've got your tools ready, let's talk about the oil types and recommendations you'll need for your ceiling fan.
Understanding the right oil and following a step-by-step process will keep your fan running smoothly.
You'll find that regular maintenance is key to extending its lifespan and efficiency.
Oil Types and Recommendations
When it comes to keeping your ceiling fan running smoothly, using the right type of oil is crucial. You'll want to choose a non-detergent electric motor oil specifically designed for fan lubrication, such as SAE 10, 15, or 20 weight. These oil types help prevent damage and guarantee peak performance, allowing your fan to work efficiently.
Regular maintenance involves checking the oil level in the oil reservoir every 1-5 years. If you notice any noise coming from your fan, it might be a sign that it needs additional lubrication. To keep everything in check, locate the oil hole, usually near the downrod, and use a pipe cleaner to assess the existing oil level.
When you do add oil, make sure to pour slowly, adding just 1-2 ounces of the recommended oil. Afterward, manually rotate the fan blades to test oil distribution.
Remember to wipe away any excess oil immediately to prevent leaks and confirm the oil hole cap is securely replaced. This way, you maintain not only the functionality of your fan but also its longevity.
Step-by-Step Oiling Process
Proper lubrication is essential for guaranteeing your ceiling fan operates smoothly and efficiently. Follow this step-by-step process to keep your fan in top shape:
| Step | Action | Notes |
|---|---|---|
| 1 | Turn off power | Safety first! Check the circuit breaker. |
| 2 | Locate the oil hole | Usually near the downrod on the motor. |
| 3 | Check the oil level | Use a bent pipe cleaner; it should come out dirty if oil is needed. |
| 4 | Slowly pour oil | Add 1 to 2 ounces of non-detergent electric motor oil into the hole. |
| 5 | Manually rotate fan blades | This helps distribute the oil evenly. Check the pipe cleaner again to guarantee adequate lubrication. |

KALIONE Ceiling Fan Blade Balancing Kit Including Fan Balancing Clips and 12pcs Metal Self-Adhesive 3G Weight Practical Fan Balance Kit for Ceiling Fan Weight Balancing 4pcs
Package Content: You will receive 4 sets of fan balancing kit, enough quantity meets all your needs.
As an affiliate, we earn on qualifying purchases.
As an affiliate, we earn on qualifying purchases.
Maintenance and Cleaning Tips

Regular maintenance and cleaning of your ceiling fans is essential for ideal performance and longevity. To keep your fan running smoothly, you should clean your ceiling fan at least once a year. Dust buildup can lead to imbalance and noise, so use soapy water and a cloth to wipe down the blades, rinsing and drying them afterward to prevent moisture accumulation.
It's also important to regularly vacuum the motor area to avoid dust-related slowdowns and squeaking sounds. If your fan is making noise, it might be a sign that screws on the fan, ceiling plate, or light fixture need tightening. Vibration from operation can loosen them over time, leading to instability.
Additionally, check your fan's oil levels; if your fan requires oiling, make sure to perform this task according to the manufacturer's guidelines.
Look for any signs of movement, like shaking or wobbling, and use a fan balance kit to realign blades that may have become misshapen or damaged.
Professional Assistance Options

Sometimes, tackling ceiling fan issues on your own can lead to more problems than solutions. If your ceiling fan doesn't have an oil hole or requires specialized maintenance, it's wise to seek professional assistance.
Many models, especially those with unique motor systems, need expert knowledge for proper lubrication and repair. Attempting to fix these fans without the right skills can risk damaging the electrical components, leading to costly repairs.
Local fan stores or home improvement centers often provide referrals to ceiling fan specialists who can effectively diagnose and resolve complex issues. By consulting a professional, you not only guarantee that your fan is maintained according to manufacturer specifications but also protect yourself from potential mishaps that could arise from DIY attempts.
Regular maintenance by experts not only enhances your ceiling fan's performance but also prolongs its lifespan. Professionals can help keep your fan running smoothly, reducing the risk of operational failures and guaranteeing safety in your home.
Common Issues and Solutions

If your ceiling fan's making noise or spinning slowly, it's likely due to low lubrication or other mechanical issues.
You should check the oil levels and consider adding some if it's been a while since your last maintenance.
Addressing these common problems promptly can keep your fan running smoothly and quietly.
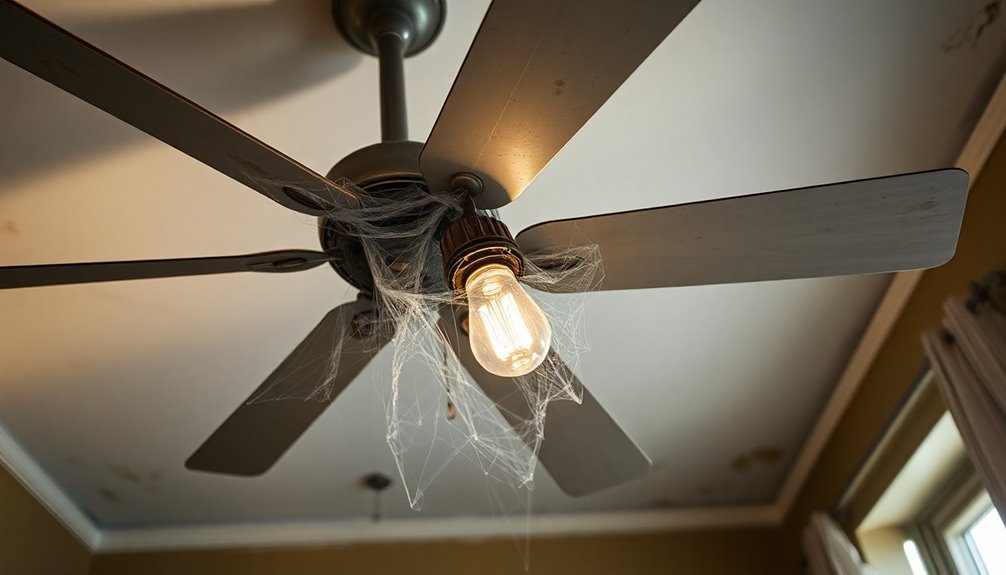
Noise From Ceiling Fans
Noise from ceiling fans can be frustrating, often indicating underlying issues that need attention.
If your fan is making a squeaking noise, it might mean that the oil levels are low. Regular oiling is essential for keeping the motor and bearings functioning smoothly; without it, friction increases, leading to unwanted sounds.
Another common issue is rattling or wobbling noises, which usually signal loose screws or parts. You should check and tighten all components to restore stability and reduce noise.
Don't forget about cleaning, either. Dust accumulation on the fan blades and inside the motor housing can also contribute to noise problems. Regular maintenance, including dusting and thorough cleaning, can help keep your fan quiet and efficient.
If you've oiled your fan and tightened screws but the noise persists, it might be time to seek professional assistance. There could be deeper mechanical issues at play that require expert diagnosis. Electrical issues may arise if your fan is not functioning properly, increasing fire hazards.
Addressing these noise problems won't only enhance your comfort but also prolong the life of your ceiling fan.
Slow Spinning Issues
Experiencing slow spinning from your ceiling fan can be a sign of various underlying issues that need to be addressed. One common reason is low oil levels in the fan's motor, leading to increased friction and reduced performance. Regularly checking the oil level and adding oil as needed can maintain ideal fan speed and functionality.
If the fan continues to spin slowly after oiling, it may indicate improper wiring or a malfunctioning motor winding that requires further investigation. Additionally, excessive dust buildup on the blades can restrict airflow, so routine cleaning is essential. Don't forget to verify all screws are tightly secured, as wobbling can also affect the fan's spinning speed.
Here's a quick reference table to help you troubleshoot slow spinning issues:
| Issue | Symptoms | Solution |
|---|---|---|
| Low oil level | Slow spinning | Check and add oil |
| Dust buildup | Reduced airflow | Clean blades |
| Loose screws | Wobbling | Tighten screws |
| Improper wiring | Inconsistent speed | Inspect wiring |
| Motor winding failure | Fan won't spin or is slow | Consult a professional |
Checking Oil Levels

Checking the oil levels in your ceiling fan is vital for maintaining its performance and longevity. To guarantee your ceiling fan needs are met, you should check oil levels every 1-5 years.
Start by making sure the fan is powered off to avoid any electrical hazards. Locate the oil hole, typically found on the top of the motor near the downrod; it should be clearly labeled for easy identification.
Using a pipe cleaner bent into a hook, insert it into the oil hole. If it comes out clean, it's a sign that additional oil is needed. Regular oiling helps prevent a lack of lubrication, which can lead to noise and decreased performance over time.
When adding oil, always use non-detergent electric motor oil specifically designed for fans. Other oils can cause damage to the motor, so it's essential to use the right type.
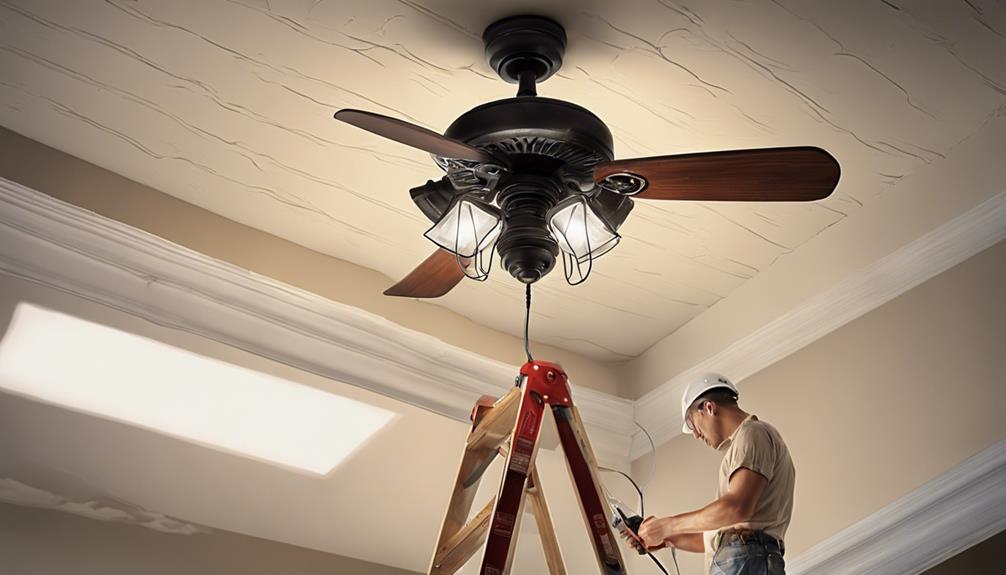
Safety Precautions During Maintenance

Before you start any maintenance on your ceiling fan, it's crucial to prioritize safety. First, always disconnect the ceiling fan by turning off the associated breaker in the electrical panel. This step protects you from electrical hazards while you work.
Next, verify the fan blades have come to a complete stop before attempting any oiling or cleaning, as moving parts can cause accidental injuries.
To safely access the fan, use a step ladder instead of standing on unstable surfaces, which can lead to falls. While you're at it, don't forget to wear safety goggles. They'll shield your eyes from dust and debris that may fly around during your maintenance procedures.
If you're unsure about any electrical connections or the proper steps for maintenance, it's prudent to consult a professional. Attempting to handle complicated issues without the right knowledge could lead to hazards or damage to your fan.
Frequently Asked Questions
How Do You Lubricate a Ceiling Fan?
To lubricate a ceiling fan, start by turning off the power to guarantee safety.
Locate the oil hole near the top of the motor. Use a pipe cleaner to check for oil; if it's dry, you'll need to add some.
Pour 1-2 ounces of non-detergent electric motor oil into the hole.
After that, manually rotate the blades to distribute the oil evenly.
Regular checks will help keep your fan running smoothly.
What Kind of Oil Do You Use on Ceiling Fans?
When it comes to oiling your ceiling fan, you'll want to pick the right kind to keep it running smoothly.
Use non-detergent electric motor oil, like 10, 15, or 20 weight options, specifically designed for ceiling fans. Hunter high-grade SAE 10 non-detergent oil is a solid choice for Hunter fans.
Just remember, steer clear of WD-40; it's not your best bet. Always check your owner's manual for specific recommendations, too.
Can You Use WD-40 on a Ceiling Fan?
You shouldn't use WD-40 on a ceiling fan.
While it's great for many applications, it's not suitable for lubricating motor systems. Instead, stick to non-detergent electric motor oil, like SAE 10, 15, or 20 weight, for peak performance.
If your fan's grimy, you can use WD-40 as a degreaser, but make sure to clean it off completely before applying the correct oil.
Always check the user manual for specific recommendations.
How Do I Know if My Fan Needs Oil?
Checking if your fan needs oil is like listening for a whisper in a noisy room.
Pay attention to any unusual sounds, like grinding or squeaking, which might signal low oil levels.
You can also use a pipe cleaner bent into a hook; if it comes out clean after poking into the oil hole, it's time to oil your fan.
Refer to the owner's manual for specific oiling recommendations for your model.
Conclusion
To summarize, regular maintenance of your ceiling fan, including oiling, can keep it running smoothly and efficiently. Why settle for a noisy, sluggish fan when a little oil can make such a difference? Remember to check oil levels, clean the blades, and if you encounter any issues, don't hesitate to seek professional help. With proper care, your ceiling fan will not only enhance your comfort but also extend its lifespan. So, keep it well-oiled and enjoy the breeze!