If your ceiling fan light flickers, first, check for loose connections and ensure the light bulb fits securely. Inspect the light switch for defects and test the electrical supply voltage. If the issue persists, consider disassembling the fixture to identify underlying problems. Proper wiring techniques using crimp-on connectors and aligning wire colors can help resolve flickering. Remember to turn off the power before any repairs, use insulated tools, and keep the work area dry. These initial steps address common causes, but further details on troubleshooting and safety precautions can assist in resolving the flickering effectively.
Key Takeaways
- Check for loose connections in the wiring.
- Ensure the light bulb fits securely.
- Inspect the light switch for defects.
- Test the electrical supply voltage.
- Consider replacing the light fixture if issues persist.
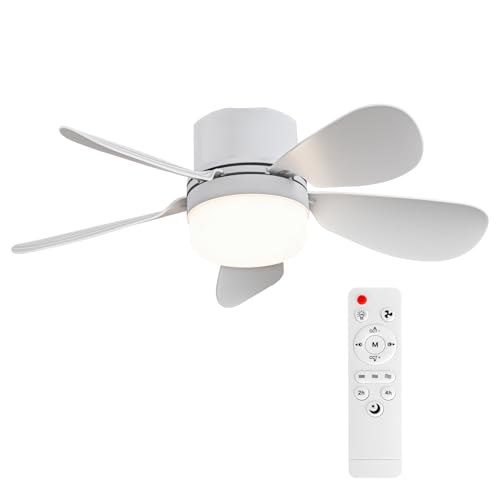
ASALL Socket Breeze Socket Fan Light with Remote Control, Portable Small Ceiling Fans with Lights for Bedroom, Kitchen, Living Room, with Dimming Function, 1000 Lumens, Screws into E26/E27
Fan light size: diameter 16.54 inches, height 6.29 inches, weight 1 pound. Fan power: 12 watts, light power:…
As an affiliate, we earn on qualifying purchases.
As an affiliate, we earn on qualifying purchases.
Common Causes of Light Flickering
When troubleshooting ceiling fan light flickers, understanding the common causes is essential to pinpointing the issue efficiently. Flickering lights in a ceiling fan can be frustrating, but they often have straightforward explanations. One common cause is shared transformers or heavy electrical usage in the area, leading to fluctuations in power that affect the lights. Additionally, downed trees or wiring issues in the vicinity can impact the stability of the electrical supply to your ceiling fan, resulting in flickering lights.
Another culprit for light flickering in ceiling fans can be loose connections or faulty wiring. If the bulbs aren't securely tightened, this can cause intermittent flickering. It's crucial to check the switches, secure connections, and ensure that the bulbs are properly screwed in to eliminate this issue. By addressing these common causes systematically, you can troubleshoot and resolve light flickering problems in your ceiling fan effectively.
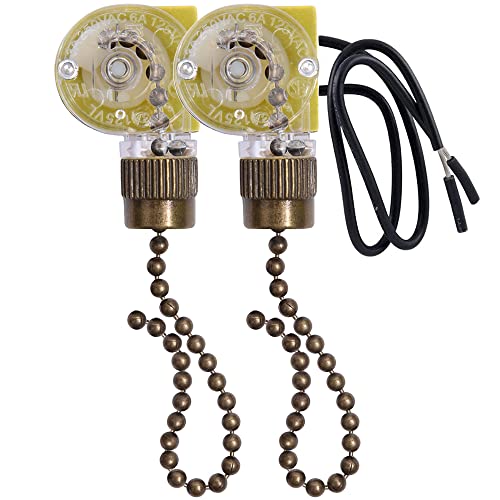
Akahttbn Ceiling Fan Light Switch Zing Ear ZE-109 Two-Wire With Pull Cords for Fans, Lamps and Wall Lights – Pull Chain Control Replacement On-Off, 2 Pcs Bronze
Zing Ear ZE-109 Two-wire pull chain switch, activates canopy lamps by gently tugging the beaded chain, compatible with…
As an affiliate, we earn on qualifying purchases.
As an affiliate, we earn on qualifying purchases.
Inspecting the Current Limiting Device

When dealing with flickering lights on your ceiling fan, it's essential to start by inspecting the current limiting device. Checking the functionality of this device and testing its voltage regulation can help pinpoint any issues causing the flickering.
Understanding how the current limiting device works is key to troubleshooting and addressing any problems with your ceiling fan light.
Device Functionality Check
Inspecting the current limiting device involves carefully examining the components for any signs of damage or wear to troubleshoot ceiling fan light flickers effectively. To help you with this process, here's a table summarizing the typical wires found in the current limiting device:
| Wire Color | Function |
|---|---|
| White | Neutral Wires |
| Black | Power Supply |
| Red | Load Connection |
Testing Voltage Regulation
To ensure proper voltage regulation and address flickering issues in ceiling fan lights, testing the voltage regulation of the current limiting device is crucial. Here are three essential steps for inspecting the current limiting device:
- Visual Inspection: Check the current limiting device for any visible signs of damage or wear that may affect its functionality.
- Testing for Consistency: Measure the voltage output of the current limiting device to ensure it's providing a steady and consistent supply to the ceiling fan lights.
- Safe Amperage Calculation: Calculate the safe amperage without the current limiting device to determine the appropriate voltage regulation for stable lighting in your ceiling fan setup.

WLD-07 R3L E136609 Ceiling Fan Wattage Limiter Replacement Repair Kit Power Limiting Device to Limit Power on Fan Light Kit
Smart Power Limiting: Automatically limits ceiling fan light kit wattage to 180W. Prevents overheating by momentarily cutting power…
As an affiliate, we earn on qualifying purchases.
As an affiliate, we earn on qualifying purchases.
Calculating Safe Amperage Levels
To ensure the safe operation of your ceiling fan light, calculate the appropriate amperage levels based on the wattage of the bulbs and the wire gauge used in the fixture.
Confirm the wattage of the bulbs in the light fixture, such as 40 watts each, and determine the wire gauge, like 18 AWG, to understand the electrical capacity.
Calculate the total wattage and amperage to ensure the wiring can handle the load effectively. It's crucial to research wire capacity guidelines to determine if a current limiting device is necessary for your specific setup.
By ensuring that the amperage levels are within the safe limits of the wire capacity, you can mitigate risks of electrical issues and ensure the longevity of your ceiling fan light.
Always prioritize safety by following proper calculations and matching the wire capacity to the electrical load for a secure and reliable lighting setup in your home.

Insulated Screwdriver & Pliers Set: 14-Piece VDE Insulated Set 1000V Insulated Electrician Tool Set with Magnetic Phillips, Slotted Screwdrivers and Insulated Pliers
HIGH-QUALITY MATERIALS – Crafted with chrome vanadium steel and hardened tips, this tool kit ensures rust resistance, durability,…
As an affiliate, we earn on qualifying purchases.
As an affiliate, we earn on qualifying purchases.
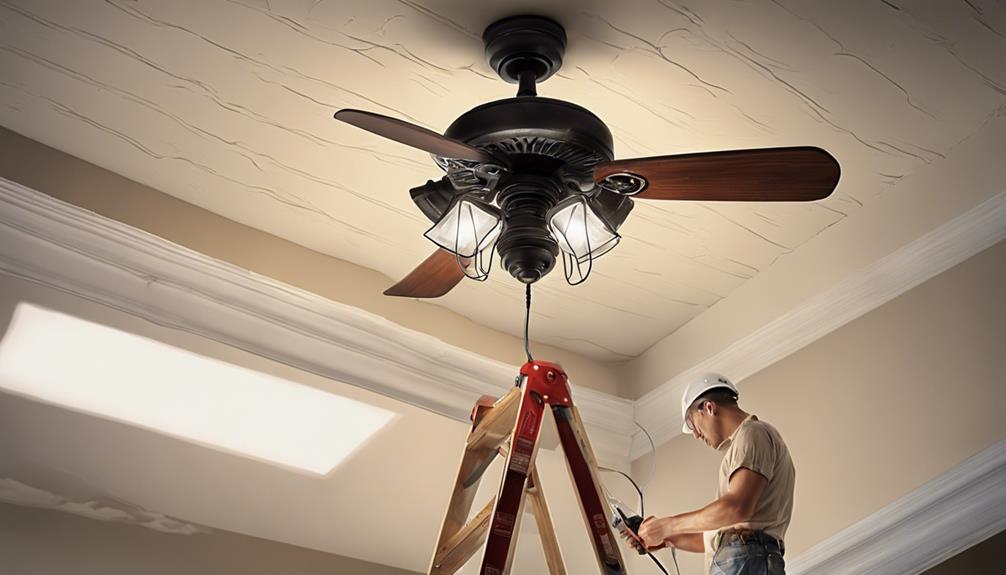
Disassembling the Fixture for Analysis

Before delving into the inner workings of the ceiling fan light fixture, a sturdy ladder must be secured to safely access the components for disassembly. Once you have a stable platform to work from, follow these steps to begin analyzing the ceiling fan:
- Identify Current Limiting Devices: Look for any devices that may be limiting the current flow to the ceiling fan light. These need to be located and removed before proceeding with the disassembly process.
- Disconnect Electrical Clips: To conduct a thorough inspection of the components, disconnect any electrical clips within the ceiling fan fixture. This will allow you to examine each part carefully.
- Carefully Disassemble the Fixture: Take your time disassembling the ceiling fan light fixture to ensure you don't damage any components. This step is crucial for identifying any issues causing the light flickering problem.
Proper Wiring Techniques and Connectors

When wiring a ceiling fan light fixture, ensure secure connections by using crimp-on connectors for stranded wires. Aligning wire colors like red and purple is essential for proper connections, maintaining electrical stability.
Before connecting, trim and strip wires carefully to ensure good contact and prevent potential hazards. Tighten wire nuts securely to prevent loose connections that may lead to flickering lights.
Additionally, position pull chains correctly for easy operation and avoid tugging on wires, which can cause flickering issues. Always remember to follow proper wiring techniques to ensure the safety and functionality of your ceiling fan light.
When working on the light switch, make sure to use the appropriate connectors and techniques to maintain a reliable electrical connection, preventing flickering problems. Proper wiring not only ensures a well-functioning ceiling fan light but also promotes a safe environment within your home.
Conducting Post-Repair Testing

After completing the repair on the ceiling fan light, I test the functionality of the pull chain and light switch to ensure proper operation. Here are three essential steps to conduct post-repair testing effectively:
- Verify Ceiling Fan Speed: Confirm that the light fixture repair didn't impact the fan's performance by checking the speed settings. This step ensures that the fan continues to operate correctly alongside the fixed light.
- Demonstrate Fixed Ceiling Fan Light: Showcase the successful repair by turning the light on and off. This demonstration not only highlights the resolution of the flickering issue but also reassures that the light functions as intended.
- Final Check Before Switching On: Before turning on the light switch, conduct a final inspection to guarantee that the flickering problem has been resolved. This last check ensures that the repair was successful and that the light operates without any issues.
Troubleshooting Ceiling Fan Light Switch

Inspecting the light switch for loose connections or faulty wiring is crucial when troubleshooting flickering in a ceiling fan light. Start by turning off the power to the ceiling fan at the circuit breaker to ensure safety. Remove the cover plate of the light switch and check for any visible signs of damage or wear. Look for loose wires or connections that may be causing the flickering issue. Test the functionality of the switch by toggling it on and off to see if it affects the flickering. Ensure that the light switch is compatible with the ceiling fan light fixture to prevent any flickering problems.
If you notice any issues with the light switch, consider replacing it with a new one that's in good working condition. Old or malfunctioning switches can often be the culprit behind flickering lights in a ceiling fan. By addressing any problems with the light switch, you can effectively troubleshoot and resolve the flickering issue in your ceiling fan light.
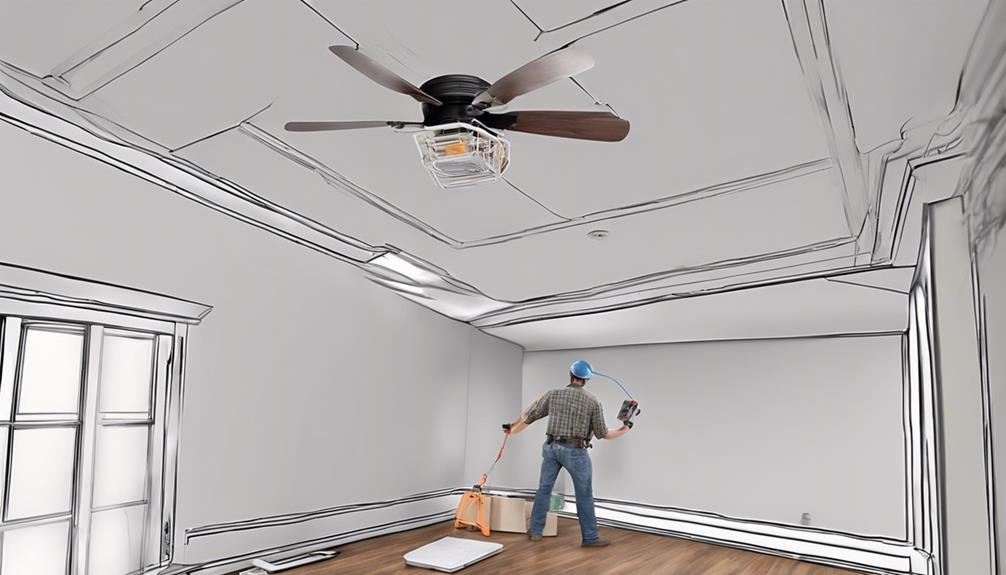
Ensuring Safety During DIY Repairs

To ensure safety during DIY repairs, prioritizing proper handling of electrical components is paramount. Here are three safety precautions to keep in mind:
- Turn off the Power: Before starting any electrical work, make sure to turn off the power to the area where you'll be working. This simple step can prevent electric shocks and other accidents.
- Use Insulated Tools: When handling electrical components, always use tools with insulated handles to reduce the risk of electric shock. Insulated tools provide an extra layer of protection against accidental contact with live wires.
- Wear Personal Protective Equipment (PPE): It's essential to wear appropriate PPE, such as insulated gloves and safety goggles, to protect yourself from potential hazards. PPE can safeguard you from electrical burns, cuts, and other injuries while working on ceiling fan light fixtures.
Frequently Asked Questions
How Do I Stop My Ceiling Fan Lights From Flickering?
To stop my ceiling fan lights from flickering, I tighten the bulbs for a secure connection.
If flickering persists, I'll check and replace faulty fixture switches.
Ensuring stable plug-outlet connections is crucial. By gently wiggling the switch, I can fix loose connections causing flickering.
Avoid overloading circuits and ensure proper wiring for steady lighting fixtures.
How Do I Stop My Ceiling Lights From Flickering?
I can stop my ceiling lights from flickering by ensuring that lighting dimmers are compatible with the bulbs used. Using mismatched dimmers can cause flickering. It's essential to check dimmer compatibility for a stable lighting experience.
What Is the Solution for Flickering Light?
When light dimming becomes an issue, it's crucial to identify the root cause. Flickering lights can often signal loose connections, faulty switches, or insufficient power supply.
To address this, start by checking the bulb's connection, switch integrity, and outlet stability. Simple fixes like tightening the bulb or ensuring a secure plug can usually resolve these problems.
Why Does My LED Bulb Flash in My Ceiling Fan?
LED bulbs may flash in a ceiling fan due to compatibility issues. Some LEDs aren't designed for traditional dimmer switches, causing flickering.
Opt for dimmable LED bulbs to prevent this. Incompatible dimmer switches can also cause flickering.
Upgrading to suitable LEDs or adjusting dimmer settings can fix the issue.
Are Ceiling Fan Light Flickers a Sign of Water Damage?
If your ceiling fan light flickers, it could be a sign of water damage from a leaking ceiling fan. Fixing ceiling fan leak promptly is important to prevent further damage and potential safety hazards. A professional inspection and repair can address the issue and ensure the fan and light function properly.
Conclusion
In conclusion, addressing flickering lights in ceiling fan fixtures is crucial for both aesthetics and safety.
Did you know that 90% of flickering light issues are caused by faulty wiring or improper installation?
By following the troubleshooting steps outlined in this article, you can easily identify and resolve the problem, ensuring a well-lit and safe environment in your home.
Remember to always prioritize safety when conducting DIY repairs.