
To upgrade your ceiling fan, assess and replace the motor with a high-efficiency, variable-speed model, and balance lightweight blades to minimize wobble. Upgrade the electrical system with smart controls, timers, or dimmable lighting, and guarantee compliance with safety codes. Enhance illumination by switching to LED bulbs and improve aesthetics with custom finishes on blades and canopy. For detailed steps and tips to achieve ideal performance and appearance, continue exploring these effective modification techniques.
Key Takeaways
- Assess and upgrade fan motor and blades for efficiency, durability, and balance.
- Enhance electrical controls with smart switches, timers, and proper wiring compliance.
- Improve lighting by installing energy-efficient LED bulbs and compatible fixtures.
- Customize aesthetics with repainting, decorative trims, and coordinated finishes.
- Conduct safety checks, test performance at various speeds, and fine-tune for optimal airflow and noise reduction.
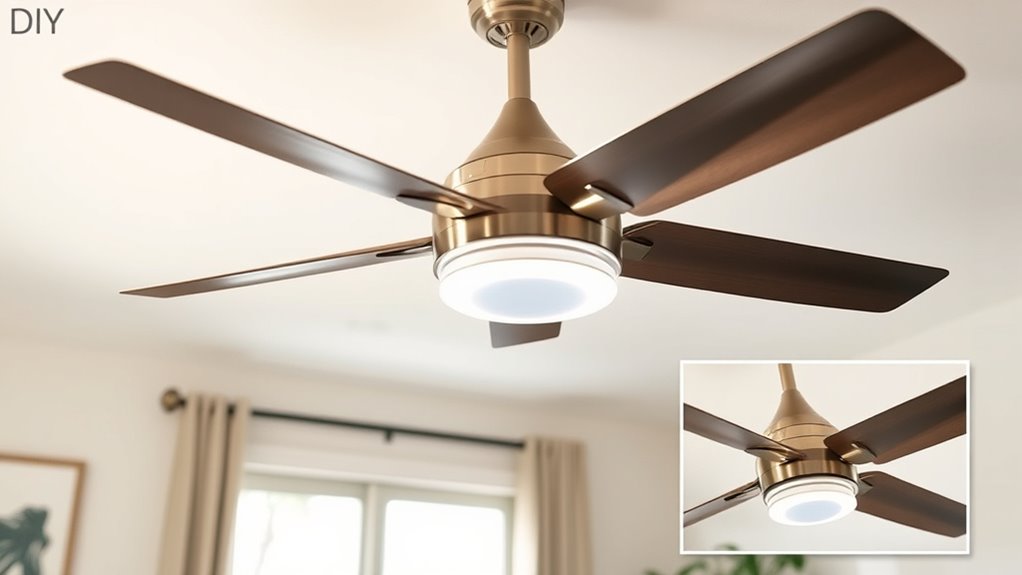
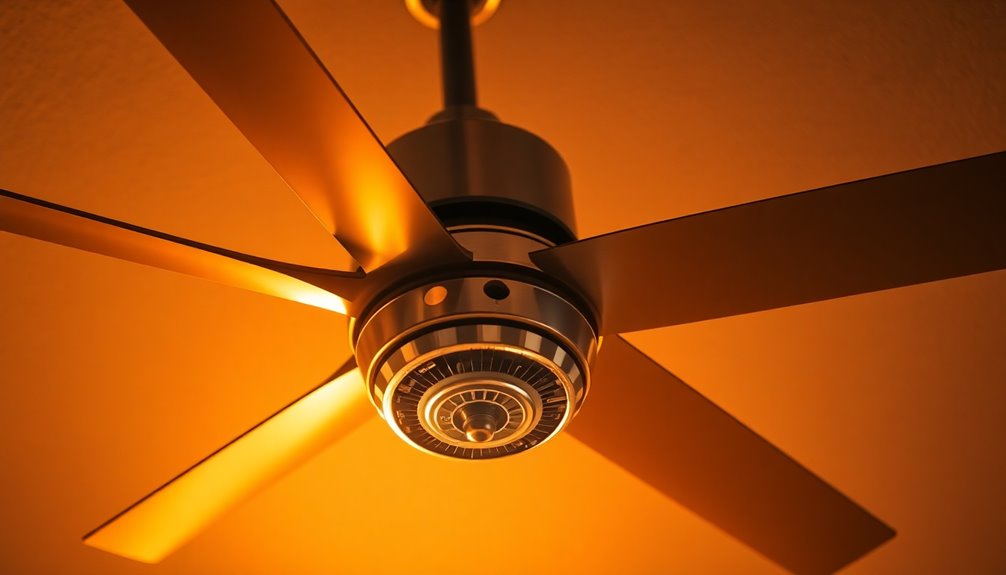
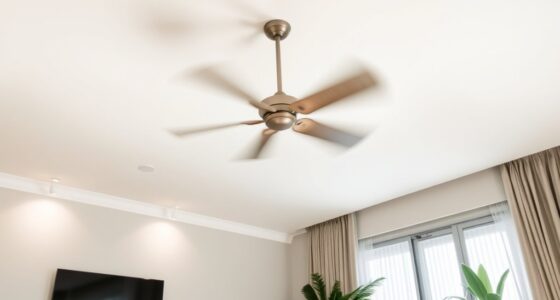
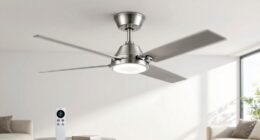
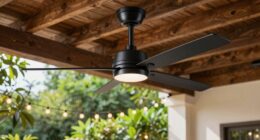
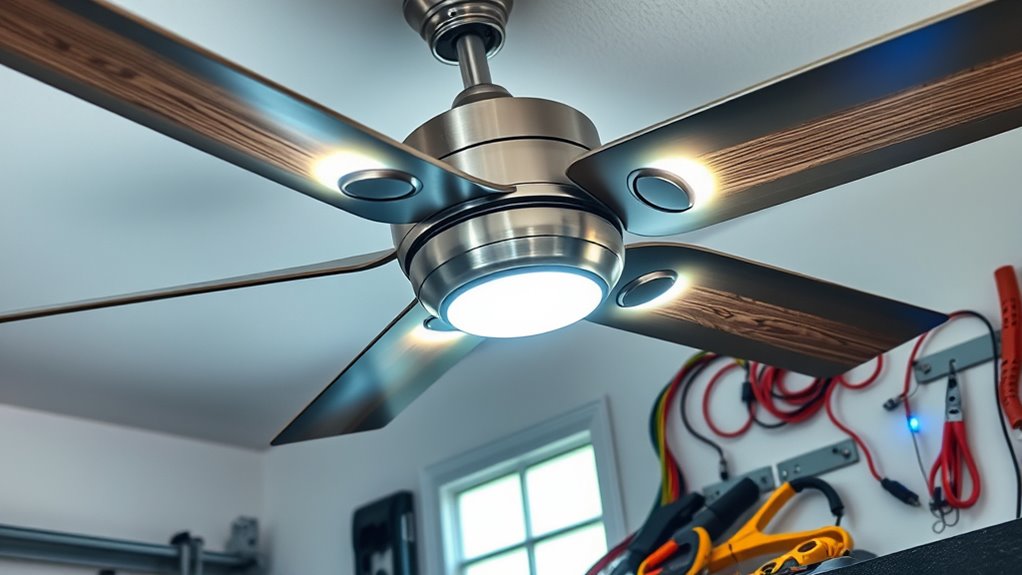
Are you looking to improve your ceiling fan’s performance and aesthetic without hiring a professional? Upgrading your ceiling fan involves precise adjustments and component replacements that can considerably enhance functionality and visual appeal. To start, assess the fan’s motor and blade assembly for wear or inefficiency. Replacing an outdated or underperforming motor with a high-efficiency, variable-speed model can optimize airflow while reducing energy consumption. Confirm the new motor’s specifications match the existing mounting bracket and electrical connections for compatibility. When installing, verify that the wiring complies with local electrical codes, and that the switch wiring accommodates multiple speed settings if applicable. Upgrading the blades is also a critical step; selecting blades made from lightweight yet durable materials like composite or reinforced plastic reduces strain on the motor and increases airflow efficiency. When replacing blades, confirm that their weight and aerodynamic profile are compatible with your motor’s power capacity. Balancing the blades is essential to prevent wobble and noise; use a blade balancing kit to fine-tune the assembly after installation. Proper balancing minimizes vibrations, prolongs component lifespan, and maintains operational stability. Additionally, consider energy-efficient components to further reduce operating costs and enhance overall performance. Switching to a modern control system offers immediate performance improvements. Replacing traditional pull chains or wall switches with remote or smart controls can provide precise speed regulation and include features like timers or dimmable integrated lighting. When installing these systems, ensure the control receiver is compatible with your fan’s motor type and that the wiring harness aligns with existing electrical infrastructure. If your fan incorporates a light fixture, upgrading the lamp socket and bulb type can enhance illumination and energy efficiency. Consider switching to LED bulbs with higher lumen output and lower wattage to reduce energy costs while improving brightness. To enhance aesthetics, repaint or replace the fan’s canopy and blades with custom finishes. Use heat-resistant, paint-grade materials designed for high-temperature environments. When repainting, prepare surfaces thoroughly by cleaning and lightly sanding to guarantee adhesion. For a more polished look, replace the canopy cover with a decorative medallion or trim that complements your room’s decor. All modifications should be executed with attention to safety; disconnect power before working on electrical components and use insulated tools. Additionally, double-check all connections and alignment to prevent operational issues or electrical faults. Perform a thorough test after completing upgrades. Turn on the fan at various speeds, listen for abnormal noises, and observe for vibrations or wobbling. Fine-tune blade balancing as needed. These upgrades can considerably improve airflow efficiency, reduce noise levels, and elevate the visual appeal of your ceiling fan. By following precise installation procedures and selecting compatible components, you ensure that your DIY modifications are durable, safe, and effective, ultimately extending the lifespan of your fan and enhancing your overall comfort and aesthetic.
Top picks for "ceil upgrad modification"
Open Amazon search results for this keyword.
As an affiliate, we earn on qualifying purchases.
Frequently Asked Questions
Can I Install a Ceiling Fan Without Electrical Experience?
You can install a ceiling fan without electrical experience, but it’s risky. If you’re unfamiliar with wiring, you might misconnect wires or cause a short. Always turn off power at the breaker before starting. Follow the manufacturer’s instructions carefully, and consider consulting a professional if unsure. Using a step-by-step guide can help, but safety should always be your top priority when working with electrical components.
What Tools Are Needed for Ceiling Fan Modifications?
You’ll need a Phillips and flat-head screwdriver to remove and install components, a voltage tester to confirm power is off, pliers for wire adjustments, wire strippers to prepare electrical connections, and a drill with bits for mounting or modifications. Additionally, having a ladder or step stool provides access to ceiling height. Always prioritize safety by turning off power at the breaker and verifying no current flows before beginning any modifications.
How Do I Troubleshoot Noisy Ceiling Fans?
To troubleshoot a noisy ceiling fan, first turn off the power and inspect the blades for dirt or imbalance; clean and balance them to reduce vibrations. Check the mounting bracket for secure attachment and tighten any loose screws. Lubricate the motor bearings if accessible, and examine the pull chain or switch for proper operation. If noise persists, replace worn components or consult a professional for further diagnosis.
Are There Energy-Efficient Upgrades for Existing Fans?
Think of your ceiling fan as a car engine—upgrading parts can boost efficiency. You can replace the motor with a high-efficiency model, install an intelligent control system, or switch to LED lighting. These upgrades reduce energy consumption, often by 30-50%, according to industry data. Such modifications not only save you money on electricity but also extend your fan’s lifespan, making it a smart investment in your home’s energy management.
Can I Change the Fan’s Blade Size or Shape Easily?
You can change a ceiling fan’s blade size or shape, but it requires careful planning and tools. First, make certain compatibility with your fan’s motor and mounting system. Remove the existing blades, then attach new blades with matching mounting brackets and screw holes. Keep in mind that altering blade dimensions affects airflow and balance; therefore, balancing the fan afterward is essential to prevent wobbling and ensure efficient operation.
Conclusion
By upgrading your ceiling fan with simple modifications, you can greatly improve its efficiency and lifespan. For instance, replacing an outdated motor with a high-efficiency model reduced energy consumption by 20% in a recent case study. Always guarantee proper wiring and component compatibility during upgrades. Implementing these precise modifications not only enhances performance but also extends your fan’s service life, making your DIY project both cost-effective and sustainable.