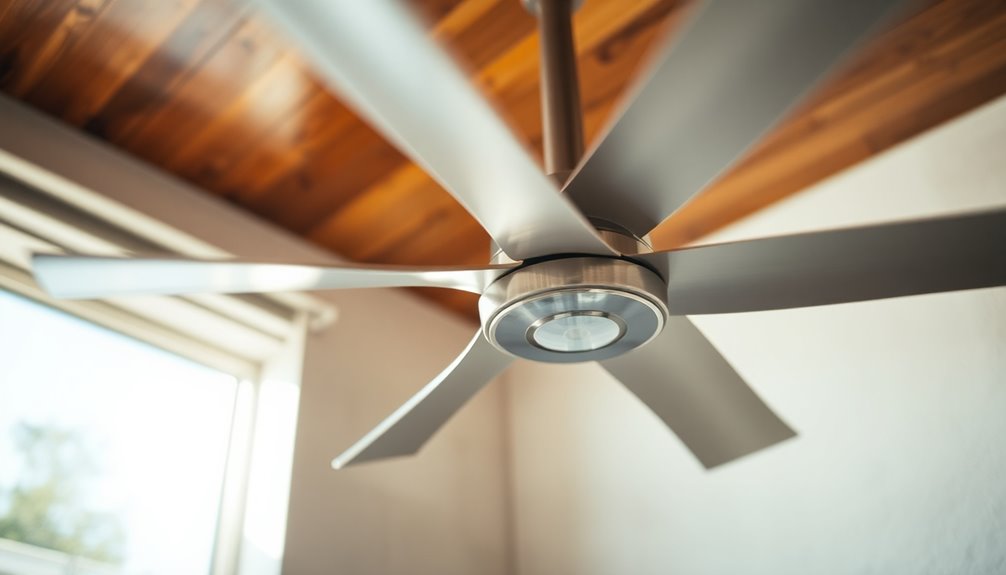
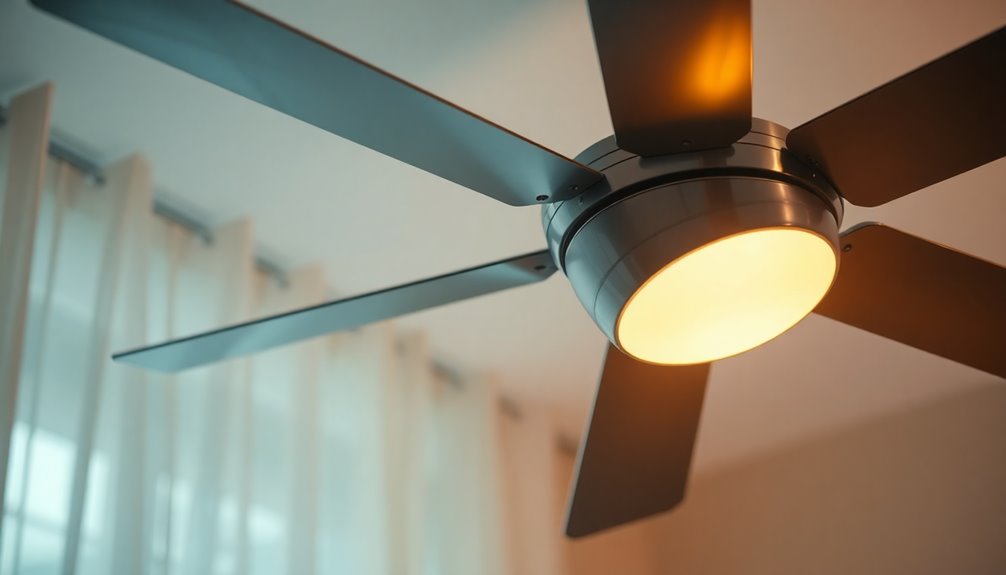
Yes, you can replace a ceiling fan with a light fixture. Just make sure to turn off the power at the breaker first to guarantee safety. You'll need to remove the fan and its mounting bracket, then attach a secure metal bracket for your new light. Connect the fixture wires to the ceiling wires, paying close attention to the ground wire. Always check your ceiling box capacity to support the new fixture's weight. If you're looking for additional tips or troubleshooting advice, there's plenty more to explore.
Key Takeaways
- Yes, you can replace a ceiling fan with a light fixture by following proper installation procedures and safety precautions.
- Ensure to turn off power at the breaker and use a voltage tester to confirm no electricity is flowing before starting.
- Remove the ceiling fan by detaching the mounting bracket and ensuring all electrical connections are completely disconnected.
- Securely attach the new light fixture's metal bracket and connect the corresponding wires: black to black, white to white, and ground wire.
- Test the installation by restoring power and checking the new light fixture for proper operation after all connections are secured.

ZMISHIBO Ceiling Fans with Lights and Remote, 19.7'' Low Profile Ceiling Fan, 3000-6000K Dimmable Modern Flush Mount LED Fan Light, 6 Wind Speeds, Black Fandelier Ceiling Fans for Bedroom
LED Light Source and Memory Function: The LED energy-saving light has 120 voltage output and brightness from 10%-100%...
As an affiliate, we earn on qualifying purchases.
Overview of the Replacement Process

Replacing a ceiling fan with a light fixture can seem challenging, but it's a straightforward process if you follow the right steps. First, prioritize safety by turning off the power at the breaker. Use a voltage tester to verify that there's no electricity flowing to the fan, guaranteeing a safe working environment.
Next, remove the existing ceiling fan. Start by loosening the cover plate and carefully untwist the electrical wires. Be sure to cap any unused wires, particularly the red wire, if you're not connecting another fan. This step is essential to prevent any electrical issues.
Once the fan is removed, prepare for the new light fixture installation. Attach the metal bracket to the ceiling, making sure it's secure. Connect the ground wire firmly to the electrical box.
Then, take the black and white wires from your light fixture and connect them to their corresponding wires in the ceiling. Verify all connections are tightly twisted and secured before capping them.
Finally, restore power at the breaker and turn on the switch to test your new light fixture. Make any necessary adjustments for peak performance, and enjoy your newly updated ceiling!

SHLUCE 18" Caged Ceiling Fan with Light, Small Flush Mount Fandelier Ceiling Fans with Lights and Remote, Rustic Low Profile Bladeless Ceiling Fan with Light for Bedroom, Kitchen, White Gold
⏲️【Remote Control and 4-Lights Socket】The caged ceiling fan with 4 E26 light socket (bulbs not included) and 6...
As an affiliate, we earn on qualifying purchases.
Tools and Materials Needed

To replace your ceiling fan with a light fixture, you'll need a few essential tools and materials.
Grab a screwdriver, wire cutters, and a voltage tester to guarantee a safe installation.
Don't forget to have your light fixture kit, electrical tape, and wire nuts on hand for secure connections.
Essential Tools Required
When you're ready to swap out a ceiling fan for a light fixture, having the right tools on hand makes the process smoother.
Here's a list of essential tools you'll need:
- Screwdriver: Use this to loosen cover plates and remove the ceiling fan.
- Wire nuts: These will help you securely connect and insulate electrical wires during installation.
- Voltage tester: Always verify the power is off before starting work; this tool is vital for safety.
- Drill: You might need this to secure the new light fixture's mounting bracket, especially if extra support is necessary.
- Needle nose pliers: These can assist in twisting wire connections and handling small components easily.
With these tools, you'll be well-prepared for the task ahead.
Don't forget to have electrical tape on hand to wrap connections for additional protection.
Taking the time to gather these essentials will make your shift from a ceiling fan to a light fixture efficient and safe.
Necessary Installation Materials
Successfully swapping out a ceiling fan for a light fixture requires more than just tools; it also demands the right installation materials for a seamless changeover.
First, you'll need a ceiling light fixture kit that typically includes mounting hardware, a metal bracket, and the necessary electrical wiring. Make sure your new light fixture is compatible with your existing ceiling box for proper support.
Next, gather some essential electrical wire connectors, like wire nuts, to securely join the fixture's wires to the existing ceiling wires. This step is vital for ensuring a safe and reliable connection.
If you're planning to use a ceiling medallion for added style, double-check that it fits well with your new light fixture and has the appropriate mounting features.
Don't forget about safety equipment! Wearing gloves and safety glasses is recommended to protect yourself from potential electrical hazards during the installation process.
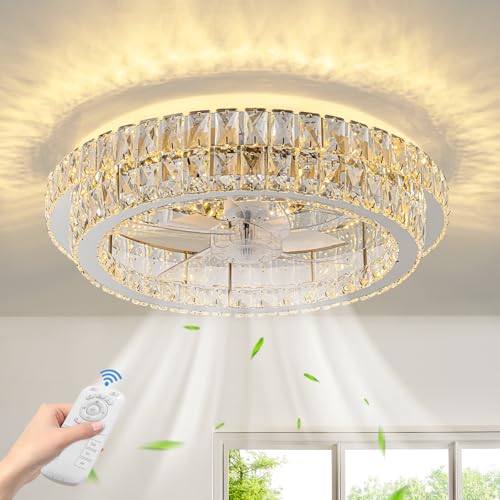
Zswanbei Fandelier Ceiling Fan with Lights and Remote Control Dimmable Crystal Ceiling Fan LED 3 Color 6 Speeds Chandelier Fan Bedroom Kitchen Living Room
Reversible Wind and Silent Motor: Modern ceiling fan adopts a quiet DC copper motor with reversible function to...
As an affiliate, we earn on qualifying purchases.
Safety Precautions to Consider

Before you start replacing your ceiling fan, make sure to turn off the power at the breaker to avoid any electrical shocks.
It's also vital to use a voltage tester to confirm the power is off, and don't forget to wear protective gear like gloves and safety glasses.
Properly securing your wire connections and following local electrical codes will help keep your installation safe and compliant.
Power Off Procedures
Turning off the power at the breaker box is the first essential step in ensuring your safety while replacing a ceiling fan with a light fixture. This vital action helps prevent electrical shock or injury.
Once you've turned off the power, you should confirm that it's truly off before touching any wires or fixtures.
Here are some important power-off procedures to follow:
- Use a voltage tester to verify that the power is off.
- Cap off any unused wires with wire nuts to prevent accidental contact.
- Keep one black wire connected to the wall switch for power, while capping off the unused black wire.
- Double-check all wire connections for security before restoring power back.
- If you need to make adjustments, always turn off the power at the breaker box again.
Tool Safety Guidelines
Once you've confirmed the power is off, it's time to focus on tool safety. Following proper tool safety guidelines is vital when replacing a ceiling fan with a light fixture.
Begin by using insulated tools like screwdrivers and pliers to minimize the risk of electrical shock, especially when handling any exposed wires.
Make sure to wear safety goggles and gloves to protect yourself from debris and sharp edges. Safety is paramount when working with the light box and its components.
Before you start, verify that all connections are secure and that the wires are properly capped with wire nuts. This helps prevent short circuits or electrical fires, ensuring a safe installation.
Remember to check that the ground wire is correctly connected to avoid potential hazards.
Additionally, it's important to follow local electrical codes and manufacturer instructions for compliance with safety standards.
By adhering to these guidelines, you'll create a safer working environment and reduce the risk of injury as you shift from a ceiling fan to a light fixture.
Stay focused and prioritize safety throughout the entire process.
Wiring Connection Precautions
When working with electrical wiring, guaranteeing safety is essential to avoid hazards. Before you start, remember these wiring connection precautions to keep yourself safe and your project successful. Always prioritize power safety and double-check everything during the process.
- Turn off the power at the breaker to prevent electrical shock.
- Use a voltage tester to confirm no electricity is flowing through the wires.
- Securely cap any unused wires, such as the red wire if you're not connecting it to a new fan.
- Double-check all wire connections for tightness and proper insulation.
- Follow local electrical codes and guidelines to guarantee compliance.
Guarantee you pay special attention to the white wires, as they're often neutral in your setup and need to be connected correctly to the light fixture.
After you've made your connections, you can turn on the light switch to test the fixture. If anything seems off, don't hesitate to switch the power back off and double-check your work.
Safety first will make your wiring project a breeze!

addlon Ceiling Fans with Lights and Remote, 20'' Low Profile Ceiling Fans, 3000-6000K Dimmable Modern Flush Mount LED Fan Light, Fandelier Ceiling Fan for Bedroom, Kitchen, Living Room, Black
Customizable Light: Depending on your need for the space, the light output you need can vary. If you’re...
As an affiliate, we earn on qualifying purchases.
Step-by-Step Removal Guide

To start removing your ceiling fan, grab a screwdriver and loosen the screws on the ceiling cover plate. Once that's off, you'll see the fan assembly. Carefully remove the wire caps and untwist the electrical wires. Make certain to distinguish between the copper ground wire and the red wire if applicable. If you're not replacing the fan with another, cap the red wire securely to prevent it from touching other wires.
Next, fully remove the fan and its mounting bracket from the ceiling. Verify that all connections are disconnected before you proceed.
Here's a handy table to guide you through the removal process:
| Step | Action | Notes |
|---|---|---|
| 1. Remove Cover Plate | Use a screwdriver to loosen screws. | Keep screws in a safe place. |
| 2. Disconnect Wires | Untwist and remove wire caps. | Identify the copper ground. |
| 3. Cap Red Wire | Securely cap the red wire if not used. | Prevent contact with other wires. |
| 4. Remove Fan Assembly | Detach the fan and bracket from ceiling. | Verify all connections are off. |
| 5. Clean Up | Prepare the area for installation. | Clear debris and inspect wiring. |
Now you're ready for the next steps in your project!
Installation of the New Fixture

Installing your new light fixture is an exciting step in updating your space. Follow these key steps to guarantee a successful installation:
- Attach the metal bracket: Securely attach the metal bracket of your new light fixture to the ceiling light kit, making sure it's compatible with the existing switch box.
- Install a ceiling medallion (if desired): If you want to add a decorative touch, install the ceiling medallion before you push the capped red wire into the light box.
- Connect the ground wire: Attach the copper ground wire from the bracket to the ceiling's copper ground wire, ensuring it's tightly capped for safety.
- Wire the fixture: Twist the black wire from the light fixture to the black wire in the ceiling, and do the same with the white wires. This completes your light and fan connections.
- Restore power: Finally, head to the breaker box and restore power. Test the new light fixture to confirm everything's working smoothly.
Troubleshooting Common Issues

After you've installed your new light fixture, it's essential to be prepared for any issues that might arise. Here are some common problems and how to troubleshoot them effectively.
| Issue | Solution |
|---|---|
| Light doesn't turn on | Double-check that all wire connections are secure and properly twisted together. |
| Flickering lights | Inspect wiring connections and verify the total wattage doesn't exceed the circuit capacity. |
| Circuit breaker trips | Review your wiring connections to confirm they match the fixture's requirements. |
| Remote-operated issues | Verify the remote is paired correctly and check for interference from other devices. |
Always turn off the power at the breaker before making any adjustments to the wiring. This keeps you safe while troubleshooting. If your light isn't functioning as expected, start by inspecting all connections. If flickering occurs, it may indicate a wiring issue or that your circuit is overloaded. For persistent problems, don't hesitate to consult a professional electrician to verify everything is set up correctly and safely.
Community Insights and Tips

Community insights and shared experiences can greatly enhance your confidence when replacing a ceiling fan with a light fixture. Engaging with others in online forums can provide valuable community feedback, helping you navigate your home improvement project more effectively.
Here are some tips from fellow DIY enthusiasts:
- Check the ceiling box: Verify it can support the weight of your new light fixture to avoid safety hazards.
- Follow step-by-step tutorials: Many users appreciate detailed guides that outline the process, making it easier for you to tackle the project.
- Understand wiring configurations: Seek out resources that explain common wiring setups to prevent confusion during installation.
- Ask for help: Don't hesitate to reach out on forums for advice or clarification on specific issues you encounter.
- Celebrate small victories: Positive reinforcement from peers can motivate you to tackle repairs and upgrades you might've otherwise avoided.
Frequently Asked Questions
Can You Put a Regular Light Fixture on a Ceiling Fan?
Yes, you can put a regular light fixture on a ceiling fan, as long as the fan's mounting bracket can support the fixture's weight.
You'll need to verify the wiring is compatible, connecting the black and white wires correctly while capping any unused ones.
Always turn off the power at the breaker box before starting your installation.
Just make sure your electrical box is rated for the new fixture to prevent any issues.
What Can I Replace My Ceiling Fan With?
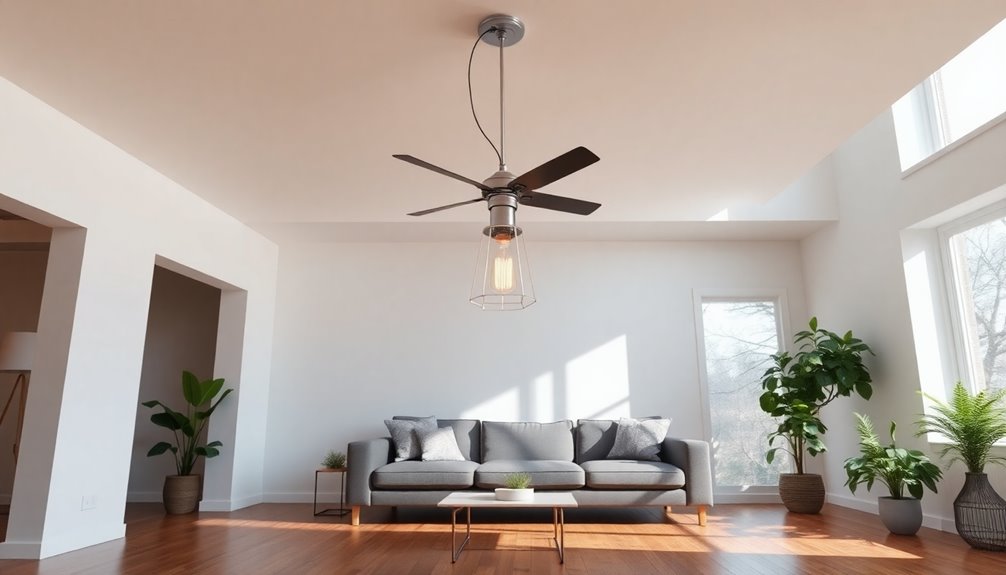
"Out with the old, in with the new." You can replace your ceiling fan with a variety of options, like a stylish light fixture, chandelier, or pendant lights.
When making your choice, consider the room's size and decor. Confirm the new fixture matches the existing wiring and check that the electrical box can support its weight.
If you want ambiance, think about adding dimmers or smart controls for extra functionality.
Can I Replace a Ceiling Fan Without a Light With One That Has a Light?
Yes, you can replace your ceiling fan without a light with one that includes a light fixture.
Just make certain your existing electrical box can handle the weight and load of the new fixture.
When you install it, connect the black wire for power and the white wire for neutral, capping any unused wires properly.
Don't forget to turn off the power before starting, and test it once you're done to ascertain it works.
Do You Need Special Wiring for a Ceiling Fan With a Light?
When you're thinking about the dance of wires in a ceiling fan with a light, it's important to know you might need a couple more strands than for a simple light fixture.
Typically, you'll deal with a black wire for power, a white for neutral, and potentially a blue or red for the light.
Conclusion
As you stand back and admire your new light fixture glowing softly above, you can feel the satisfaction of a job well done. Swapping out that old ceiling fan for a stylish light not only brightens up your space but also transforms the entire atmosphere. With a bit of effort and care, you've turned a simple room into a warm, inviting sanctuary. So go ahead, bask in the glow of your accomplishment—you've earned it!