
Yes, you can replace a light fixture with a ceiling fan, but you need to take into account a few important factors first. Make sure the existing electrical box can support the weight of the fan and that your wiring meets the power requirements. It's essential to have a ground wire for safety. Don't forget to turn off the power before starting the installation! You'll also want to reflect on remote controls or wall switches for convenience. With the right preparations, you'll enjoy a cool breeze in no time, and there's more to explore about ensuring a smooth installation.
Key Takeaways
- Yes, you can install a ceiling fan where a light fixture currently is, provided the electrical box can support the fan's weight.
- Ensure the existing wiring meets power requirements and is compatible with the ceiling fan's specifications.
- Confirm that the electrical box is rated for ceiling fan use and securely attached to structural support.
- Consider using a ceiling fan brace kit for easier installation and enhanced safety.
- Always turn off power at the breaker and use a voltage tester before beginning installation to ensure safety.
Top picks for "ceil light"
Open Amazon search results for this keyword.
As an affiliate, we earn on qualifying purchases.
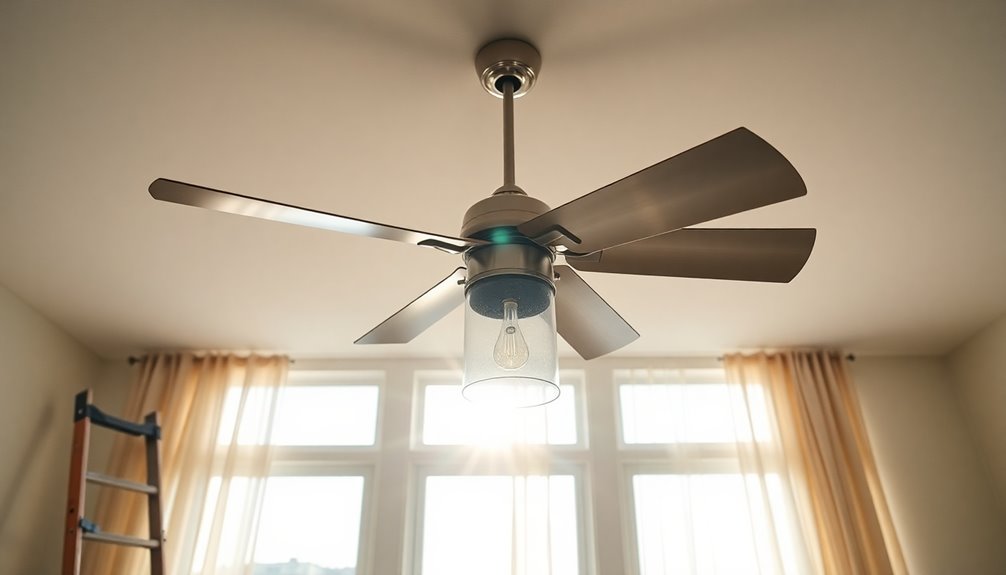
Ceiling Fan Installation Basics

Installing a ceiling fan can be a great way to enhance comfort in your space. If you're replacing a light fixture, you need to verify the existing electrical box can support the ceiling fan's weight, typically 10 to 15 pounds. Proper support is essential, as you want to achieve a static safety factor of 10:1 for mounting strength. This means securely fastening the fan to two adjacent joists.
To simplify installation, consider using a ceiling fan brace kit that includes a built-in electrical box and all the necessary hardware. This guarantees you comply with safety standards while making the process easier. Additionally, ensuring the fan is properly installed can help mitigate risks associated with a clicking ceiling fan, which may indicate mechanical failure or loose components.
If you want to increase stability, attaching a support beam in the attic is a wise choice. Remember to use bolts or screws to secure the fan to the electrical box, as this prevents safety hazards during operation.
Lastly, always follow the manufacturer's instructions meticulously during installation. This is important for the proper functionality and safety of your ceiling fan.
With the right preparation and care, you can enjoy the benefits of a ceiling fan in no time!
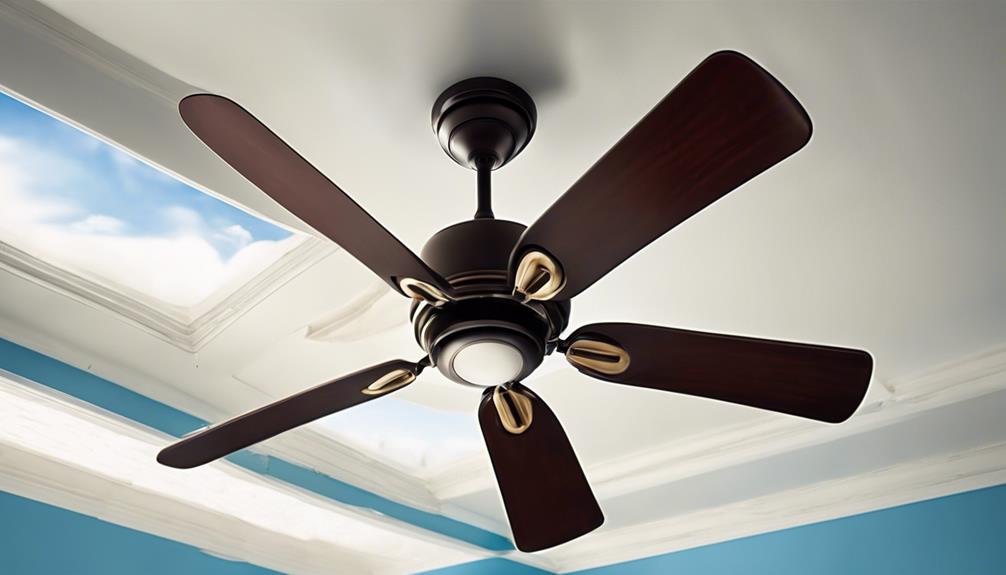
Importance of Structural Support

When it comes to ceiling fan installation, guaranteeing proper structural support can't be overlooked. A ceiling fan typically weighs between 10 to 15 pounds, which means you need a mounting box capable of handling that weight. To assure safety, it's important to have a static safety factor of 10:1.
An unsupported ceiling fan poses significant risks, including the dangers of falling or electrical malfunctions, and it can lead to wobbling and vibration during operation.
To achieve the necessary stability, install a ceiling fan support box between joists or consider using a brace kit that includes a built-in electrical box. It's imperative that your existing electrical box is securely fastened to at least two adjacent joists. This guarantees it can withstand the dynamic forces generated by the fan.
Regularly inspecting the mounting hardware and support structure is a key step to maintain fan stability and prevent potential failure over time.
Electrical Wiring Considerations

Understanding the intricacies of electrical wiring is fundamental for a successful ceiling fan installation. When you replace a light fixture with a ceiling fan, make certain the existing electrical wiring can handle the fan's power requirements, typically around 100-120 watts.
If your home has older wiring systems, like knob-and-tube, it's imperative to update them to meet current safety standards, as they mightn't support modern ceiling fans.
Check the condition of the junction box too. It must be rated for ceiling fan use; if not, replace it with a fan-rated box that can support the fan's weight.
The presence of a ground wire in your setup is essential for safe operation, helping to prevent electrical shock and guaranteeing proper grounding.
If you want independent control over the fan and light functions, consider additional wiring. You'll need a separate switch and the corresponding wiring configuration to achieve this.
Proper attention to these electrical wiring considerations will make certain your ceiling fan operates safely and efficiently, enhancing your home's comfort.
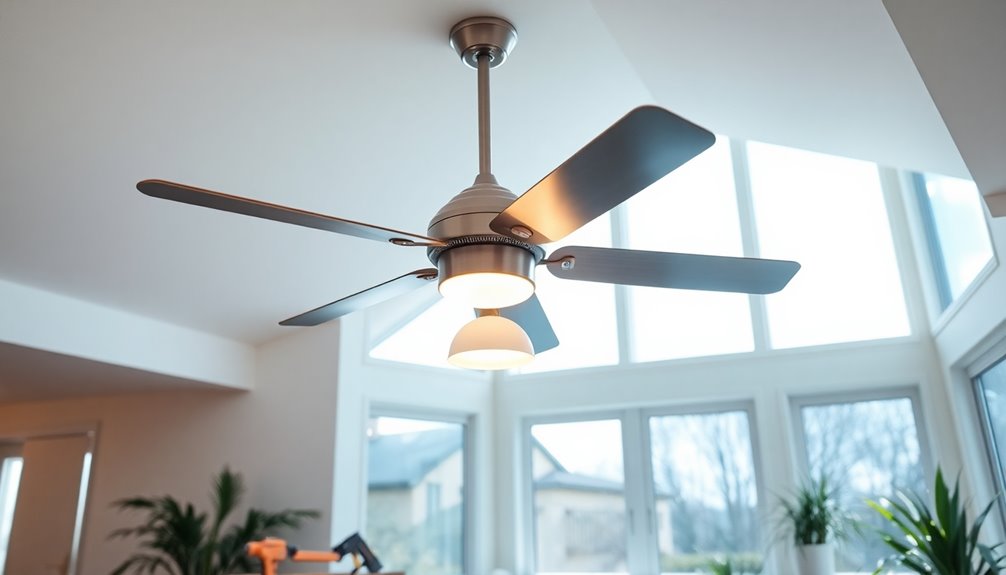
Tools Required for Installation

Before you start the installation process, gathering the right tools is key to guaranteeing everything goes smoothly.
You'll need a screwdriver to remove the existing light fixture and secure the ceiling fan's mounting bracket. Having wire cutters and strippers on hand is essential for preparing and connecting the electrical wires, making certain those connections are safe and secure.
A voltage tester is vital for checking that the power is off before you begin. This step prevents any unfortunate electrical shocks during your installation.
To safely access the ceiling, a ladder or step stool is necessary, allowing you to remove the light fixture and install the fan without straining yourself.
If the existing setup doesn't provide enough support, a drill may be required to install a ceiling fan brace or support box. This guarantees your ceiling fan is mounted securely and safely.
With these tools at your side—screwdriver, wire cutters, voltage tester, ladder, drill, and mounting bracket—you'll be well-equipped to tackle your ceiling fan installation confidently.
Safety Precautions During Installation

Taking the right safety precautions is vital for a successful ceiling fan installation. By following these steps, you can minimize risks and guarantee a safe process:
- Turn Off the Power Supply: Always switch off the power at the breaker box before starting. This prevents electrical shock during installation.
- Use a Voltage Tester: Confirm that the power is off at the existing light fixture with a voltage tester before you begin any wiring work. This is essential to avoid accidents.
- Check the Electrical Box: Verify the existing electrical box is rated for ceiling fan support. Standard light fixture boxes may not meet safety standards, which could lead to hazards.
- Wear Protective Gear: Equip yourself with safety goggles and gloves. This protective gear minimizes the risk of injury during the installation process.
Additionally, always adhere to local electrical codes and regulations. Regular checks on indoor air quality can also ensure a safer environment while you work.
Following these safety precautions not only protects you but also guarantees the installation is up to standard, preventing future complications.
With these measures in place, you'll be well on your way to a successful ceiling fan installation.
Control Options for Ceiling Fans

When it comes to controlling your ceiling fan, you've got several options to choose from.
You can stick with traditional pull chains, or opt for a more modern approach with remote controls that offer convenient features like dimming.
If you want the best of both worlds, consider wiring separate controls for independent operation of the fan and light.
Remote Control Features
Remote control features for ceiling fans greatly enhance your comfort and convenience. With a simple click, you can adjust your ceiling fan without getting up, making your living space more enjoyable.
Here are some key benefits of using a remote control system:
- Ease of Use: Control your fan speed and power from anywhere in the room.
- Battery-Powered Options: Many remote controls are battery-powered, eliminating the need for complex wiring.
- Dimming Lights: Some remotes allow you to dim lights, providing the perfect ambiance for any occasion.
- Timer Settings: Set timers for your ceiling fan, helping to save energy and maintain comfort.
When installing a remote-controlled ceiling fan, confirm proper integration with the fan's electrical system.
It's crucial to check compatibility between your ceiling fan and the remote control system, as different models may have specific requirements.
This attention to detail enhances the overall user experience, guaranteeing you enjoy all the features your remote control has to offer.
In addition, using a remote control system can lead to improved energy efficiency as you can easily adjust settings to suit your needs throughout the day.
With the right setup, you'll enjoy the perfect blend of convenience and comfort in your home.
Pull Chain Alternatives
For those who find pull chains cumbersome, there are several modern alternatives to control your ceiling fan. One popular option is a remote control, which allows you to adjust the fan speed and power without needing to reach for the pull chain. Many ceiling fans come with battery-powered remotes, making it easy to control the fan from a distance without complicated wiring.
Another alternative is a wall switch that controls both the light and the fan. This integrated option simplifies your controls and eliminates the need for a pull chain altogether.
If you're looking for something more advanced, consider smart ceiling fans. These fans can connect to home automation systems, letting you control them through mobile apps or even voice commands.
For those who want a bit of flexibility, installing a dual switch can be a great solution. This setup allows you to operate the fan and light functions independently from one location.
With these options available, you can easily find a control method that suits your preferences and lifestyle, leaving the pull chain behind.
Wiring for Controls
Installing the right wiring for your ceiling fan controls can greatly enhance your convenience and functionality. You have several options when it comes to controlling your ceiling fan, each with its own benefits. Here are the most common control methods:
- Wall Switch: Connecting your ceiling fan to a dedicated light switch allows for easy access and control.
- Remote Control: If you prefer a more flexible option, a remote control can be installed. Make sure to add a receiver in the fan's shroud for speed adjustments and power control.
- Pull Chain: For those who want simplicity, a pull chain switch can serve as a straightforward alternative, allowing direct control without complex wiring.
- Fan/Light Combo: If you need separate switches for the fan and light, verify you have additional wiring that complies with local electrical codes.
Regardless of which method you choose, confirm your wiring is properly set up to accommodate ceiling joists and any necessary connections.
Proper installation not only enhances functionality but also guarantees safety and compliance with electrical codes.
Troubleshooting Common Issues

If you're experiencing fan speed problems or suspect wiring connection issues, don't worry—these are common concerns.
Start by checking your wiring to guarantee everything's properly connected, as incorrect wiring can lead to performance issues.
Once you've verified the connections, you can troubleshoot any speed problems that may persist.
Fan Speed Problems
Ceiling fan speed problems can be frustrating, especially when you're trying to create a comfortable environment. If your ceiling fan isn't operating as expected, here are some common issues to check:
- Wiring Connections: Verify the black wire for the fan and the blue wire for the light are properly connected to the ceiling box. Incorrect wiring can cause speed issues.
- Flickering Light: If your ceiling fan causes a flickering light, it may indicate loose wiring or a compatibility issue with your existing electrical components.
- Circuit Breakers: Frequent tripping of circuit breakers during fan operation may signify an overloaded circuit, so assess the total wattage of connected devices.
- Fan Speed Control: Inconsistent fan speed might be due to a malfunctioning pull chain switch or remote control receiver. Inspect these components to verify they function properly.
For specific problems unique to your fan model, regularly review the manufacturer's troubleshooting guide.
Addressing these issues can help restore your ceiling fan to its intended performance, verifying your space remains comfortable and inviting.
Wiring Connection Issues
Wiring connection issues often crop up after installation, leading to frustrating operational problems with your ceiling fan. If your light switch malfunctions or you notice flickering lights during fan operation, it's a sign to inspect your wiring connections. Loose or improper connections can disrupt the fan's functionality and create an unsafe environment.
Additionally, if you find that circuit breakers frequently trip, this may indicate incorrect wiring or an overload from connecting both the fan and light to the same circuit without proper assessment. Always consult a professional if you're unsure.
For remote-operated ceiling fans, verify the wiring is compatible with the remote control system. Improper voltage or connections can lead to further functionality problems that could leave you without the comfort you expect.
To address these issues effectively, refer to the manufacturer's troubleshooting guide. Each fan model may have unique wiring requirements that are critical for peak operation.
Preparation Steps Before Installation

Before you plunge into installing your new ceiling fan, it's vital to take a few preparation steps to guarantee a smooth process. Follow these steps to make sure of a safe and efficient installation:
- Turn Off the Circuit Breaker: Identify the circuit breaker controlling the existing light fixture and turn it off. This is important for your safety during installation.
- Remove the Existing Light Fixture: Unscrew the fixture from the ceiling and remove the light bulb to access the wiring and junction box.
- Document Wiring Configuration: Take clear photographs of the existing wiring configuration and fixture box. This will serve as a helpful reference during your ceiling fan installation.
- Check Fixture Box Support: Verify that the existing fixture box is rated for ceiling fan support. A standard light fixture box may not handle the fan's weight.
While you're at it, verify that the wiring is compatible with a ceiling fan. Check for a ground wire and confirm that the circuit can handle the additional load. Additionally, ensuring that the fan installation adheres to energy-efficient practices can enhance overall performance and comfort in your space.
Taking these steps will set you up for a successful installation.
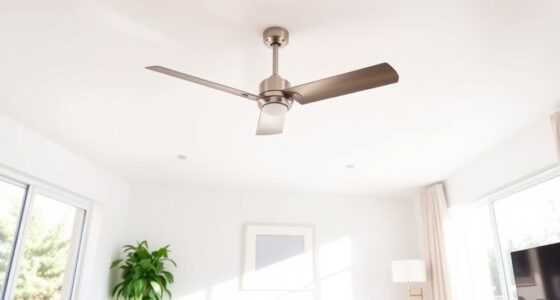
Maintenance Tips for Ceiling Fans

Regular maintenance is vital for keeping your ceiling fan running efficiently and extending its lifespan. Start by regularly dusting the blades with a microfiber cloth to prevent dust buildup. This buildup can affect performance and create an imbalance that may lead to unnecessary strain on the motor.
Every six months, check and tighten any loose screws or mounting hardware to guarantee stability and reduce vibrations during operation. Additionally, clean the fan motor and pull chain switches with a damp cloth to maintain peak functionality and prevent dust accumulation that could hinder performance.
Annually, inspect the ceiling fan's electrical connections and wiring for any signs of wear or damage. This step is essential for confirming safety and compliance with electrical codes.
Finally, lubricate the fan motor according to the manufacturer's instructions, typically once a year. This lubrication is key to keeping the motor running smoothly and extending its lifespan. Regular maintenance not only enhances performance but can also lead to significant energy savings by improving efficiency over time.
Frequently Asked Questions
How Do I Know if My Light Box Will Support a Ceiling Fan?
To know if your light box will support a ceiling fan, start by checking its rating. If it isn't fan-rated, it likely won't handle the weight and movement.
Make sure it's securely fastened to at least two ceiling joists for stability. Inspect the weight capacity, as fans typically weigh between 10 to 15 pounds.
If it feels loose when you pull on it, consider reinforcing or replacing the box before installation.
Can You Put a Ceiling Fan Where a Recessed Light Is?
Yes, you can install a ceiling fan where a recessed light is, but you need to verify the existing electrical box can support the fan's weight.
If it's not rated for ceiling fans, you'll have to install a stronger support box.
Check that you have adequate attic access for installation and consider upgrading the wiring to meet safety standards.
Always follow local building codes to verify a safe and functional setup.
Can You Run a Ceiling Fan off a Light Circuit?
Yes, you can run a ceiling fan off a light circuit as long as the circuit's wattage can handle it.
Check that the total wattage of the fan and lights doesn't exceed the circuit's limit, typically around 100-120 watts combined.
Make sure the wiring is compatible, connecting the fan properly.
For better control, consider installing a separate switch or using a pull chain or remote.
Always follow local electrical codes for safety.
Can a Ceiling Fan Be Installed Anywhere?
You can't install a ceiling fan just anywhere. First, check your ceiling height and guarantee there's enough clearance from walls and other fixtures.
The ceiling joists need to support the fan's weight and vibrations. Also, proper electrical wiring is essential, including a ground wire.
Local building codes might've specific requirements, so it's wise to consult them. Always prioritize safety and performance to maximize your ceiling fan's effectiveness.
Conclusion
In summary, transforming a light fixture into a ceiling fan isn't just a simple swap; it's an opportunity to elevate your space while enhancing comfort. By ensuring proper structural support and considering electrical requirements, you're setting the stage for a delightful breeze to grace your home. With a little preparation and the right tools, you'll find that the process is less intimidating than it seems. Embrace the change and enjoy the invigorating air that follows!