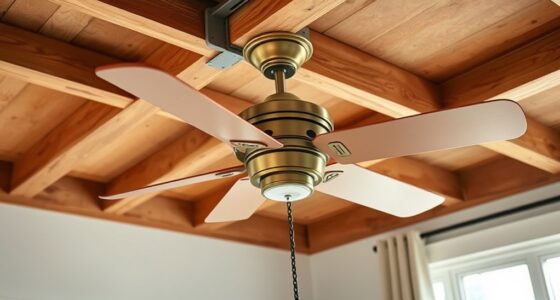

You can definitely paint ceiling fan blades, and it's a great way to spruce up your space without spending a fortune. First, remove the blades and clean them thoroughly to prep the surface. Opt for a durable spray paint like Rust-Oleum Universal, and apply light coats for the best finish. This simple DIY project typically takes just a day, allowing you to customize colors to match your decor. Plus, it's cost-effective compared to buying a new fan. If you're curious about the best techniques and tips for a successful transformation, there's more to explore!
Key Takeaways
- Yes, you can paint ceiling fan blades to enhance their appearance and customize your home decor.
- Use Rust-Oleum Universal Metallic Paint for optimal adhesion on wood, metal, or plastic surfaces.
- Proper surface preparation is crucial; sand wooden blades and clean all surfaces before painting.
- Apply light, even coats of paint, maintaining a 6-8 inch distance to prevent drips and achieve a smooth finish.
- The DIY project is cost-effective, typically ranging from $21 to $65, compared to buying a new fan.

Rust-Oleum 249131 Universal All Surface Metallic Spray Paint, 11 oz, Oil Rubbed Bronze
Works on virtually any surface including wood, plastic, metal, fiberglass, concrete, wicker, vinyl and more
As an affiliate, we earn on qualifying purchases.
As an affiliate, we earn on qualifying purchases.
Best Way to Paint Blades

When you're ready to paint your ceiling fan blades, the best way to start is by removing them and giving them a thorough cleaning with soap and a scrub sponge. This step's essential to eliminate any grime or dust that could interfere with the paint.
Once cleaned, lay the blades face down on a drop cloth in a well-ventilated area. Begin by spraying the top side of the blades, applying a dark color if you prefer a bold look. Be certain to apply a second coat within an hour for the finest adhesion.
To paint the fan blades' underside, use Painters Tripods to elevate them, preventing any sticking to the drop cloth during drying. For best results, consider using a product like Rust-Oleum Universal Metallic Paint & Primer In One. This paint adheres well to various surfaces, including plastic and wood, and doesn't require surface prep on plastic blades.
Remember to allow adequate drying time between coats to guarantee a durable finish. With the right technique, you can complete the project in just one day, leaving your ceiling fan looking fresh and new.

WHMVPWT Ceiling Fan Balancing Kit with 18 Gold 3g Weights, 6 Balance Clips, Wobble Reduction, Noise Reduction, Tool-free Installation
COMPLETE BALANCING SOLUTION: Includes 18 gold-colored 3g weights and 6 balance clip sets to effectively fix wobbling ceiling…
As an affiliate, we earn on qualifying purchases.
As an affiliate, we earn on qualifying purchases.
Type of Paint Recommended

When painting ceiling fan blades, you'll want to choose the right type of paint for the best results.
Rust-Oleum Universal Metallic Paint & Primer In One is a great option as it adheres well to various surfaces like wood, metal, and plastic.
Plus, remember that surface preparation varies; plastic blades need little prep, while wood blades may benefit from a deglosser for better adhesion.
Best Paint Options
Several excellent paint options are available for ceiling fan blades, guaranteeing a durable and attractive finish.
If you want to paint your ceiling fan, consider using Rust-Oleum Universal Metallic Paint & Primer In One. This versatile option works well on various surfaces like wood, metal, and plastic.
For wood blades, a semi-gloss primer followed by a semi-gloss or satin paint gives a durable finish that looks great. If your ceiling fan has metal brackets, you'll want to use gloss spray paint for that shiny effect.
When choosing paint, opt for a flat protective Enamel Spray Paint, preferably with a built-in primer. This combination guarantees better adhesion and coverage, making it easier to achieve a long-lasting result.
Don't forget to select colors that complement your room's existing decor; neutral shades or a rich dark brown can provide a timeless look.
Surface Preparation Tips
Preparing the surface of your ceiling fan blades is key to achieving a smooth, long-lasting finish. Start by thoroughly cleaning the blades to remove dust, grease, and grime. Use soap and water or a mild cleaner to guarantee ideal paint adhesion.
If your blades are made of wood, consider using a deglosser or sanding them lightly with 120 grit sandpaper. This step enhances paint adhesion and helps create a smoother finish.
Once the blades are clean and prepped, you can proceed to paint. For the best results, choose Rust-Oleum Universal Metallic Paint & Primer In One, as it adheres well to various surfaces without requiring extensive prep work.
When applying the paint, opt for a semi-gloss or gloss spray for durability and easy cleaning later on. Remember to maintain a distance of 6-8 inches from the blades and apply light, even coats to prevent drips and achieve a professional-looking finish. Additionally, ensure the blades are installed according to safety precautions to prevent hazards during the painting process.

Rust-Oleum 249859 Painter's Touch 2X Ultra Cover Spray Paint, 12 oz, Semi-Gloss Clear
Ideal for use on interior/exterior surfaces including wood, plastic, plaster, metal, masonry and unglazed ceramic
As an affiliate, we earn on qualifying purchases.
As an affiliate, we earn on qualifying purchases.
Time Required for Painting

Painting ceiling fan blades can be wrapped up in a single day if you plan ahead and gather the right supplies. The time required for painting depends on your preparation and drying times. You'll need to take into account the initial drying time for the first coat, which is vital for achieving that professional-looking result.
Here's a quick overview of the timing you can expect:
| Task | Time Required | Notes |
|---|---|---|
| First Coat Application | 1 hour | Guarantee even coverage |
| Drying Time for First Coat | 1 hour | Adequate drying time is essential |
| Second Coat Application | 1 hour | Wait 24 hours for best results |
Using painter's tripods can save you time and hassle during the painting process, preventing the blades from sticking to the drop cloth. This allows you to flip the blades and apply a second coat without worry. Overall, if you handle the project thoughtfully, you can avoid rushing and achieve a quality finish. With adequate drying time between coats, you'll be well on your way to a beautifully painted ceiling fan.

ZUC Cigar Cutter Guillotine, Wood Patterned Stainless Steel Blade, Fan Shaped Folding Metal Manual Tool(A)
This collection includes four cigar cutters with a curved, contoured design, each featuring distinct color and material combinations…
As an affiliate, we earn on qualifying purchases.
As an affiliate, we earn on qualifying purchases.
Necessary Supplies for Painting

To get started on painting your ceiling fan blades, you'll want to gather a few essential supplies that make the process smoother and more efficient. First, grab a ladder to safely access the fan. You'll also need a screwdriver to remove the blades for easier painting.
Cleaning supplies like a scrub sponge and mild soap are crucial to guarantee the blades are dirt-free before you start.
Don't forget a drop cloth to protect your floors and catch any overspray during the painting process. If you have a painter's tripod, it can be helpful to elevate the blades off the ground, preventing them from sticking to the drop cloth while they dry.
For the actual painting, Rust-Oleum Universal Metallic Paint & Primer In One is highly recommended for its durability and versatility on various surfaces, including wood, metal, and plastic.
You'll also want some 120 grit sandpaper for surface preparation, and masking tape to cover any areas you don't want to paint. With these supplies ready, you can confidently plunge into your ceiling fan blade project!
Cost of Painting Fan Blades

Once you've gathered your supplies for painting the ceiling fan blades, it's time to contemplate the costs involved. The cost of painting fan blades can vary greatly, but it's often much lower than buying a new ceiling fan. If you're resourceful and have some materials already at home, your expenses can shrink considerably.
Here's a breakdown of potential costs:
| Item | Estimated Cost |
|---|---|
| Spray paint (1 can) | $6 – $30 |
| Cleaning materials | $10 – $20 |
| Protective coverings | $5 – $15 |
| Total (if buying new) | $300 – $400 |
| Total (DIY project) | $21 – $65 |
You can paint a ceiling fan for as little as $6 if you only need paint. This makes it a budget-friendly alternative to replacing the fan entirely. By undertaking this DIY project, you're not just saving money; you're also breathing new life into outdated fixtures. So, if you're considering the cost of painting fan blades, you'll likely find it's a financially savvy choice.
Benefits of Painting Fans

Painting your ceiling fan blades is a cost-effective way to breathe new life into your space without breaking the bank.
You can easily customize the color to match your decor, enhancing the overall look of the room.
Plus, this simple project lets you express your personal style while giving older fans a fresh appearance.
Cost-Effective Home Upgrade
Transforming your ceiling fan can be an incredibly cost-effective home upgrade that won't break the bank. Instead of spending over $100 on a new fan, you can paint the ceiling fan blades for around $6 with spray paint. This DIY project allows you to refresh outdated fixtures, turning them into unique art pieces that enhance your room's aesthetics.
Here's a quick overview of the benefits:
| Benefits | Details |
|---|---|
| Cost | Only $6 for spray paint |
| Time | Complete in just a few hours |
| Tools Needed | Just a screwdriver and paint |
| Visual Impact | Instantly improves appearance |
| Durability | Extends fan lifespan |
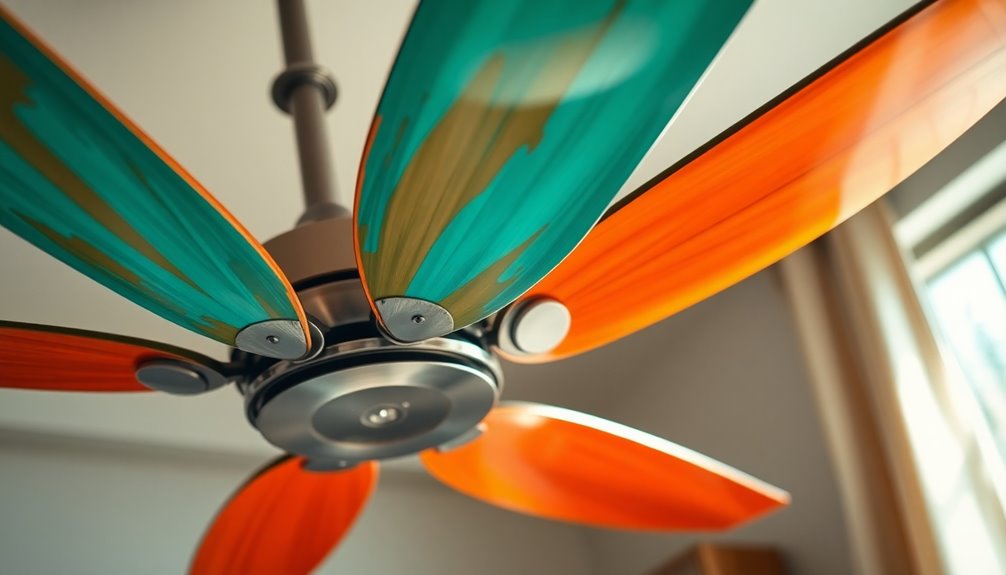
Customization and Aesthetics
Revamping your ceiling fan blades opens up a world of customization and aesthetic enhancement for your home. Painting your ceiling fan blades is a cost-effective way to refresh a room without the hefty price tag of a new fixture. You can choose colors and finishes that perfectly match your existing decor, which considerably boosts the overall aesthetics of your space.
Transforming dull, outdated fan blades into unique art pieces can drastically improve visual appeal. This DIY project not only allows you to express your personal style but also makes each fan a distinctive element of your home design.
Whether you go for bold colors or subtle tones, a well-executed paint job can blend the fan seamlessly with your ceiling color, enhancing your room's design rather than detracting from it. Additionally, incorporating natural elements into your decor can further promote tranquility and elevate the ambiance of your space.
With just a little time and creativity, you can turn standard ceiling fan blades into stunning focal points that reflect your personality and taste. So, grab that paintbrush and get ready to customize your ceiling fan blades, elevating the aesthetics of your living space in the process!
Preparation Steps for Painting

Before diving into the painting process, it's vital to prepare the ceiling fan properly to guarantee a smooth and successful outcome. Follow these preparation steps to make certain everything's set before you start painting.
- Turn off the power: Make sure the ceiling fan is turned off at the circuit breaker to avoid any electrical hazards during the process.
- Disassemble the fan: Carefully remove the blades and light fixtures, organizing screws in baggies to keep them secure and easily accessible.
- Clean the fan blades: Use a damp cloth or mild soap to clean the fan blades and components thoroughly, removing dust and grime. Allow them to dry completely before proceeding.
- Mask off areas: Use tape and paper to mask off any areas of the fan that shouldn't be painted, ensuring clean lines and preventing overspray during the painting process.
Finalizing Your Project

Once you've completed the painting process and everything is dry, it's time to reassemble your ceiling fan. Make sure all painted components are completely dry to avoid smudging. Start by securely attaching the blades, verifying they're aligned correctly. Next, reinstall the light bulbs and glass cover, checking that all parts are tight.
If you used stencils or patterns, consider applying a clear protective coat to enhance durability. This will help maintain the design's appearance over time.
Once you've finished reassembling, head to your circuit breaker and restore power. This is essential for testing the fan's functionality. Here's a quick checklist to help you finalize your project:
| Step | Details | Status |
|---|---|---|
| Check Paint Dryness | Confirm all coats of paint are dry | [ ] Done |
| Reassemble Blades | Securely attach each blade | [ ] Done |
| Install Light Bulbs | Reinsert and secure light bulbs | [ ] Done |
| Restore Power | Turn on at the circuit breaker | [ ] Done |
| Test Fan Functionality | Verify it operates correctly | [ ] Done |
Now, enjoy your updated ceiling fan and the fresh aesthetic it brings to your space!
Frequently Asked Questions
What Kind of Paint to Use on Ceiling Fan Blades?
When you're deciding on paint for ceiling fan blades, choose Rust-Oleum Universal Metallic Paint & Primer.
It works well on various surfaces like wood, metal, and plastic. Opt for a Flat Chestnut color for a subtle finish that blends nicely with your decor.
If you're painting wood blades, use a deglosser for better adhesion.
Remember to apply light coats for a smooth finish, allowing for better adherence and durability over time.
How to Change the Color of Ceiling Fan Blades?
To change the color of your ceiling fan blades, start by removing them from the fan.
Clean them thoroughly for better paint adhesion. If they're wood, lightly sand the surface and apply a primer.
Use a suitable spray paint, like Rust-Oleum Universal, applying thin, even coats.
Lay the blades flat on a drop cloth in a well-ventilated area.
Once dry, reassemble the fan and enjoy your refreshed look!
Is It Safe to Paint a Ceiling Fan?
Yes, it's generally safe to paint a ceiling fan, as long as you take necessary precautions.
Make sure you turn off the power at the circuit breaker before starting. Use non-toxic spray paint designed for home use and guarantee your workspace is well-ventilated to avoid inhaling fumes.
Allow everything to dry completely before reassembling the fan.
Regular cleaning helps maintain the blades' appearance and guarantees safe operation without affecting performance.
Can You Spray Paint Ceiling Fan Blades Black?
Have you ever thought about how a simple color change could transform your space? Yes, you can spray paint ceiling fan blades black!
Just make sure to use quality spray paint suitable for the blade material. Start by turning off the fan at the circuit breaker and disassembling the blades.
Clean them thoroughly, apply a primer if needed, and use light coats of paint for an even finish. You'll love the fresh look!
Conclusion
To sum up, painting your ceiling fan blades can truly breathe new life into your space. With a bit of preparation and the right supplies, you can transform your fan without breaking the bank. Just remember, when it comes to DIY projects, a little paint can go a long way! So, roll up your sleeves and get started—before you know it, you'll have a stylish fan that really ties the room together.