
Yes, you can install a ceiling fan yourself! With the right tools—like a screwdriver, wire stripper, and a ladder—you'll be well-prepared. Just make certain to turn off the power at the breaker box to avoid electrical shocks. Measure your room to select the right fan size for ideal airflow and comfort. Follow the manufacturer's instructions carefully when mounting and wiring the fan. Once it's installed, restore the power and test the fan to guarantee smooth operation. If you want more tips and tricks for a successful installation, keep exploring further insights!
Key Takeaways
- Yes, you can install a ceiling fan yourself with basic tools and proper guidance on the installation process.
- Ensure you follow safety precautions, including turning off power and using a voltage tester before starting.
- Properly size the fan according to your room dimensions to ensure optimal airflow and comfort.
- Carefully follow the manufacturer's instructions for wiring and mounting to guarantee a secure installation.
- Test the fan after installation to confirm smooth operation and address any issues like wobbling or unusual noises.
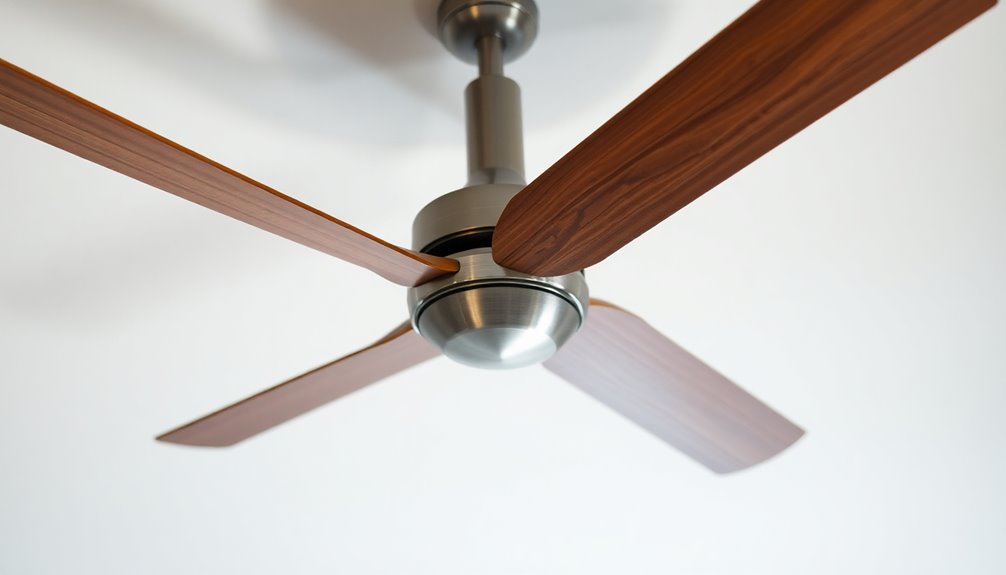
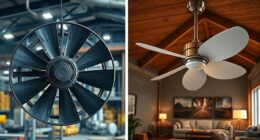
Benefits of Installing a Ceiling Fan

When you consider the benefits of installing a ceiling fan, it's clear that they can greatly enhance both comfort and energy efficiency in your home. A well-placed ceiling fan improves air circulation, making rooms feel cooler in the summer and evenly distributing warm air during winter when run in reverse. Additionally, the best ceiling fans for air flow are designed to maximize air circulation efficiency, ensuring you get the most benefit from your installation. Using ceiling fans in conjunction with a heat pump can further optimize thermal energy transfer, enhancing overall energy efficiency. Furthermore, many ceiling fans are compatible with smart home devices, allowing for convenient control and added functionality.
This versatility can greatly boost your HVAC efficiency, allowing you to raise the thermostat setting by several degrees without sacrificing comfort.
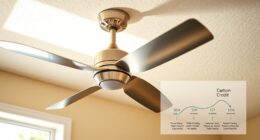
By incorporating a ceiling fan into your home, you can reduce energy costs, potentially saving around $500 annually on utility bills. Many ceiling fans are Energy Star-certified, which means they meet strict energy efficiency guidelines, further contributing to lower energy bills.
If you enjoy DIY projects, ceiling fan installation can be a manageable task, giving you the satisfaction of improving your home's comfort and efficiency.
Larger fans, ideally 52 inches or more, are best suited for rooms 15 feet and larger to optimize airflow. By choosing the right ceiling fan, you can create a more comfortable living space while enjoying the financial benefits of reduced utility costs. Additionally, utilizing energy-efficient technology can further enhance your home's overall energy performance.
Selecting the Right Fan Size
Choosing the right ceiling fan size is vital for guaranteeing effective airflow and comfort in your space. When selecting a fan size, consider your room size. For rooms under 12 feet in the largest dimension, a 36-inch ceiling fan is recommended for peak airflow.
If your room measures between 12 to 15 feet, a 42-inch fan will provide adequate circulation without overpowering the area. For rooms that range from 15 to 18 feet, a 52-inch fan is ideal for effectively moving air.
Proper fan sizing is important. A good rule of thumb is that the recommended blade span equals the room's square footage divided by 4. This guarantees efficient performance and helps keep your energy bill in check.
If you're dealing with larger or long narrow rooms, consider installing two smaller fans instead of one large fan. This approach enhances air distribution and comfort, making it a smart choice when installing a ceiling fan.
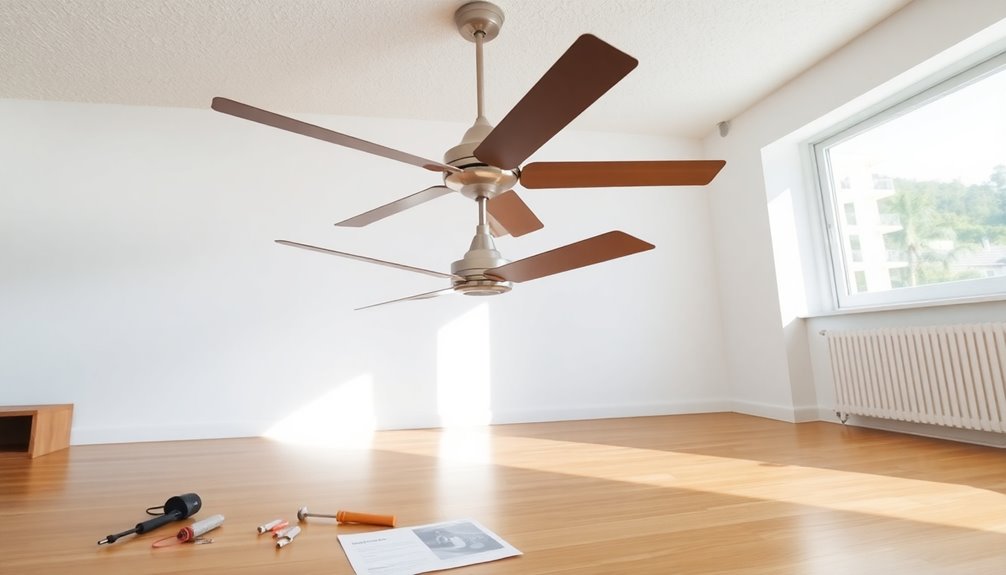
Preparing for Installation

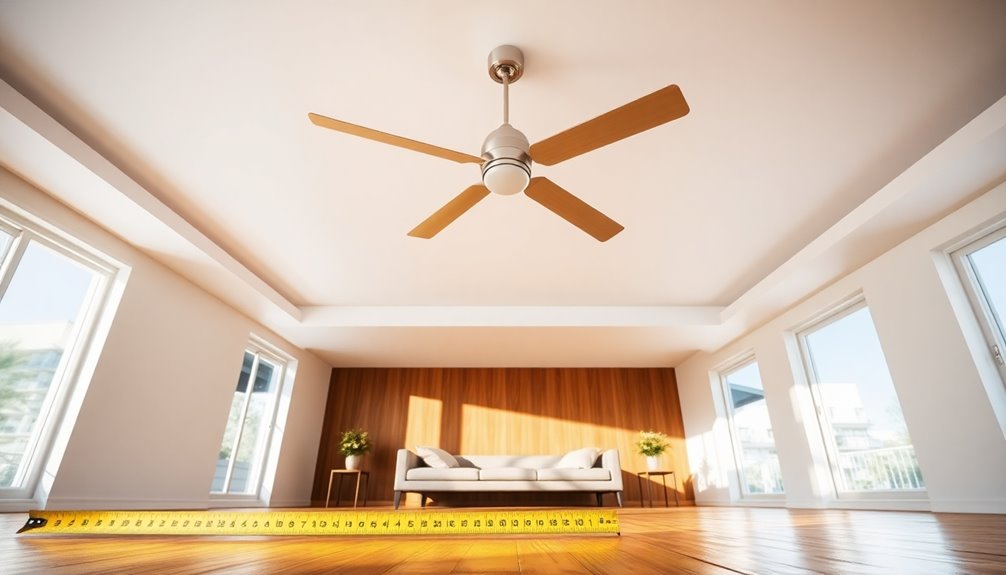
Before you get started, take a moment to measure your room dimensions to guarantee you choose the right ceiling fan size.
You'll also need to gather essential tools like a screwdriver, wire stripper, and ladder, so you're fully prepared.
Having everything in place will make your installation process smoother and more efficient.
Measure Room Dimensions
Accurate measurements are essential for a successful ceiling fan installation. Start by measuring the longest dimension of the room to determine the appropriate ceiling fan size. If your room is under 12 feet, a 36-inch fan is recommended. For rooms between 12 to 15 feet, go for a 42-inch fan, while a 52-inch fan suits spaces between 15 to 18 feet.
Next, use a tape measure to check the ceiling height, guaranteeing the fan will be installed 7 to 10 feet from the floor for ideal airflow and safety. You also need to maintain at least 8 inches of clearance between the fan blades and the ceiling for proper air circulation.
Consider the room's layout and furniture positioning, aiming to center the fan at least 1.5 feet away from walls. This distance enhances airflow efficiency.
If you have a large or long narrow room, think about using two smaller fans instead of one larger one to guarantee even air distribution throughout the space. Regular maintenance of the fan, such as cleaning processes and checking for wear, will ensure it operates efficiently over time.
Taking these measurements will help you choose the right fan and achieve effective cooling in your room.
Gather Installation Tools
Now that you've measured your room and determined the right ceiling fan size, it's time to gather the tools you'll need for the installation. Start by collecting essential tools like a screwdriver, both flathead and Phillips, to handle various screws.
A wire stripper is important for preparing the wiring, while pliers will help you secure connections. Don't forget a ladder to safely reach your ceiling fan's mounting location.
Before you begin, grab a voltage tester to make sure the power is off. This step is essential for your safety throughout the installation process.
You'll also want a tape measure to guarantee proper alignment and spacing of the fan in relation to the ceiling and walls.
Organizing all your tools and parts in an accessible area before starting will streamline your installation and minimize distractions.
Finally, read through the installation manual specific to your ceiling fan model. This will help you understand the requirements and components needed for a successful installation.
With everything in place, you're ready to tackle your ceiling fan project confidently!
Ensuring Safety Precautions
Safety is paramount when installing a ceiling fan, and taking the right precautions can prevent accidents and injuries. Before you begin, make certain to follow these essential safety steps:
- Turn off power: Always switch off the power at the breaker box to prevent electrical shock.
- Use a voltage tester: Confirm there's no electricity flowing to the wires at your installation site before touching anything.
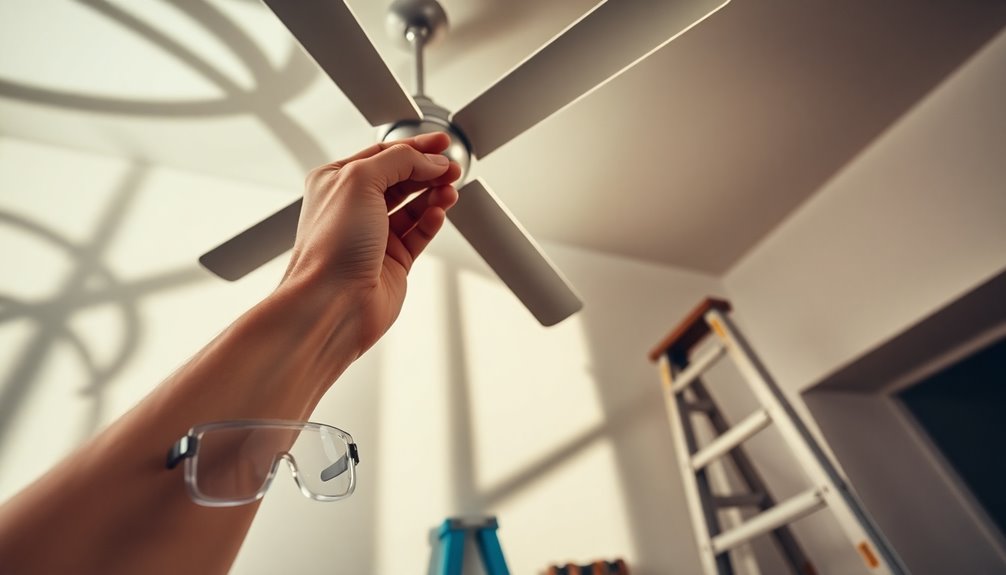
- Wear safety goggles: Protect your eyes from debris and sharp edges while handling tools and electrical components. Gloves are also a good idea.
- Check your ladder: Verify it's stable and positioned on a flat surface to avoid falls while you reach for high ceilings.
Additionally, always follow the manufacturer's instructions closely. They often include specific safety warnings and guidelines for using wire nuts and connecting the ground wire correctly. Furthermore, ensuring your installation site is free from security vulnerabilities can add an extra layer of safety during the project.
Taking these steps seriously won't only help keep you safe but also guarantee a successful installation of your new ceiling fan. By prioritizing safety, you can enjoy your fan without worry!
Removing Existing Fixtures

Before you can install your new ceiling fan, you'll need to remove the existing light fixture. First, make certain to turn off the power at the circuit breaker to avoid any electrical shock.
Once the power is off, support the fixture and carefully detach it by unscrewing the mounting screws or nuts that hold it in place.
After removing the fixture, it's time to disconnect the wiring. Unscrew the wire nuts or connections, taking note of how the wires are connected for reference later. This step is essential to guarantee a smooth installation of your ceiling fan. Additionally, ensure that you are aware of the potential fire hazards that may arise from improper wiring to maintain safety during installation. It is also important to keep in mind that local fire safety regulations may influence your installation process.
As you disconnect the wiring, inspect the wiring for any signs of damage or wear; this could affect the safety and functionality of your new fan.
Once the old fixture components are removed, make certain to dispose of them properly. You can either recycle them or follow local guidelines for electrical waste disposal.
With the existing electrical box now clear, you're ready to proceed with the installation of your ceiling fan, assuring a safe and efficient setup.
Mounting and Wiring the Fan

With the old fixture removed and the electrical box cleared, you can move on to mounting and wiring your new ceiling fan. First, verify that the mounting bracket is securely attached to a fan-rated junction box that can support the fan's weight. An inadequate installation can lead to safety hazards.
Next, focus on the wiring. Here's what you need to do:
- Connect the black wire from the fan to the black wire from your household wiring.
- Connect the white wire to the white wire.
- Attach the ground wire to the ground wire to verify proper electrical function.
- Use wire nuts to secure all connections and wrap them with electrical tape for added safety.
Once you've completed the wiring, push the connected wires back into the junction box to avoid interference.
After that, check that the mounting bracket is level and stable, as an uneven installation can cause the fan to wobble during operation.
Finally, follow the manufacturer's instructions to attach the fan motor to the mounting bracket, verifying all screws are tightened securely. This will prevent any movement or noise during use.
Final Assembly Steps

Now that you've securely mounted the fan motor, it's time to focus on the final assembly steps. Start by tightening all screws to prevent any wobbling or instability. Next, attach the fan blades according to the manufacturer's instructions. Make certain to tighten the provided screws evenly to maintain balance.
If your new ceiling fan includes a light kit, connect the wiring for the light fixture. Follow the color-coded guidelines in the manual to guarantee all connections are secure. Once you've completed these steps, clip the canopy onto the mounting bracket and tighten the screws to conceal all wiring, providing a clean finish to the installation.
Here's a quick reference table for these steps:
| Step | Description | Tools Needed |
|---|---|---|
| Attach Fan Blades | Securely attach each blade to the motor | Screwdriver, screws |
| Connect Light Kit | Wire the light fixture according to the manual | Wire connectors, pliers |
| Finalize Canopy | Clip and secure the canopy over wiring | Screwdriver |
Finally, restore power at the circuit breaker to test the fan operation and light functionality, ensuring everything's working properly before completing the installation.
Testing Your Ceiling Fan

After installation, it's essential to promptly test your ceiling fan to verify everything's working as it should. Start by turning the power back on at the circuit breaker and use the pull chain or remote control to operate the fan.
Follow these steps to guarantee a thorough check:
- Check Speed Settings: Confirm the fan operates smoothly at all speed settings—low, medium, and high. This verifies the fan wires are properly connected.
- Inspect for Noises: Listen for any unusual sounds during operation. Noises could indicate loose screws or misaligned blades that need adjusting.
- Test Light Fixtures: If your fan has a light kit, check that all bulbs illuminate properly. Secure connections are essential, especially with the wire coming from the switch housing.
- Assess for Wobbling: If the fan wobbles, turn it off. Adjust the fan mounting bracket and level the blades, ensuring all screws are tightened and evenly spaced. Additionally, proper installation is crucial to prevent issues like clogged mechanisms that can affect overall functionality.
Frequently Asked Questions
Is It Hard to Install a Ceiling Fan by Yourself?
Installing a ceiling fan by yourself isn't overly hard, especially if you've got some basic electrical knowledge.
It typically takes about 2-3 hours, depending on your experience. You'll need the right tools, like a screwdriver and wire stripper, to make the process smoother.
Just remember to prioritize safety—turn off the power and double-check for electricity before starting.
With a little patience, you can troubleshoot common issues like wobbling or noise on your own.
Can the Average Person Install a Ceiling Fan?
Yes, the average person can install a ceiling fan. If you've got basic electrical knowledge, a few tools, and some patience, you can tackle this project.
You'll need to follow the manufacturer's instructions, turn off the power, and use a voltage tester for safety. With the right preparation, you can finish in 2-3 hours.
Plus, having a friend help can make lifting and securing the fan easier and safer.
Do You Need an Electrician to Install a New Ceiling Fan?
You mightn't need an electrician to install a new ceiling fan, especially if you're familiar with electrical work.
However, if the existing wiring is outdated or if you're unsure about the installation process, it's wise to consult a professional.
An electrician guarantees everything's up to code, properly grounded, and safe from electrical hazards.
If you're uncomfortable with any part of the installation, don't hesitate to seek help for peace of mind.
Is Installing a Ceiling Fan a DIY Job?
Yes, installing a ceiling fan is definitely a DIY job!
With the right tools and some preparation, you can tackle it in just a few hours. Make sure your electrical box is rated for ceiling fans and securely anchored.
Follow the manufacturer's instructions closely for wiring and assembly. Not only will you save money on labor costs, but you'll also enjoy better air circulation and energy efficiency in your home right away!
Conclusion
Installing a ceiling fan yourself can be a rewarding journey, transforming your space from stuffy to breezy with just a few tools and a bit of effort. With the right fan, safety precautions, and a touch of patience, you're not just hanging a fan; you're crafting a comfortable oasis. So, roll up your sleeves, embrace the challenge, and watch as your room comes alive with a gentle whirl, turning your home into a sanctuary of cool comfort.