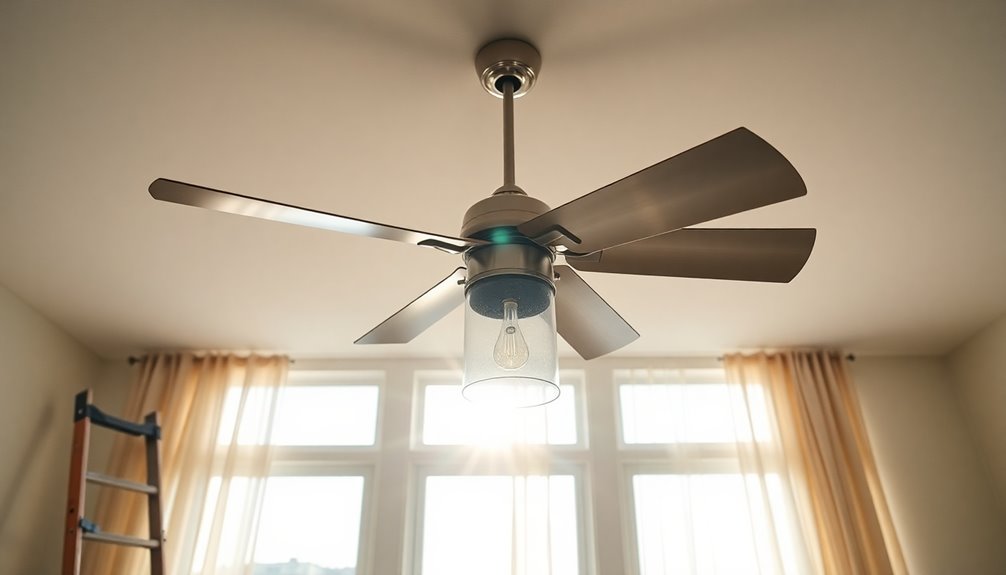
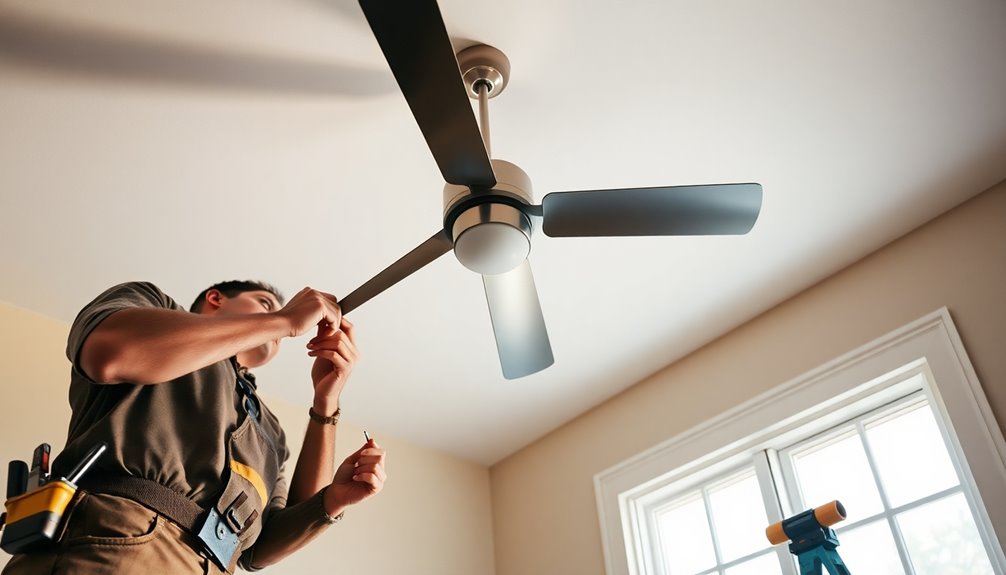
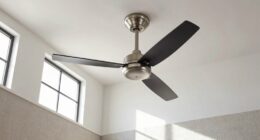
You can absolutely install a ceiling fan where a light fixture is currently located. Just make certain the existing electrical box is rated to support the weight of the fan. Before you start, turn off the power at the circuit breaker for safety. You'll also need to check the wiring and make sure it meets current safety standards. If you're comfortable with electrical work, you can DIY, but consider hiring a licensed electrician for peace of mind and compliance with local codes. Ready to make that switch? There's plenty more to guide you through the installation process!
Key Takeaways
- Yes, you can install a ceiling fan where a light fixture currently exists, provided the electrical box is rated for fan support.
- Ensure the electrical setup includes a ground wire and meets safety standards for the additional load of the fan.
- Turn off power at the circuit breaker before beginning installation to ensure safety during the process.
- Use a ceiling fan support brace or fan-rated electrical box to prevent wobbling and ensure stability.
- Follow manufacturer instructions and local electrical codes to comply with safety regulations during installation.
Ceiling Fan Installation Overview

When you're ready to swap out a light fixture for a ceiling fan, it's vital to verify your existing electrical setup can handle the change. First, check the weight of the ceiling fan, which typically ranges from 10 to 15 pounds. The electrical box must support this weight securely, adhering to a static safety factor of 10:1. This means the box should be fastened to at least two adjacent ceiling joists to guarantee stability during operation.
During installation, you might need attic access to install a new mounting box. Alternatively, you can add a brace to the existing light box for temporary support.
Don't forget about wiring; it's important to verify it complies with current electrical codes. This will confirm that the circuit can handle the extra load from the ceiling fan and light combined.
Always follow the manufacturer's instructions during installation. This not only promotes safety but also assures peak performance of your new ceiling fan.
Assessing Electrical Compatibility

Evaluating electrical compatibility is vital before you install a ceiling fan in place of a light fixture. Start by checking the existing electrical box. Confirm it's rated to support the weight of the ceiling fan, which typically ranges from 10 to 15 pounds. If it's not, you'll need to replace it with a more robust option.
Next, look for a ground wire in the existing wiring. Proper grounding is essential for safety and guarantees compliance with electrical codes.
Also, determine if the wiring is modern and meets current safety standards. Outdated systems, like knob-and-tube wiring, may not be suitable for your ceiling fan installation.
You should also verify that the circuit powering the light fixture can handle the additional load of the ceiling fan, which usually draws around 1 amp of current. Overloading the circuit can lead to tripped breakers or worse.
Finally, inspect the wiring configuration to verify it's compatible for controlling both the fan and light. If you only have a single switch, it may operate both functions, but additional wiring might be necessary for independent control.
Importance of Structural Support

When you're installing a ceiling fan, ensuring proper structural support is essential for safety and performance.
You'll need to assess the weight-bearing capacity of your mounting box and use secure techniques to prevent any wobbling or vibrations.
Weight-Bearing Capacity Assessment
A ceiling fan can transform a room's comfort and ambiance, but guaranteeing it's safely installed is essential. You need to assess the weight-bearing capacity of your ceiling before proceeding with the installation. A typical ceiling fan weighs around 10 to 15 pounds, which means you require a robust mounting system to support this weight securely.
The mounting box must exhibit a static safety factor of 10:1 to confirm it can hold the fan without risk of failure. To achieve this, it's vital to fasten the mounting box to two adjacent ceiling joists, providing the necessary structural support for both the fan's weight and its movement.
Additionally, consider using a ceiling fan support brace or a specialized fan-rated electrical box for enhanced stability and safety.
Regularly inspecting the ceiling joists and mounting hardware is just as important. This guarantees the continued structural integrity of your installation and helps prevent potential failures over time.
Secure Mounting Techniques
Confirming your ceiling fan is securely mounted is fundamental for both safety and performance. Proper structural support is essential since fans typically weigh between 10 to 15 pounds and require a ceiling box with a static safety factor of 10:1.
To achieve this, you should consider using secure mounting techniques, like ceiling fan brace kits, which attach to two adjacent joists, providing stability and safety during operation.
Additionally, using blocking or braces helps distribute the fan's weight evenly, preventing hazards from an improperly supported installation. It's imperative to check that your mounting hardware can handle the combined weight of the fan and any light fixtures you may have. Regular inspections of the support system guarantee everything remains secure over time.
Lastly, don't forget to verify compliance with local building codes, as they often dictate specific support requirements for ceiling fans. Adhering to these codes not only guarantees your installation is safe but also protects you from potential legal issues down the line.
Vibration Prevention Strategies
Vibration in ceiling fans can be a nuisance, leading to noise and potential damage if not properly addressed. Ensuring proper structural support during installation is essential for minimizing vibration and maintaining fan stability. A static safety factor of 10:1 is recommended for mounting strength, which means your ceiling fan should be securely attached to two adjacent ceiling joists.
Using a ceiling fan brace kit, which includes built-in electrical boxes, offers a reliable solution for stabilizing the fan. This not only prevents vibrations but also enhances your installation's overall safety. Before you install, take a moment to inspect the mounting hardware; any weaknesses could contribute to instability and increased vibration down the line.
Additionally, consider using a support beam or blocking between joists to further enhance the fan's stability. This extra support minimizes vibration greatly and helps extend the lifespan of your ceiling fan.
Wiring Considerations for Ceiling Fans

When you're replacing a light fixture with a ceiling fan, it's important to address the wiring to guarantee safety and functionality. Start by verifying that the existing wiring meets current safety standards. This includes confirming that a ground wire is present and that the gauge is appropriate for the fan's power requirements, typically around 100-120 watts.
Here are some key wiring considerations:
- The configuration for a ceiling fan should include green (ground), white (common), black (power for the fan), and blue (for the light kit).
- Confirm that the circuit can handle the additional load, as ceiling fans typically draw around 1 amp of current.
- If the existing switch only controls the light, consider installing a double switch for separate control of the fan and light.
- Always secure wiring connections using wire nuts to prevent electrical hazards.
- Verify all connections are properly insulated to promote safe operation of your ceiling fan.
Tools Needed for Installation

To tackle the installation of a ceiling fan, you'll need a few essential tools to make the process smooth and efficient. First, grab a voltage tester to verify the power is off before you start. This step's essential for your safety and helps prevent electrical shock.
Next, a screwdriver set, including both flat-head and Phillips-head types, will be necessary for removing the existing light fixture and securing the ceiling fan in place.
You'll also want wire strippers to prepare and connect the electrical wires properly. These tools guarantee good insulation and secure connections, which are crucial for your fan's operation.
To reach the ceiling safely, a ladder or step stool is indispensable, especially when you're working at height.
Lastly, a drill with the appropriate drill bits is often required for installing mounting brackets or support beams. These provide extra support for your ceiling fan, making sure it's firmly anchored and functions correctly.
With these tools in hand, you'll be well-prepared to tackle your ceiling fan installation with confidence.
Safety Precautions During Installation

Before you start installing your ceiling fan, it's crucial to prioritize safety. Following the right precautions can prevent accidents and guarantee your installation goes smoothly.
Here are some key safety measures to keep in mind:
- Always turn off the power at the circuit breaker before starting any work.
- Verify the existing light fixture box is rated for ceiling fan support; if it's not, replace it with a fan-rated box.
- Use protective gear, such as safety goggles and gloves, to minimize the risk of injury.
- Check that all wiring connections are secure and properly insulated to prevent short circuits and fire hazards.
- Consult local electrical codes to confirm your installation meets safety standards.
Step-by-Step Installation Process

Before you start, make sure to turn off the power to your existing light fixture at the circuit breaker.
You'll need to inspect the electrical box to confirm it can support the ceiling fan.
With the right preparations in place, you can move on to the wiring and support requirements.
Preparation and Safety Checks
Starting any ceiling fan installation requires a solid foundation in safety and preparation. Before you begin, verify you've taken the necessary steps to protect yourself and your home.
First, turn off the power at the circuit breaker and confirm the light fixture is no longer operational. This is vital for your safety during the installation process. Additionally, ensure that your workspace is free of clutter to prevent any accidents while handling tools.
Next, inspect the existing light fixture's junction box to verify it's fan-rated and can support the weight of the ceiling fan, typically between 10 to 15 pounds. Document the wiring configuration by photographing the connections before removing the light fixture; this will help you reconnect everything later. Make sure to check that the junction box is securely attached to the ceiling for added stability during operation.
Also, check for a ground wire among the existing wiring, as proper grounding is essential for the ceiling fan's operation and safety. If you have attic access, prepare to install a support box or brace between the ceiling joists for added stability. Additionally, consider the potential need for home security system costs to ensure your installation is safe and compliant with local regulations.
- Turn off power at the circuit breaker
- Confirm light fixture is non-operational
- Inspect junction box for weight support
- Document wiring with photographs
- Check for a ground wire
Wiring and Support Requirements
Wiring a ceiling fan requires careful attention to detail to guarantee safety and functionality. Start by evaluating the existing electrical box where your light fixture was. Make sure it's fan-rated and can support the ceiling fan's weight, which usually ranges from 10 to 15 pounds. If it's inadequate, you'll need to install a new mounting box securely fastened to at least two ceiling joists. This box should have a static safety factor of at least 10:1.
Next, for wiring, connect the black wire (power) to the fan's motor and the blue wire (light kit) to the light fixture. Use wire nuts to secure all connections and prevent short circuits.
Don't forget about grounding! Connect the green or bare copper ground wire to the fan's grounding screw, ensuring compliance with local electrical codes.
After everything's in place, it's crucial to test the fan and light operation thoroughly. Check for any wiring issues, making sure all connections are secure. Your ceiling fan should operate smoothly without wobbling or unusual noise, ensuring a safe and enjoyable experience.
Testing and Troubleshooting

Testing and troubleshooting your ceiling fan is essential to ascertain everything runs smoothly and safely. Start by verifying the power supply is off; check that the light fixture is unresponsive before diving into any wiring checks.
If your fan isn't operating correctly, carefully inspect all wiring connections for tightness and proper configuration.
Here's a quick checklist to guide you:
- Confirm black wires connect to the fan and blue wires to the light kit.
- Look for flickering lights, which might signal loose wiring or an overloaded circuit.
- Ascertain your circuit can handle the combined wattage of both the fan and light.
- If you're using a remote control, check that the receiver is correctly installed and the remote batteries are functioning.
- Regularly test both the fan and light after installation, addressing any unusual sounds or vibrations immediately.
Maintaining Your Ceiling Fan

To keep your ceiling fan running smoothly, establish a regular cleaning schedule for the blades to prevent dust buildup.
You'll also want to inspect the wiring connections to make certain they're secure and free from corrosion.
Don't forget to lubricate the moving parts according to the manufacturer's guidelines for ideal performance. Additionally, consider the fan's energy efficiency ratings to ensure optimal performance and savings on your electricity bills.
Regular Cleaning Schedule
Maintaining a regular cleaning schedule for your ceiling fan is essential for peak performance and longevity. Dust buildup can drastically reduce airflow efficiency and hinder your fan's performance. Aim to clean your ceiling fan blades at least once a month.
Here are some tips to help you stay on track:
- Use a microfiber cloth or extendable duster to safely wipe away dust without scratching the finish.
- For deeper cleaning, turn off the fan and dampen a cloth with mild soap to wipe the blades, guaranteeing they dry completely before using the fan again.
- Inspect the fan's pull chain and mounting hardware during your cleaning routine to guarantee everything is secure.
- Consider using specialized ceiling fan cleaning sprays designed to eliminate grime while protecting the fan's surfaces.
- Set reminders on your calendar to guarantee you don't overlook this important maintenance task.
Regular cleaning not only boosts airflow efficiency but also prolongs the life of your ceiling fan.
Inspect Wiring Connections
When it comes to confirming your ceiling fan operates safely and efficiently, inspecting wiring connections is essential. Before installation, you should inspect all wiring connections to make certain they're secure and free from corrosion. Electrical connections are critical failure points, and resistance can increase over time, leading to potential hazards.
Here are some important aspects to contemplate:
| Step | Action | Importance |
|---|---|---|
| Verify Ground Wire | Check for a ground wire | Prevents electrical hazards |
| Confirm Wire Colors | Confirm black is for fan power, blue for light | Avoids malfunctions and damage |
| Secure Connections | Use wire nuts to twist and cover wires | Ensures reliable electrical connection |
Regularly check these wiring connections during maintenance to prevent issues like flickering lights or tripped circuit breakers. Such problems can indicate loose or faulty wiring, which you should address promptly. By taking the time to inspect these wiring connections, you'll not only enhance the safety of your ceiling fan but also extend its lifespan. Additionally, ensuring proper air quality improvement can contribute to a healthier indoor environment when using ceiling fans in conjunction with air purifiers.
Lubricate Moving Parts
After verifying all wiring connections are secure, focus on keeping your ceiling fan running smoothly by lubricating its moving parts.
Regular lubrication reduces friction and noise, enhancing performance and extending the life of your ceiling fan. Here's how to do it effectively:
- Use lightweight machine oil or specialized fan lubricant.
- Apply only a few drops to avoid excess buildup that can attract dust.
- Check the manufacturer's instructions for specific lubrication intervals, typically every six months to a year.
- Turn off the fan and verify it's completely stopped before applying lubrication.
- Inspect moving parts for wear or damage during this maintenance to address any issues early.
Following these steps not only keeps your fan in prime condition but also guarantees it operates quietly and efficiently.
Always prioritize safety by using protective gear if necessary.
Professional Help vs. DIY

Deciding between professional help and a DIY approach for installing a ceiling fan can be an essential step in your project. If you're comfortable with electrical systems and have experience with proper installation techniques, DIY installations can save you money.
However, if you're unsure about handling wires or local building codes, hiring a licensed electrician is advisable. A professional can navigate the complexities of your home's wiring, especially in older houses where the electrical systems may not meet today's safety standards.
They possess the tools and expertise needed to guarantee everything is installed correctly, minimizing the risk of errors that could lead to hazards or equipment failure. Additionally, just as with home theatre systems, proper installation techniques are crucial to ensure optimal performance and safety. Understanding local building codes can also help you make informed decisions regarding your installation.
Before choosing to go the DIY route, assess your comfort level and experience with electrical work. Remember, improper handling can result in serious safety concerns.
Additionally, local building codes may dictate specific requirements that a licensed electrician is familiar with, guaranteeing compliance and reducing the likelihood of future issues.
Weigh the pros and cons carefully to make the best choice for your ceiling fan installation.
Frequently Asked Questions
Can You Install a Ceiling Fan Where the Light Fixture Is?
Yes, you can install a ceiling fan in place of a light fixture.
Just make certain the existing electrical box can support the fan's weight. It's smart to use a fan-rated mounting box for stability.
Before you start, check the wiring to confirm it meets safety standards and that the circuit can handle the additional load.
Always follow the manufacturer's instructions to guarantee a safe and proper installation.
How Do I Know if My Light Box Will Support a Ceiling Fan?
Imagine your light box as the sturdy roots of a tree, anchoring it firmly to the ground.
To guarantee your light box can support a ceiling fan, check if it's labeled "fan-rated." It should hold at least 50 pounds and be securely fastened to two ceiling joists.
If it's not fan-rated or lacks stability, consider replacing it with a proper support box or brace kit to guarantee safety and stability.
Can You Run a Ceiling Fan off a Lighting Circuit?
Yes, you can run a ceiling fan off a lighting circuit, but you need to verify the circuit can handle the additional load.
Most fans draw about 1 amp, so check that the circuit has at least 15 amps capacity.
Also, make certain the wiring and junction box are rated for the fan's weight and requirements.
It's best to consult local codes or hire an electrician for safety and compliance.
How Much Does It Cost to Replace a Light Fixture With a Ceiling Fan?
Replacing a light fixture with a ceiling fan typically costs between $150 and $350, including the fan and installation.
If you need extra support structures or complex wiring, the price could rise to $500 or more.
Fans range from $50 to $300, depending on features.
If you hire a licensed electrician, expect to pay an additional $75 to $150 for labor.
Always factor in potential costs for any necessary upgrades to the electrical box.
Conclusion
So, you thought switching a light fixture for a ceiling fan was a simple task? Ironically, it's not just about swapping bulbs; it's a whole process involving wiring, structural support, and tools you probably don't own. But once you tackle the installation, you'll end up with a cool breeze instead of just lighting up the room. Just remember, if all else fails, there's always the option of calling in the pros—who might be secretly laughing at your DIY ambitions!
