Yes, you can install a ceiling fan where a light fixture is. First, check that the existing electrical box can support the fan's weight and guarantee it's rated for fan installation. You'll also need to confirm that the wiring is compatible and meets safety standards. Don't forget to reinforce the support if necessary, and turn off the power before you start. Proper tools and techniques are essential for a secure installation. If you want to know about selecting the right controls or troubleshooting issues, there's plenty more to explore.
Key Takeaways
- Yes, you can install a ceiling fan where a light fixture is, provided the existing junction box is rated for ceiling fans.
- Ensure the electrical box can support the fan's weight, typically between 10-15 lbs.
- Check that the existing wiring is compatible with the fan's power needs and that the circuit can handle the additional load.
- Use a ceiling fan brace kit or support beam if the existing mounting system is insufficient for stability.
- Always turn off the power supply at the circuit breaker before beginning the installation to ensure safety.
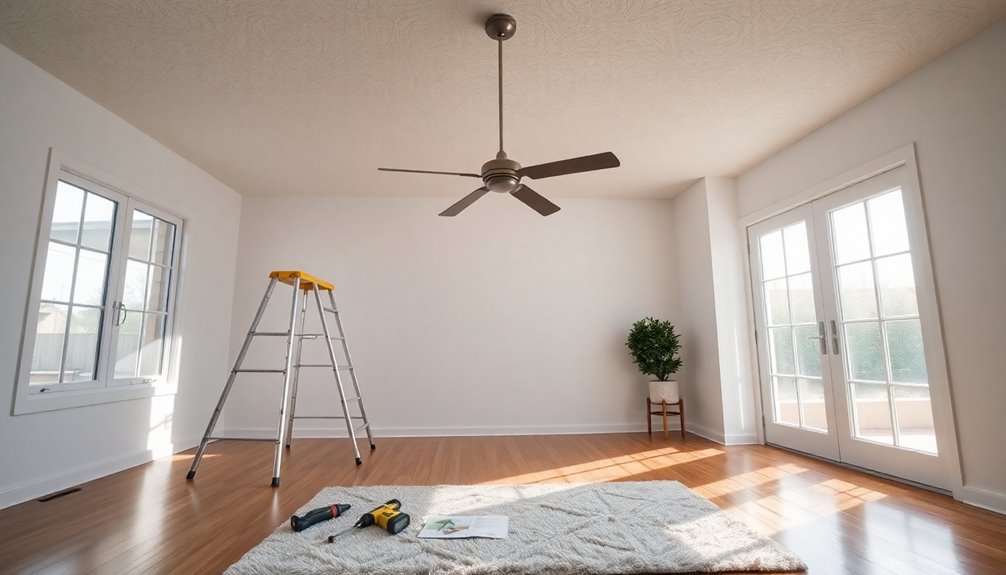
Ceiling Fan Installation Basics

When you're ready to install a ceiling fan where a light fixture once hung, it's essential to guarantee the existing electrical box can support the fan's weight. Typically, ceiling fans weigh between 10 to 15 pounds, so you'll want to verify your electrical box is up to the task.
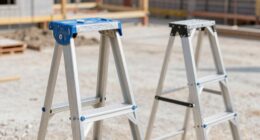
You may need to reinforce it for proper support, keeping safety in mind. To do this, consider attaching a support beam between the ceiling joists or using a ceiling fan brace kit. These kits simplify the installation process and come with the necessary mounting hardware.
Make sure you securely fasten the fan to the electrical box using bolts or screws, following the manufacturer's instructions to guarantee stability and functionality.
Don't forget about regular inspection of your mounting hardware and support systems. This step is important for maintaining your ceiling fan's performance and preventing wobbling or vibration during operation.
Importance of Structural Support

When you're installing a ceiling fan, proper structural support is essential to prevent safety hazards.
Your fan needs a secure mounting system that can handle its weight and guarantee stability during operation.
Without adequate support, you risk vibration and wobbling, which can damage your ceiling and electrical connections over time.
Preventing Safety Hazards
Guaranteeing proper structural support is vital for a safe ceiling fan installation. A ceiling fan typically weighs between 10 to 15 pounds, so you need a sturdy mounting box that can handle this weight with a static safety factor of 10:1.
Without sufficient support, you risk dangerous wobbling and vibrations, which could lead to the fan detaching from the ceiling and creating serious safety hazards.
To achieve stability, the mounting box must be securely fastened to at least two adjacent ceiling joists. This guarantees that the fan remains safely anchored in place.
Consider using ceiling fan brace kits or installing a support beam between joists to enhance the safety and longevity of your installation. These options provide added structural support and prevent potential failures over time.
Additionally, regularly inspecting your mounting hardware is vital. Make sure it meets safety standards to avoid accidents related to fan instability.
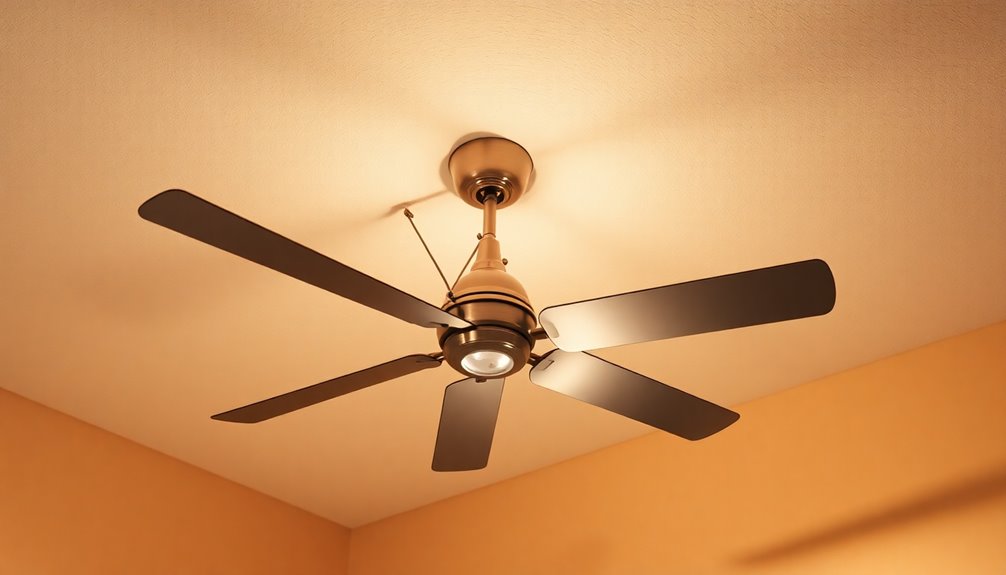
Ensuring Fan Stability
Stability is vital for a ceiling fan's performance and safety. When you install a ceiling fan, you need to verify that the mounting box can support its weight, typically between 10 to 15 pounds.
Ideally, the support should have a static safety factor of 10:1 to prevent any issues during operation. To achieve this, you can either secure a new mounting box to two adjacent ceiling joists or use a fan brace kit with a built-in electrical box.
Insufficient support can lead to vibration and wobbling, damaging both the fan and your ceiling structure over time. To enhance stability, consider adding a 2×4 or 2×6 between the joists in the attic. This additional support can greatly improve the safety of the installation.
Regular inspection of the mounting hardware and support systems is essential. Checking for any signs of wear or instability can help you avoid potential hazards from an unsupported ceiling fan.
Electrical Wiring Considerations

Before you install your ceiling fan, it's essential to assess the existing wiring for compatibility with the fan's power needs.
You'll want to evaluate the circuit capacity to guarantee it can handle the wattage without overloading.
Checking these factors helps confirm a safe and efficient installation.
Wiring Compatibility Assessments
When installing a ceiling fan where a light fixture once hung, it's vital to assess the existing wiring for compatibility. Here are three key points to take into account:
- Wiring Condition: Check the insulation and connections to guarantee they're in good shape. Degraded insulation or corroded connections can lead to increased resistance and electrical hazards.
- Ground Wire Presence: Verify that a ground wire is present. This is imperative for the safe installation and operation of both the ceiling fan and light fixture, helping to prevent electrical shocks.
- Junction Box Suitability: Confirm the junction box is rated for ceiling fans. Standard light fixture boxes may not support the fan's weight and movement, compromising safety.
Additionally, evaluate the amperage rating of the circuit. Standard ceiling fans typically draw around 1 A of current, so you need to confirm that your circuit can handle the additional electrical load.
Finally, make sure the wiring meets modern safety standards, especially if it dates back to the 1920s. Proper assessments can help you avoid potential issues and guarantee a safe installation.
Circuit Capacity Evaluation
Evaluating the circuit capacity is essential for confirming your ceiling fan operates safely and efficiently. Standard ceiling fans typically draw about 1 amp of current, so you need to verify that your existing circuit can handle this additional load when replacing a light fixture.
Start by checking if the circuit has other devices drawing power simultaneously, as this could lead to overload and potential circuit failure.
If your wiring dates back to the 1920s, it may not meet current safety standards, necessitating a wiring examination or replacement to support modern ceiling fan requirements. Look for a ground wire and an updated circuit breaker box; their presence often indicates that the wiring has been modernized and is likely safe for fan installation.
Always consult local electrical codes, such as the 2020 NEC, to confirm compliance during the installation process.
Installation Tools and Techniques

For a successful ceiling fan installation, having the right tools and techniques at your fingertips is vital. Here are three key tools you'll need:
- Wire stripper: Prepares electrical wires for a secure connection.
- Stud finder: Locates ceiling joists for proper ceiling fan support.
- Level: Guarantees your fan is mounted evenly to prevent wobbling.
Start by using the stud finder to locate the ceiling joists. This is essential for securely mounting the ceiling fan support, which guarantees the fan's stability. Additionally, it is important to ensure proper installation to enhance energy efficiency, which can lead to reduced energy costs over time. Proper installation can also contribute to improved air quality in your indoor environment. Using a ceiling fan with high CFM ratings can significantly improve airflow in your space. Moreover, maintaining air purifier efficiency can further enhance the overall air quality in your home.
Next, grab your screwdriver set to remove the existing light fixture and secure the ceiling fan mount to the ceiling box. Make sure to use a wire stripper to prepare the electrical wires for connection, ensuring a clean fit with the wire nuts.
After connecting the wires, it's time to attach the fan assembly. You might need an adjustable wrench for tightening any bolts or nuts.
Finally, use the level to confirm that your ceiling fan is perfectly aligned. With these tools and techniques, you'll have a smooth installation process and enjoy your new ceiling fan in no time! Additionally, ensuring proper installation can enhance energy efficiency, which is crucial for maintaining healthy indoor air quality.
Safety Precautions to Follow

Before you start installing your ceiling fan, it's important to prioritize safety. First, turn off the power supply to the existing light fixture at the circuit breaker. This prevents any risk of electrical shock during installation.
Next, check that the junction box is rated for ceiling fan installation. It needs to support the fan's weight and must be securely fastened to the ceiling joists.
Make certain to look for a ground wire in the existing wiring setup, as proper grounding is vital for safety and compliance with electrical codes. Using protective gear, such as safety glasses and gloves, is essential. This minimizes the risk of injury from falling debris or electrical components.
If you're unsure about the wiring or the installation process, don't hesitate to consult a licensed electrician. They can verify that your installation meets local electrical codes and help avoid potential hazards.
Control Options for Ceiling Fans

Ceiling fan control options enhance convenience and comfort in your space. You can choose from various methods to operate your ceiling fan effectively:
- Remote Control: Many ceiling fans come equipped with a remote control, allowing you to adjust speed and power from anywhere in the room.
- Pull Chain: If you prefer a manual approach, a pull chain switch is a reliable alternative for controlling both the fan and the light fixture.
- Smart Home Integration: Some models offer compatibility with smart home systems, enabling you to control your ceiling fan using smartphone apps or voice commands.
When considering installation, make sure to integrate a receiver for remote control functionality within the fan shroud, as per the manufacturer's guidelines.
Always check those guidelines to understand the specific control options available for your ceiling fan model, as features can vary considerably.
This attention to detail guarantees that your ceiling fan operates seamlessly and provides the comfort you desire.
Troubleshooting Common Issues

Have you ever encountered frustrating issues with your ceiling fan after installation? If your ceiling fan light doesn't operate, start by checking all wiring connections. Confirm they're secure and properly configured.
Flickering lights during operation could signal loose wiring or compatibility issues, so inspect those connections thoroughly.
If the circuit breaker trips, it might be due to incorrect wiring or an overload. Verify that your fan doesn't exceed the circuit's amperage limit.
For remote-controlled fans, specific installation methods are essential. Make certain the receiver is placed correctly and consult the manufacturer's guidelines for troubleshooting instructions.
If your fan operates at inconsistent speeds or produces unusual noises, inspect the mounting hardware. Confirm the fan is securely attached to prevent wobbling and vibration, which can lead to further issues. Additionally, ensure that your ceiling fan is compatible with the existing heat pump system to avoid operational inefficiencies.
Frequently Asked Questions
Can You Run a Ceiling Fan off a Lighting Circuit?
Yes, you can run a ceiling fan off a lighting circuit, as long as the circuit can handle the extra load.
Typically, a ceiling fan draws around 1 amp, so check that no other devices on the same circuit will overload it. Make sure your circuit's total wattage stays within limits, usually around 15 amps.
For safety, consider installing a fan-rated junction box and use a separate switch for better control.
How Do I Know if My Light Box Will Support a Ceiling Fan?
Like a sturdy ship set to sail, your light box needs to be shipshape to support a ceiling fan.
First, check the weight rating—aim for at least 20-30 pounds. Inspect if it's mounted to two ceiling joists for stability.
Make certain it's designed for fans, as standard boxes often buckle under pressure. If unsure, upgrade to a ceiling fan-rated box or brace kit, and assess the wiring to guarantee safety and compatibility.
Can a Fan and Light Be on the Same Circuit?
Yes, a fan and light can be on the same circuit, as long as the circuit can handle the combined wattage.
You'll need to check the total load to avoid exceeding the circuit's amperage rating. If they're controlled by the same switch, make certain the wiring's compatible.
Using a pull chain can give you the option to operate them separately without additional wiring.
Always check local electrical codes for safety compliance when combining these fixtures.
How Much Does It Cost to Replace a Light Fixture With a Ceiling Fan?
Imagine you've just moved into a cozy home and want to swap that old light fixture for a stylish ceiling fan.
You can expect to spend between $150 and $500 for the entire job, including the fan and installation.
If you hire a pro, labor costs usually add another $100 to $300.
Don't forget about possible structural support or electrical upgrades, which could bump up the total even more.
Conclusion
Installing a ceiling fan where a light fixture is can be a great way to enhance your space. Did you know that ceiling fans can reduce energy costs by up to 40% in summer? By following the right steps and ensuring proper support and wiring, you can enjoy a cool breeze while saving money. Just remember to prioritize safety and consider your control options. With a little effort, you'll transform your room into a comfortable oasis.