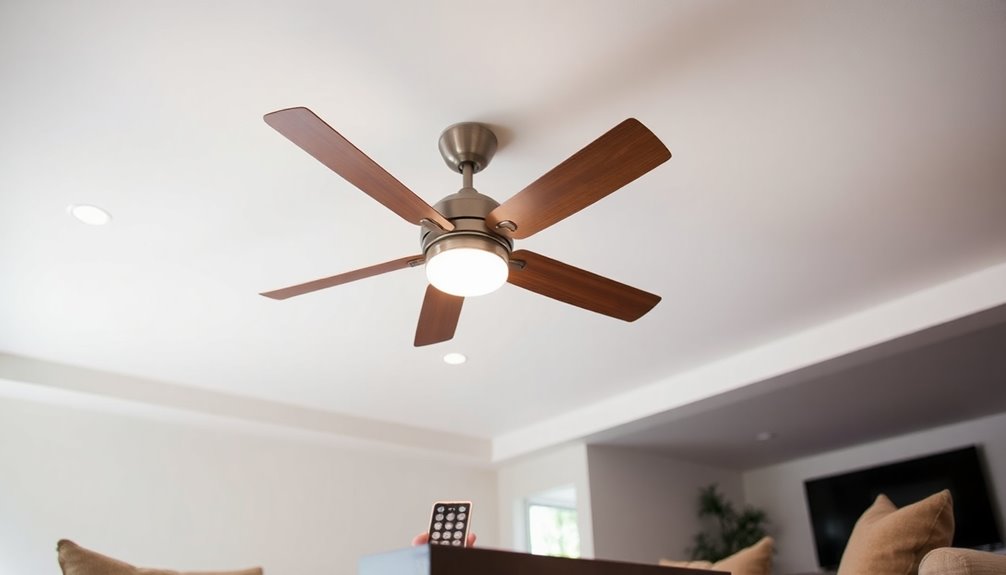
Yes, you can hardwire a remote control ceiling fan to improve its performance and eliminate the reliance on potentially unreliable remotes. By connecting it directly to your home's electrical wiring, you can guarantee smoother operation through wall switches instead. During installation, you'll need to remove the internal receiver and set up the appropriate wiring configuration, which may involve connecting the fan and light circuits separately. This way, you enhance safety and efficiency, reducing the risk of malfunctions. If you need more details on how to achieve this, you'll find further insights just ahead.
Key Takeaways
- Yes, a remote control ceiling fan can be hardwired to eliminate reliance on remote controls, enhancing reliability and functionality.
- The installation involves removing the fan's internal receiver and properly wiring the fan and light to a wall switch.
- Ensure a proper wiring configuration by splitting the incoming hot wire for independent control of the fan and light.
- Use compatible dimmer switches rated for ceiling fans to avoid flickering when hardwiring fans with light features.
- Follow safety precautions and local building codes during installation to ensure secure and efficient operation.
Understanding Hardwired Fans

When it comes to ceiling fans, understanding hardwired models is essential for making the right choice for your home. Hardwired ceiling fans connect directly to your electrical wiring, allowing you to operate them via wall switches instead of relying on remote control systems. This direct connection enhances reliability, as you eliminate potential malfunctions linked to battery-operated devices.
If you're considering a shift from a remote-controlled ceiling fan to a hardwired model, you'll appreciate the simplicity and cleaner aesthetic it brings. Removing the internal receiver often associated with remote controls not only streamlines your fan's design but also simplifies user operation.
However, keep in mind that hardwiring typically involves removing this receiver, which can add a layer of complexity to the installation process.
Fans designed for hardwiring come with dedicated wiring configurations that make it easier to integrate into your existing electrical systems. By opting for a hardwired ceiling fan, you're choosing a reliable and efficient option that enhances both functionality and the look of your space.
Understanding these aspects will help you make an informed decision that best suits your needs.
Installation Overview

When installing a hardwired remote control ceiling fan, you'll want to focus on the wiring configuration steps to guarantee everything connects properly.
You'll also need to contemplate control method alternatives that suit your needs.
#
Wiring Configuration
Steps
Installing a remote control ceiling fan requires careful attention to your wiring configuration. First, make certain to remove the fan's internal receiver; this step prevents interference with your hardwired setup.
Next, split the incoming hot wire into two separate lines: one will go directly to the fan, while the other connects to the wall switch for the light control.
Once you've done that, connect the wall switch load to the light lead of your fan. Make sure you're also connecting the neutral and ground wires correctly to guarantee safety and functionality.
Any unused light leads from the remote should be capped off to avoid short circuits during the hardwiring process.
After you've completed the wiring, securely replace the cover on the ceiling fan box, making sure everything is in place.
Finally, turn the power back on to test your setup. This wiring configuration will give you reliable control over your ceiling fan and light using the wall switch, eliminating the need for the remote while still guaranteeing your fan operates effectively.
Control Method Alternatives
Exploring control method alternatives for ceiling fans can enhance your overall comfort and convenience. One effective option is to hardwire your remote control ceiling fan, allowing you to control it directly through a wall switch. This setup not only simplifies operation but also lets you manage fan speed and light functions without relying on a remote, which can sometimes malfunction.
To achieve this, you'll need to bypass the fan's internal receiver. This typically involves separating the incoming power into two circuits: one dedicated to the fan and the other to the light. Such a configuration is particularly beneficial in dark environments, where finding a remote can be a hassle.
Moreover, hardwiring guarantees compliance with electrical codes, which enhances safety. When you connect the fan's power supply directly to the ceiling's hard wiring, you improve reliability by eliminating potential remote issues.
However, before proceeding, it's essential to check the specifications of your fan and control components to confirm they're designed for hardwired operation. This attention to detail will ensure a seamless and efficient installation process.
## Wiring Configuration

A proper wiring configuration is vital for guaranteeing your remote control ceiling fan operates efficiently and safely. When hardwiring, you'll typically need to remove the fan's internal receiver and connect it directly to the building's electrical wiring. This setup simplifies operation by allowing you to control the fan and light fixture separately using wall switches.
To achieve this, you'll split the incoming hot wire, providing distinct connections for both the fan and the light. Make sure to cap any unused wires from the fan's remote system to prevent potential short circuits.
It's essential to use a dedicated wiring configuration, often with 12/2 Romex that includes a ground wire, to guarantee reliable connections and compliance with electrical codes.
Each fan model might've specific wiring requirements, so always refer to the manufacturer's wiring diagram for guidance. By understanding how to properly configure the wires in the ceiling, you can guarantee your remote control ceiling fan functions as intended, giving you the convenience and control you desire.
Control Methods

When controlling your remote ceiling fan, you've got a few options to contemplate.
You can wire it to a standard wall switch, but watch out for compatibility issues with dimmers.
For more flexibility, a relay control system might be the way to go, allowing you to manage the fan and light from multiple switches.
Wall Switch Options
For better control over your ceiling fan, consider various wall switch options that enhance functionality and convenience. You can choose from dedicated switches for fan speed and light dimming, allowing you to operate each function separately. Hardwiring your ceiling fan bypasses remote controls, enabling direct management through wall switches, which is especially useful in low-light conditions.
Here's a quick overview of some wall switch options:
| Switch Type | Functionality |
|---|---|
| Single Speed Switch | Controls fan speed only |
| Light Dimmer Switch | Adjusts light brightness |
| Multi-Function Switch | Controls both fan speed and lights |
When hardwiring the ceiling fan, verify compatibility between the fan model and the wall switch to avoid any functionality issues. A multi-function wall switch can greatly improve convenience, allowing you to control fan speed and lights seamlessly. Remember, hardwired setups may require removing the fan's internal receiver, simplifying wiring and reducing potential malfunctions associated with remote controls. This makes managing your ceiling fan more efficient and reliable.
Dimmer Compatibility Issues
Understanding dimmer compatibility issues is vital for anyone looking to control a ceiling fan with a wall switch. Many ceiling fans designed for remote control mightn't work well with standard dimmer switches.
These fans often require specific wiring configurations or proprietary switches for peak operation. When you're converting a remote control ceiling fan to hardwired control, it's important to choose a dimmer switch rated for ceiling fan use that meets the fan's voltage and current specifications.
Standard dimmers, especially those meant for LED lights, can lead to flickering or inadequate performance when used with ceiling fans. You should look for dimmers specifically designed for fan control.
Additionally, using a wall-mounted dimmer may limit your fan's speed control capabilities, as not all remote-controlled fans offer full functionality when connected to a dimmer switch.
Before proceeding, consult your ceiling fan's manual and the specifications of the dimmer switch to verify compatibility.
Improper configurations can damage both the fan and the control switch, so it's worth taking the time to confirm everything.
Relay Control Systems
If you're looking for alternatives to remote control operation, relay control systems offer a reliable solution for managing ceiling fan functions through hardwired connections.
These systems let you connect a relay directly to the fan's wiring, allowing you to operate the fan and control of the light from a wired switch. This setup can enhance usability by enabling multiple control points, such as three-way switch configurations.
With relay control systems, you can wire contacts to manage both fan speed and light functions separately, giving you greater flexibility.
However, it's essential to match the relay specifications with your fan's motor requirements to avoid any electrical issues or damage.
Keep in mind that proper installation requires a good understanding of electrical wiring and may involve additional components like safety modules to guarantee everything runs smoothly and safely.
Safety Precautions

Before diving into the installation of a remote control ceiling fan, it's vital to prioritize safety. First and foremost, always turn off the power at the breaker. This simple step can prevent electric shock and guarantee a safe working environment.
Once you've cut the power, grab a non-contact voltage tester to confirm that no live wires are present in the ceiling or the fan. If the tester indicates any live wires, don't proceed with the installation until the power source is properly disconnected.
Next, when you start working with the wire from the fan, verify all wiring connections are secure and insulated with wire nuts. This helps avoid short circuits and reduces the risk of electrical fires.
Additionally, it's important to follow local building codes and the National Electrical Code (NEC) regulations to make sure your installation meets safety standards. Taking these safety precautions won't only protect you during the installation but also guarantee the ceiling fan operates safely once it's powered on.
User Experiences

Many users share their experiences with remote control ceiling fans, highlighting a range of opinions on functionality and reliability. Many express frustration with proprietary remote controls, finding them unreliable and cumbersome. Instead, they prefer hardwired options for their simplicity and ease of use.
Those who've successfully hardwired their ceiling fans often report enhanced performance, as they no longer deal with remote control malfunctions. Community discussions indicate that removing the internal remote receiver can streamline the hardwiring process, leading to a more efficient fan operation.
Users appreciate the cleaner aesthetic of hardwired setups, allowing them to operate the fan and light directly from wall switches, eliminating the need for remotes entirely. DIY enthusiasts frequently share their satisfaction with achieving a hardwired fan installation.
They note reduced maintenance and improved performance compared to remote-operated models. This shift to hardwired options not only enhances reliability but also simplifies the overall user experience. Many users find that they enjoy their ceiling fans much more when they can control them directly without the hassles of remote controls.
Recommended Products

When upgrading to a hardwired ceiling fan setup, choosing the right products can markedly enhance your experience. You'll want to take into account a few key items for peak performance and convenience.
| Product | Description |
|---|---|
| Lutron Diva 3-Speed Fan Control | This switch allows for efficient speed control directly from the wall. |
| Leviton Smart-Switch System | Offers integrated control options, replacing remote systems seamlessly. |
| Compatible Dimmer Switches | Verify they work with ceiling fans to prevent flickering. |
| 12/4 Cable | Ideal for advanced setups that enable versatile control of fans and lights. |
Home improvement stores like Home Depot and Lowe's stock a variety of hardwired ceiling fans and compatible control products, making your installation process smoother. When selecting your fan and switch, confirm they're compatible to avoid any issues. By investing in quality products, you'll enjoy enhanced control over your ceiling fan, guaranteeing both comfort and functionality in your space.
Final Testing Steps

Now that you've selected the right products for your hardwired ceiling fan setup, it's time to test your installation and make certain everything works as intended.
Follow these steps to guarantee your fan with light operates smoothly:
- Restore Power: Go to your circuit breaker and turn the power back on to initiate testing.
- Check Wall Switch Functionality: Flip the wall switch to confirm that the fan and light respond correctly without any unusual sounds or flickering.
- Disable Remote Control: Make sure the remote control functionality is turned off, making sure the fan operates solely from the wall switch.
- Document Issues: If you encounter any problems, such as non-responsiveness or unexpected behavior, turn off the power immediately and check all wire connections.
Confirm that each connection is secure and correctly matched.
Document any issues you find, as this will help troubleshoot in future steps.
Testing is vital for a successful installation, so take your time to guarantee your fan with light operates as it should.
Happy testing!
Frequently Asked Questions
Can You Hardwire a Fan With a Remote?
Yes, you can hardwire a fan with a remote. To do this, you'll need to disconnect the fan's internal receiver and directly connect the wiring to your household electrical system.
Make certain to turn off the power at the circuit breaker first. Connect the black wire to the hot supply, the white to neutral, and the ground wire to ground.
Don't forget to cap off any unused wires to guarantee safety.
Can You Convert a Remote Ceiling Fan to Manual?
Yes, you can convert a remote ceiling fan to manual operation.
To do this, you'll need to remove the internal receiver from the fan and hardwire it directly to the power source. Make sure you properly match the wires, capping any unused ones to avoid electrical issues.
Keep in mind that not all fan models support this conversion, so double-check compatibility before starting.
Many find this change simplifies operation and enhances reliability.
Can You Use a Remote Ceiling Fan Without a Remote?
Yes, you can use a remote control ceiling fan without a remote.
To do this, you'll need to remove the receiver from the fan and hardwire it directly to your electrical supply. This way, the fan will operate using a wall switch instead.
Just make sure to connect the wires correctly, following the manufacturer's wiring diagram.
Keep in mind that the fan might default to a low speed when powered on without the remote.
Will a Ceiling Fan With a Remote Work With a Wall Switch?
Ever wondered if you can control a ceiling fan with a wall switch? It depends on the fan's design.
Some fans with remotes can work with wall switches if you remove the internal receiver, but many are built solely for remote use. If you connect it directly, you'll lose remote functionality.
Always check compatibility between the fan and switch to guarantee everything operates smoothly without a hitch. Make sure to cap any unused wires!
Conclusion
To sum up, hardwiring a remote control ceiling fan can transform your space from mundane to magical, reminiscent of a wizard's spell that brings comfort at your fingertips. By following the right steps and ensuring safety, you can enjoy seamless control over your fan's operation. Just like a well-crafted symphony, your home will feel harmonized and inviting. So, embrace the upgrade and let your ceiling fan dance to the rhythm of your desires with ease.
