Installing ceiling fans isn't too hard, especially if you gather the right tools and follow the steps carefully. You'll need to check your ceiling height and guarantee the fan's weight is supported properly. Always turn off the power before starting, and confirm your wiring is in good shape. Following the manufacturer's instructions for mounting and wiring is essential. If you find the process overwhelming, consider consulting a licensed electrician. With a bit of preparation and safety precautions, you'll have your fan up in no time. Stick around to discover more tips and insights on making the installation easier.
Key Takeaways
- Installation difficulty varies based on factors like ceiling height, fan weight, and wiring conditions.
- Proper preparation, including measuring room size and checking electrical boxes, simplifies the installation process.
- Safety precautions, such as shutting off power and using a voltage tester, are essential during installation.
- Fans with integrated features like lights or remote controls may require more complex wiring setups.
- Consulting a licensed electrician is advisable if you're unsure about any electrical work involved.
Factors Affecting Installation Difficulty

When it comes to installing ceiling fans, several factors can impact how difficult the job might be. One of the most significant considerations is the ceiling height. If your ceiling is high, you'll likely need longer downrods and specialized mounting techniques, which can complicate the ceiling fan installation.
The weight of the ceiling fan also plays an essential role; heavier fans require a properly rated electrical box and may need extra support to guarantee safety.
Next, you should check the existing wiring conditions. If your wiring is outdated or damaged, you might face additional challenges that could necessitate rewiring or consultation with a licensed electrician.
The type of mounting surface is another key factor. For example, sloped ceilings require special mounting kits to guarantee proper alignment, whereas flat ceilings may not.
Finally, if your ceiling fan comes with integrated lighting or remote controls, you'll need to navigate more complex wiring setups. This means understanding electrical configurations to guarantee everything works seamlessly.
Preparation Steps for Installation

Before you start installing your ceiling fan, it's important to prepare adequately to guarantee a smooth process. First, measure the room size and select a fan that fits appropriately. For a room around 200 sq ft, a 50-inch fan is typically recommended.
Check the ceiling height too; ideally, you want to maintain a distance of 7 to 10 feet from the floor for ideal airflow.
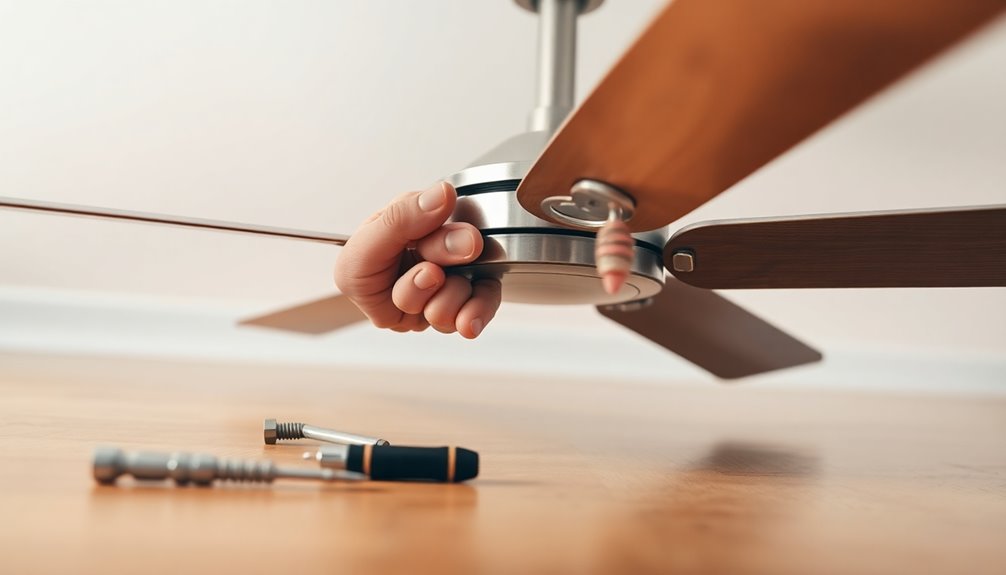
Next, gather the necessary tools, including a ladder, wire cutters, screwdrivers, and a voltage tester. Before you engage in the installation, make sure to turn off power at the circuit breaker to confirm safety and prevent electric shock.
Inspect the existing light fixture and verify that the junction box is fan-rated and securely anchored to support the fan's weight. If it's not, be prepared to replace it.
Familiarize yourself with the wire colors, as you'll need to connect them correctly during the installation. Finally, have your mounting bracket ready, as this will be essential for securing the fan in place once you're ready to proceed.
Proper preparation sets the stage for a successful ceiling fan installation.
Installation Process Overview

How do you guarantee a successful ceiling fan installation? Start the installation process by turning off the electrical power at the circuit breaker. This secures safety before you begin any work.
Next, remove the existing light fixture and inspect the junction box. Make certain it's fan-rated to support the ceiling fan properly.
Once you confirm compatibility, it's time to make the wiring connections. Match the black (hot), white (neutral), and green (ground) wires, securing them with wire nuts for a reliable connection.
After the wiring is complete, secure the fan to the mounting bracket, following the manufacturer's instructions closely to avoid issues later on.
Once the fan is mounted, attach the blades securely. This step is essential for guaranteeing smooth operation.
Finally, restore power at the circuit breaker and test the fan's functionality. Make certain it operates correctly and quietly.
Following these steps will help you successfully install your ceiling fan while ensuring it meets safety standards and performs well.
Safety Precautions to Follow

Completing the installation of your ceiling fan safely requires careful attention to several important precautions.
First, always turn off the electrical circuit at the main breaker box before starting your work. This step is vital to prevent electric shock or injury.
Next, grab a voltage tester and verify there are no live wires in the junction box before you touch any electrical connections. It's essential for your safety.
While working, wear safety goggles to protect your eyes from any debris that may arise from drilling or cutting. Additionally, be mindful of your ladder stability—never stand on the top step, as this increases your risk of falls.
If you're unsure about any aspect of the electrical work, don't hesitate to consult a licensed electrician. They can help confirm you're following all safety protocols and complying with local codes.
Tips for Successful Installation

Successful ceiling fan installation hinges on proper preparation and attention to detail. Start by gathering the necessary tools, including a ladder, screwdrivers, wire cutters, and a voltage tester. A well-prepared workspace enhances efficiency and minimizes delays.
Before you install, always turn off the power at the breaker box and confirm there are no live wires using the voltage tester. This guarantees your safety throughout the process.
When mounting the fan, choose a fan-rated electrical box that supports its weight to prevent hazards. Follow the manufacturer's instructions closely for specific mounting and wiring requirements, as different fans may have unique specifications based on their design.
Pay special attention to the fan wires; connect them securely with wire nuts to guarantee a safe and efficient connection. If your fan includes a light kit, make sure to wire it correctly as well.
Keep in mind the ideal clearance for your fan: at least 1.5 feet from the walls and 8 inches from the ceiling. This allows for better airflow and improves performance. Additionally, ensuring proper insulation can help maximize the overall energy efficiency of your home, much like home security systems can offer protection and peace of mind.
Finally, once everything is installed, double-check the wall switch functionality before restoring power at the breaker box. With these tips, you'll enjoy a successful ceiling fan installation!
Frequently Asked Questions
Is It Hard to Install a Ceiling Fan by Yourself?
Installing a ceiling fan by yourself can be a bit challenging, especially if you're not familiar with electrical work.
You'll need to remove any existing fixture, secure a fan-rated junction box, and wire the fan correctly.
If you're comfortable with basic wiring and your ceiling height is manageable, you can do it.
Just be mindful of the weight and guarantee proper support.
If you're unsure, don't hesitate to call a professional for help.
Can the Average Person Install a Ceiling Fan?
You might be surprised to learn that the average person can indeed install a ceiling fan.
With just basic electrical knowledge and a few common tools, you can tackle this project. Following safety guidelines, like turning off the power, is essential.
Most ceiling fan kits come with clear instructions, making the process easier. If you're familiar with wire color coding, you'll feel more confident.
But if you're unsure, it's wise to hire a professional.
Do You Need an Electrician to Hang a Ceiling Fan?
You might need an electrician to hang a ceiling fan, especially if you're unsure about electrical work.
An electrician guarantees the electrical box is rated properly and securely fastened to handle the fan's weight and vibrations.
If your ceiling height is unusual or wiring's complex, their expertise can simplify the process.
Plus, professional installation can help you avoid mistakes that lead to safety issues and might even be necessary for warranty compliance.
What Is the Number One Concern When Installing a Ceiling Fan?
When you're installing a ceiling fan, your number one concern should be ensuring the electrical box is fan-rated and securely anchored. If it's not, you could face safety hazards down the line.
It's essential to handle the wiring properly, too; connecting wires incorrectly can lead to malfunctions or even fires.
Don't forget about the fan's height and distance from walls, as ideal airflow and safety are key to a successful installation.
Conclusion
In the end, installing a ceiling fan doesn't have to feel like climbing a mountain. With the right preparation and a clear plan, you can transform your space into a cool oasis with the gentle whir of blades above. Picture yourself basking in the invigorating breeze, all thanks to your handy work. So, grab your tools and take the plunge—your ceiling fan awaits, ready to spin a little magic into your home!


