Yes, ceiling fans are generally easy to install, especially for DIY enthusiasts. You'll start by gathering your tools, turning off the power, and removing the old light fixture. Make sure you check the electrical box to confirm it can support a fan. During installation, match the wires properly and securely attach the fan to the ceiling. Once everything is in place, you'll just need to test the fan's functions. Following clear instructions and safety precautions makes the process even smoother. There's more to discover about potential challenges and benefits that might interest you.
Key Takeaways
- Ceiling fans can be easy to install for those with basic electrical skills and the right tools, like screwdrivers and wire strippers.
- Following the manufacturer's instructions ensures a smoother installation process and reduces the chance of errors.
- Proper preparation, such as measuring the room and ensuring the electrical box is fan-rated, simplifies the installation.
- Safety measures, like turning off power and using voltage testers, are crucial to prevent accidents during installation.
- Troubleshooting common issues, like wobbling or electrical problems, can enhance confidence in DIY ceiling fan installation.

Westinghouse 0110000 Saf-T-Brace for Ceiling Fans, 3 Teeth, Twist and Lock,Silver(Pack of 1)
Saf-T-Brace allows safe, simple installation of fans and fixtures
As an affiliate, we earn on qualifying purchases.
As an affiliate, we earn on qualifying purchases.
Preparation for Installation
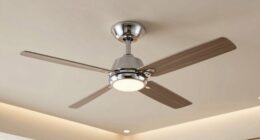
Before you begin installing your ceiling fan, it's vital to prepare properly. Start by measuring the room size to select an appropriately sized ceiling fan. The blade span should match the room's square footage divided by four for ideal airflow.
Once you've chosen the fan, gather the necessary tools for installation, including a screwdriver, wire stripper, pliers, and a ladder. These tools will guarantee a smooth setup process.
Next, you'll need to remove the existing light fixture. Make sure you verify that the ceiling fan will be anchored to a fan-rated electrical box, designed to support the weight and movement of the fan.
Before proceeding, check for any obstructions like wiring or plumbing in the joists that could complicate your installation.
Finally, don't skip reading the manufacturer's instructions specific to your ceiling fan model. They provide essential guidance for proper installation, making sure you don't overlook any important steps.
With everything in place, you're well-prepared to move forward with your ceiling fan installation confidently!
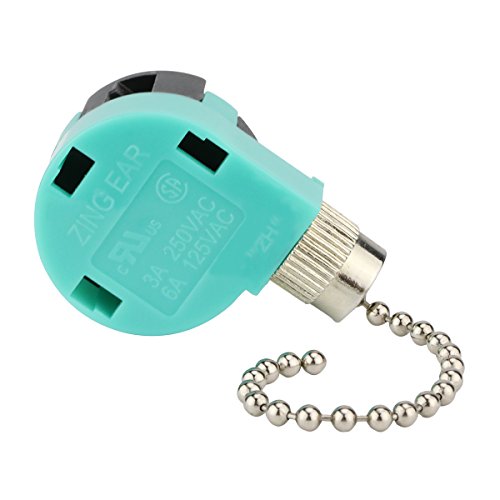
Ceiling Fan Switch 3 Speed 4 Wire Zing Ear ZE 268S6 Pull Chain Switch Control Replacement 3 Speed Control S Witch Ceiling Fans, Wall Lamps, Cabinet Light
Zing Ear Ceiling Fan Switch 3 speed 4 wire pull chain replacment: Model ZE-268S6.
As an affiliate, we earn on qualifying purchases.
As an affiliate, we earn on qualifying purchases.
Safety Measures

When installing a ceiling fan, it's vital to prioritize safety to prevent accidents and injuries. Start by turning off the power at the circuit breaker. This simple step helps you avoid electrical shock. After that, use a voltage tester to confirm that the power is indeed off before you touch any electrical wiring or fixtures.
While working, make sure to wear safety goggles and gloves to protect yourself from debris or sharp edges. It's also important to guarantee that your ladder is stable and positioned correctly to prevent falls while you're at height. Additionally, don't forget to consult the manufacturer's instructions for any specific safety guidelines related to your ceiling fan model.
Here's a quick reference table for safety measures:
| Safety Measure | Importance |
|---|---|
| Turn off power at circuit breaker | Prevents electrical shock |
| Use a voltage tester | Confirms power is off |
| Wear safety goggles | Protects eyes from debris |
| Guarantee stable ladder | Prevents falls while working |

Klein Tools NCVT1P Voltage Tester, Non-Contact Low Voltage Tester Pen, 50V to 1000V AC, Audible and Flashing LED Alarms, Pocket Clip
NON-CONTACT DETECTION of AC voltage in cables, cords, circuit breakers, lighting fixtures, switches, non-tamper-resistant outlets, and wires
As an affiliate, we earn on qualifying purchases.
As an affiliate, we earn on qualifying purchases.
Removing Old Fixtures

Before you remove your old fixture, make sure you've turned off the power at the circuit breaker to stay safe.
Start by taking off any light bulbs and shades to access the mounting screws, then unscrew the fixture from the ceiling.
Once it's detached, carefully disconnect the wires, keeping track of how they're connected for when you install the new fan. Regular cleaning is essential for optimal performance of your new ceiling fan to ensure it operates efficiently. Additionally, proper installation can enhance airflow efficiency and maximize the comfort in your space.
Power Supply Disconnection
To guarantee safety during your ceiling fan installation, start by turning off the power supply at the circuit breaker. This vital step guarantees you won't face any electrical hazards while working on the old light fixture.
Once the power is off, begin disconnecting the fixture by removing the light bulbs and shade to access the mounting screws. Carefully unscrew these mounting screws and gently pull the old fixture away from the ceiling, being cautious not to damage any wiring.
As you disconnect the wires from the old fixture, pay attention to the wire connections: black to black, white to white, and green or bare to ground. This will help you during the installation process of your new ceiling fan.
After detaching the old fixture, it's important to cap any exposed wires with wire nuts. This precaution prevents accidental contact and keeps the area safe until you're ready to install the new fan.
Fixture Removal Steps
Once you've safely capped off the exposed wires after removing the old light fixture, you're ready to tackle the next steps in removing the fixture.
First, always confirm you've turned off the power to the existing light fixture at the circuit breaker for your safety. Start by removing any light bulbs and shades from the fixture. This not only lessens the weight but also simplifies the detachment process.
Next, use a stable ladder to reach the fixture and unscrew the mounting screws that hold it in place. Carefully detach the fixture from the ceiling.
Once it's free, it's time to disconnect the wires. Take note of the wire connections, as this will help during the installation of your new ceiling fan.
After disconnecting the wires, cap any exposed ones with wire nuts to guarantee safety. Additionally, regular checks can prevent leaks and clogs, which will be beneficial when installing new fixtures in the future.
Finally, make sure you dispose of the old fixture components properly. Following these fixture removal steps will set you up for a smooth shift to your new ceiling fan.
Wiring Inspection Process
Inspecting the wiring is a crucial step when removing old fixtures, and it starts with confirming the power is turned off at the circuit breaker. This precaution helps prevent electrical shock during the wiring inspection process.
Once you verify the power is off, carefully detach the wires from the old fixture after unscrewing the mounting screws. Make sure to take note of the wire connections for proper reinstallation when you install a ceiling fan.
As you proceed, keep the following in mind:
- Inspect the electrical box for any signs of damage or wear.
- Check the junction box for compatibility and ceiling fan support.
- Cap any exposed wires with wire nuts for safety.
- Replace or repair any damaged wiring before proceeding.
This thorough inspection guarantees the safety and functionality of your new ceiling fan. Additionally, ensuring that the electrical box is rated for ceiling fan support is vital, as a properly supported junction box helps prevent potential hazards during operation.
If the junction box isn't rated for ceiling fan support, consider replacing it before installing your fan. Paying close attention to these details not only enhances your safety but also assures a successful installation.

KINGRACK 5 Step Ladder with Tool Platform, 900 lbs Sturdy Step Stool with Handrail, Folding Steel Ladder with Wide Pedal, Safety Ladder for Adults Home Outdoor Painting Garage Office
Non Skid Wide Pedal: This 5 step sturdy ladder features the wide and durable treads with non-skid patterns,…
As an affiliate, we earn on qualifying purchases.
As an affiliate, we earn on qualifying purchases.
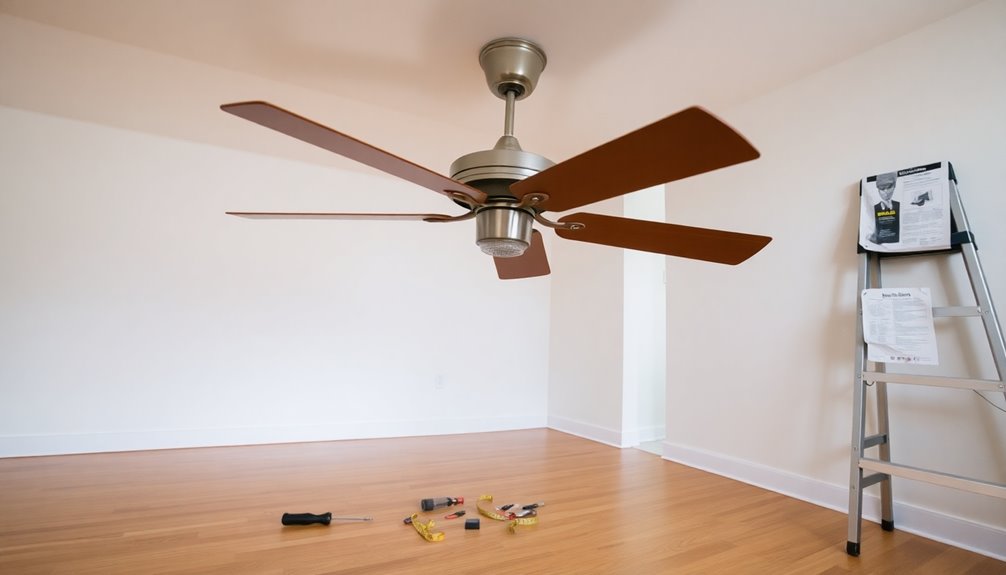
Installing the Ceiling Fan

When you're ready to install your new ceiling fan, you'll need some essential tools like a screwdriver and a ladder.
Following a step-by-step installation process guarantees everything goes smoothly, but don't forget to prioritize safety by turning off the power at the circuit breaker first.
With the right approach, you can enjoy a cool breeze in no time.
Essential Tools Required
Installing a ceiling fan requires a few essential tools to guarantee the process goes smoothly and safely. Having the right equipment on hand not only makes the job easier but also helps ensure your safety throughout the installation.
Here's what you'll need:
- Screwdriver: Both flathead and Phillips varieties are necessary for different screws.
- Voltage Tester: This is vital for confirming that the power is off before you begin working, safeguarding your safety.
- Ladder: A sturdy ladder or step stool allows you to reach the ceiling comfortably for proper installation.
- Electrical Tape: This helps secure wire connections and prevents accidental contact with live wires.
Additionally, you might want to have a wire stripper/cutter for trimming and preparing the wires, and a socket wrench or drill to secure the mounting bracket and fan to the junction box efficiently. It's also crucial to ensure that the ceiling fan is properly balanced to avoid mechanical failure that could lead to unsafe conditions or accidents. Proper installation techniques are essential for maintaining safety standards during the process.
Step-by-Step Installation Process
Before diving into the installation of your ceiling fan, make certain the power is completely off at the circuit breaker. Use a voltage tester to confirm that there's no electricity flowing to the existing fixture.
Next, remove the old light fixture carefully, disconnecting the wires while noting their connections for your reference.
Now, it's time to install a fan-rated electrical box. Securely attach this box to a ceiling joist to guarantee it can support the weight of the new ceiling fan, following local building codes for safety.
After this, connect the ceiling fan wires to the household wiring: match black to black (power), white to white (neutral), and ground the fan wire to the ground wire in the ceiling.
Once you've secured all connections and checked for stability, it's time to attach the blades to your ceiling fan. Remember, ensuring proper filter replacement is crucial for maintaining optimal performance of air purifiers in the same space.
Finally, turn the power back on at the circuit breaker and test the fan to verify it operates properly. If everything's working as it should, you've successfully completed installing a ceiling fan!
Safety Precautions to Follow
It's important to prioritize safety while installing a ceiling fan. Following a few key safety precautions can help prevent accidents and guarantee a smooth installation process.
- Always turn off the power at the circuit breaker before you begin. This step is vital for avoiding electrical shock.
- Use a voltage tester to confirm that no electricity is flowing to the wires you'll be working with. This adds an extra layer of safety and peace of mind.
- Wear safety goggles and gloves to protect yourself from any debris and electrical hazards during the installation.
- Check that the junction box is rated for ceiling fan installation. If it's not, replace it with a fan-rated box to safely support the weight and movement of the fan.
Additionally, consider that proper installation practices can significantly reduce the risk of operational problems later on. If you feel uncertain about wiring connections or any electrical work, don't hesitate to consult a licensed electrician. Their expertise can help you avoid potential hazards and guarantee your ceiling fan is installed correctly.
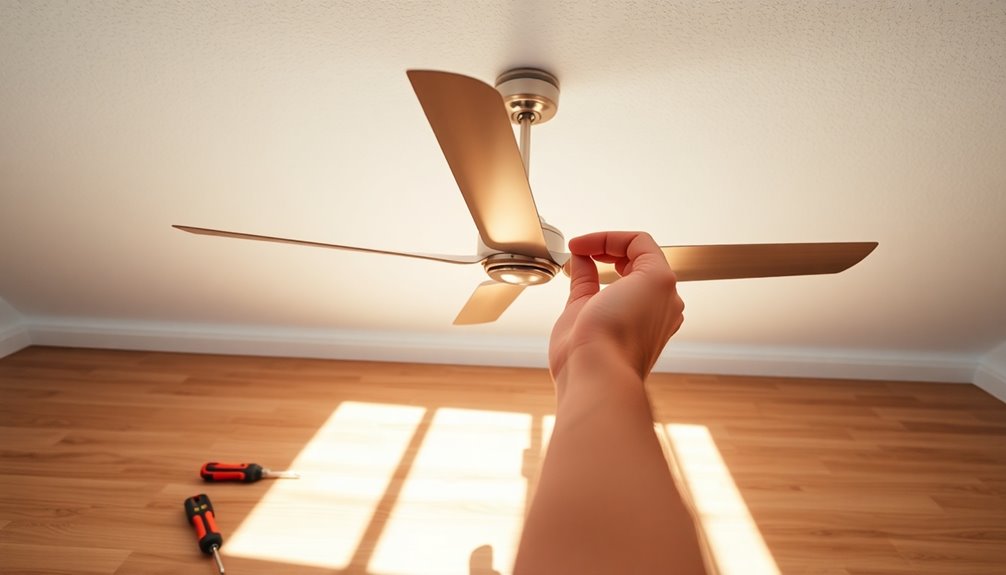
Final Assembly Steps

As you approach the final assembly steps of your ceiling fan installation, it is crucial to make certain everything is securely in place to guarantee smooth operation. Start by verifying the mounting bracket is tightly attached to the mounting box. This prevents wobbling or instability. Loosen the mounting screws a bit to help align and secure the fan motor easily once you lift the fan into place.
Next, you'll need to attach the fan blades according to the manufacturer's instructions. Make sure each blade is tightened properly to avoid noise or movement during use. If your fan includes a light kit, follow the specific steps in the manual to install it, confirming that all electrical connections are secure.
Finally, restore power and conduct a thorough test of your fan's functionality. Check the speed settings and light features to confirm everything is operating correctly.
| Step | Action | Notes |
|---|---|---|
| 1. Secure Mounting | Verify the mounting bracket is tight | Prevents wobbling |
| 2. Attach Fan | Lift and secure the fan in place | Loosen screws for alignment |
| 3. Install Light Kit | Follow instructions for installation | Check all electrical connections |
| 4. Test Functionality | Restore power and test all features | Confirm proper operation |
Benefits of Ceiling Fans

Ceiling fans offer a range of benefits that can enhance your home's comfort and efficiency. By improving air circulation, these fans can greatly impact your energy bill, especially during warmer months. You might save up to 30% on cooling expenses when you use a ceiling fan in conjunction with your HVAC system.
Here are some key advantages:
- Consistent air circulation: They create a breezy feel in summer and help distribute warm air in winter when run in reverse.
- Improved HVAC efficiency: Ceiling fans help your heating and cooling systems work more effectively, reducing overall energy consumption.
- Humidity reduction: By increasing ventilation, ceiling fans can reduce humidity levels, creating a more comfortable indoor environment.
- Energy-efficient motors: Many modern ceiling fans come equipped with energy-efficient motors, making them an eco-friendly choice.
With their aesthetic versatility, ceiling fans also serve as functional decor elements that complement various interior designs.
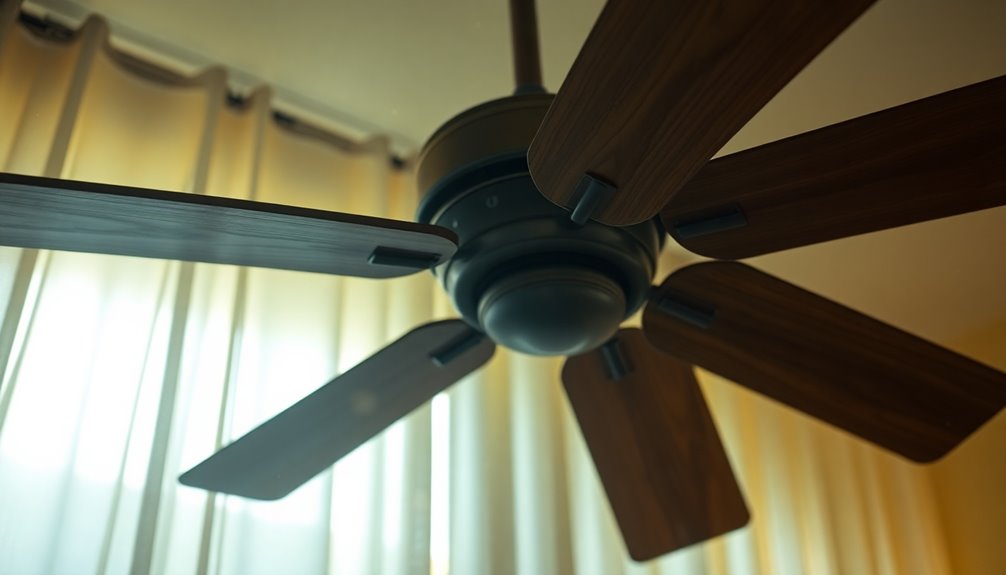
Troubleshooting Common Issues
Facing issues with your ceiling fan can be frustrating, but many common problems are easy to troubleshoot.
If your ceiling fan wobbles during operation, check to verify the blades are properly aligned and securely attached. Misalignment can lead to noise and instability.
If the fan doesn't turn on, double-check that power is restored at the circuit breaker and confirm all wire connections are secure, especially the black (hot) and white (neutral) wires.
When your fan runs but the light kit doesn't, verify the light bulb is functional and properly seated. Also, check for loose connections in the light kit wiring.
If you hear a clicking sound while the fan operates, inspect the blade brackets and screws, as they may need tightening to prevent interference during rotation.
If your remote control is unresponsive, try replacing the batteries and verify it's paired with the fan according to the manufacturer's instructions.
Frequently Asked Questions
Can I Install a Ceiling Fan Myself?
Yes, you can install a ceiling fan yourself if you have some basic electrical knowledge and the right tools.
Start by turning off the power, then remove the old fixture.
Attach the mounting bracket securely, and connect the wires by matching colors: black to black, white to white, and ground to ground.
Don't forget to check that the power's off with a voltage tester.
If you're unsure, it's best to call a licensed electrician.
Can the Average Person Install a Ceiling Fan?
Installing a ceiling fan can feel as straightforward as assembling a puzzle. You can definitely manage it!
With basic electrical knowledge and the right tools, you're set. Most fans come with clear instructions and pre-assembled parts, making the process smoother.
Just remember to turn off the power and use a voltage tester for safety.
In about 1-3 hours, you can enjoy your new fan without needing a professional's help!
Can You Install a Ceiling Fan Without an Electrician?
Yes, you can install a ceiling fan without an electrician if you've got some basic electrical skills and the right tools.
Make certain you have a screwdriver, wire stripper, and voltage tester handy.
Before starting, always turn off the power at the circuit breaker to keep yourself safe.
Just verify the electrical box can support the fan's weight, and if you hit any roadblocks, don't hesitate to call a licensed electrician.
What Is the Number One Concern When Installing a Ceiling Fan?
When installing a ceiling fan, your number one concern should be ensuring that the electrical box is fan-rated and securely anchored.
An improperly installed box can lead to serious accidents or damage. Before you start, remember to turn off the power at the circuit breaker to avoid electrical shock.
Also, pay close attention to proper wiring connections and maintain adequate clearance between the fan blades and the ceiling for ideal airflow and safety.
Conclusion
To sum up, installing a ceiling fan can be a straightforward DIY project if you follow the right steps. With a bit of preparation and attention to safety, you can enjoy the benefits of improved airflow and energy efficiency in no time. So, why not take the plunge and enhance your space with a stylish ceiling fan? You'll not only keep cool but also add a touch of flair to your home. Happy installing!