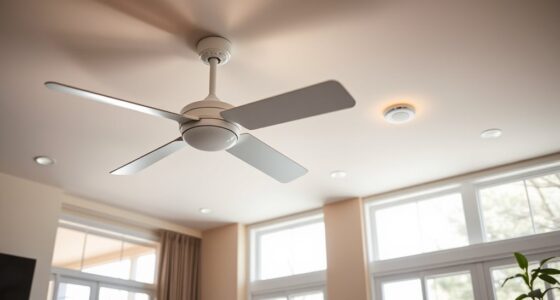
To maximize airflow, place vents and intakes with at least 18-24 inches of clearance from obstructions, avoiding tight spaces near walls or furniture. Position exhaust vents away from recirculation zones and consider height—higher vents aid cooling, lower vents help heating. Keep ductwork free of sharp bends and guarantee proper sizing to prevent pressure drops. Maintain at least 12 inches of clearance around HVAC units for maintenance access. Proper placement and ongoing adjustments can greatly enhance efficiency—further insights can help you achieve ideal results.
Key Takeaways
- Maintain at least 18-24 inches of clearance in front of vents and intakes to ensure proper airflow.
- Position exhaust outlets away from recirculation zones and near high-humidity areas like kitchens and bathrooms.
- Place vents higher for cooling and lower for heating, aligning with natural airflow patterns.
- Keep a minimum of 12 inches of space around HVAC units for easy maintenance and optimal performance.
- Use gradual duct bends and avoid obstructions to minimize pressure drops and promote steady airflow.

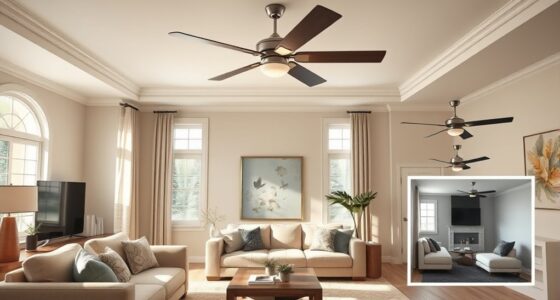
Proper placement and clearance are essential to maximize airflow efficiency in any space. When installing HVAC components or ventilation systems, understanding the importance of strategic positioning can considerably impact performance. You need to guarantee that air intakes and exhausts are positioned correctly to promote consistent circulation, prevent stagnation, and reduce energy consumption. This involves considering both the location relative to walls, furniture, and other obstructions and the vertical and horizontal clearances around the system.
Begin by avoiding tight spaces or areas where airflow could be obstructed. For example, air vents placed behind furniture, near curtains, or inside alcoves hinder airflow and cause uneven distribution. Maintaining at least 18 to 24 inches of clearance in front of vents and intakes ensures that air can flow freely without turbulence or blockages. Similarly, exhaust outlets should be positioned so that expelled air isn’t recirculated or trapped within the space. Placing exhaust vents near high-traffic or high-humidity zones, like kitchens or bathrooms, helps maximize their effectiveness without disrupting overall airflow patterns.
In terms of vertical placement, your goal should be to position vents and returns at strategic heights. For cooling, higher placements tend to promote better circulation since cool air sinks. Conversely, for heating, lower placements can be advantageous because warm air rises naturally. Think about the specific needs of each space and the type of airflow desired. When installing ductwork, avoid sharp bends or constrictions, as these cause pressure drops and reduce airflow efficiency. Instead, use gradual curves and appropriately sized ducts to maintain steady, unobstructed airflow.
Clearance around equipment is equally critical. You should keep a minimum of 12 inches of space around HVAC units to facilitate maintenance, inspections, and airflow. Overcrowding or placing equipment too close to walls or other objects can restrict air intake and exhaust, leading to system strain and reduced efficiency. Ensure that filters are accessible and replaceable without difficulty; clogged filters diminish airflow and increase energy consumption. Regularly inspect and clean these filters to maintain ideal airflow and system performance.
Finally, avoid placing vents or return registers in locations where airflow might be blocked by furniture, curtains, or other objects. Properly aligning vents with the room’s layout promotes even air distribution. When planning the layout, consider the natural flow of air and adjust placements accordingly. Effective placement and clearance are not solely about initial installation but involve ongoing assessment and adjustments to sustain maximum airflow efficiency. By following these precise guidelines, you create an environment where your HVAC system operates at peak performance, reducing energy costs and increasing comfort.

HOKLNUSE Dryer Vent Cleaner Kit Ducts Cleaning Kit for Dryer Air Duct HVAC Vent Fireplace Chimney Pellet Stove Gutter Downspout Dryer Vent Lint Removers with 1.5" 4" 6" Brush Heads(30 Feet)
Essential for home use: The HOKLNUSE dryer vent cleaner kit comes with a 1.5-inch,a 4-inch a 6-inch high-quality…
As an affiliate, we earn on qualifying purchases.
As an affiliate, we earn on qualifying purchases.
Frequently Asked Questions
How Do I Measure Optimal Clearance Distances for My Devices?
You measure ideal clearance distances by checking your device’s user manual for recommended space, typically 1-3 inches around vents and fans. Use a ruler or tape measure to guarantee these gaps are maintained during setup. Avoid crowding devices together, as insufficient clearance causes overheating and reduces efficiency. Regularly verify clearances, especially after moving or installing new equipment, to maintain proper airflow and device longevity.
Are There Specific Materials That Improve Airflow Efficiency?
Certain materials, like perforated metal or mesh panels, are designed to optimize airflow by reducing resistance and promoting better ventilation. You’ll find that lightweight, thermally conductive materials such as aluminum also help dissipate heat efficiently. Avoid solid plastics or dense composites, which can trap heat. Selecting materials with high thermal conductivity and minimal airflow resistance guarantees your devices stay cool, maintaining performance and longevity.
How Often Should I Re-Evaluate My Device Placement?
You should re-evaluate your device placement every 3 to 6 months or whenever you notice a decline in airflow or device performance. Regularly check for debris, dust buildup, or obstructions that could hinder airflow. Seasonal changes, room rearrangements, or device upgrades also warrant reassessment. By maintaining a routine, you guarantee peak airflow, prevent overheating, and prolong your device’s lifespan, keeping it functioning efficiently at all times.
Can Certain Furniture or Decor Obstruct Airflow?
Yes, certain furniture and decor can obstruct airflow. Avoid placing large or bulky items directly in front of vents or near air intake areas, as they block proper circulation. Keep pathways clear of objects that could disrupt airflow paths, and position furniture to allow unobstructed air movement. Regularly check for obstructions and rearrange items as needed to maintain ideal airflow, which enhances device efficiency and indoor air quality.
What Tools Can Help Assess Airflow in My Space?
You can use an anemometer to assess airflow in your space. For example, a homeowner measured air velocity near vents and found dead zones where airflow was weak. This device provides real-time, precise readings of airspeed, helping you identify obstructions or improper placements. Use it to test different areas, ensuring ideal ventilation and comfort. Regular assessments with an anemometer keep airflow efficient and improve indoor air quality.

AC Infinity 6" Backdraft Damper, One-Way Airflow Ducting Insert with Spring-Loaded Folding Blades for 6” Ducting in Range Hoods and Bathrooms Fans
An antidraft duct insert designed for use with range hoods, bathroom fans and other home HVAC applications.
As an affiliate, we earn on qualifying purchases.
As an affiliate, we earn on qualifying purchases.
Conclusion
When you optimize placement and maintain proper clearance, airflow flows seamlessly, reducing energy costs and equipment strain. It’s no coincidence that these small adjustments often lead to noticeable improvements in performance and longevity. By paying attention to these details, you create an environment where efficiency becomes effortless. Ultimately, the right setup isn’t just about compliance—it’s about ensuring your system operates at peak performance, quietly supporting your space every day without surprise setbacks.
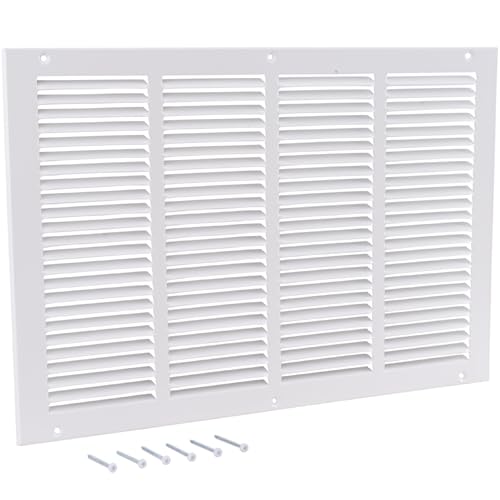
EZ-FLO 20 x 12 Inch (Duct Opening) Return Air Vent Cover for Wall or Ceiling, Solid Steel Return Air Grille, HVAC Vent Cover, White, 61644
WALL OR CEILING VENT: This rectangular return air grille is designed for a 20 in. x 12 in….
As an affiliate, we earn on qualifying purchases.
As an affiliate, we earn on qualifying purchases.

Voltset 4 Inch Duct Fan, Inline Ventilation Exhaust Fan, 280 CFM Duct Intake High Efficiency Air Fan for Vent Bathroom, Kitchen, Grow Tent, Hydroponics, 3D Printer
High-Efficiency Inline Duct Fan: Equipped with a powerful 2200 RPM motor and operating at less than 30 dB,…
As an affiliate, we earn on qualifying purchases.
As an affiliate, we earn on qualifying purchases.