
To perform a quick 10-minute wobble tune-up, start by gathering your tools and checking that your workspace is clean and stable. Identify the wobble source by observing when it occurs and inspecting your wheel for damage or loose parts. Tighten or replace any faulty hardware, then make sure your surface and equipment are level. Test your adjustments, verify stability, and regularly maintain your setup. Keep going, and you’ll discover even more ways to keep your bike smooth and wobble-free.
Key Takeaways
- Inspect and tighten loose bolts, nuts, and hardware to ensure all components are secure.
- Check wheel for warping or damage, and replace any warped or cracked parts promptly.
- Spin the wheel on a flat, level surface to identify uneven rotation or wobbling.
- Balance the wheel by adjusting the tire or adding small weights if necessary.
- Regularly clean and inspect the wheel and surrounding components for debris or wear.
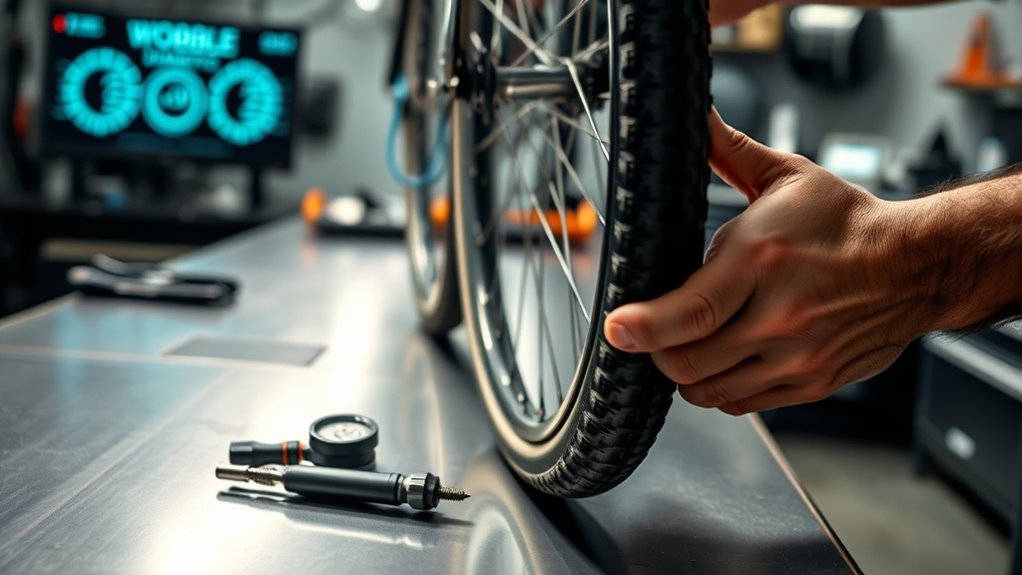
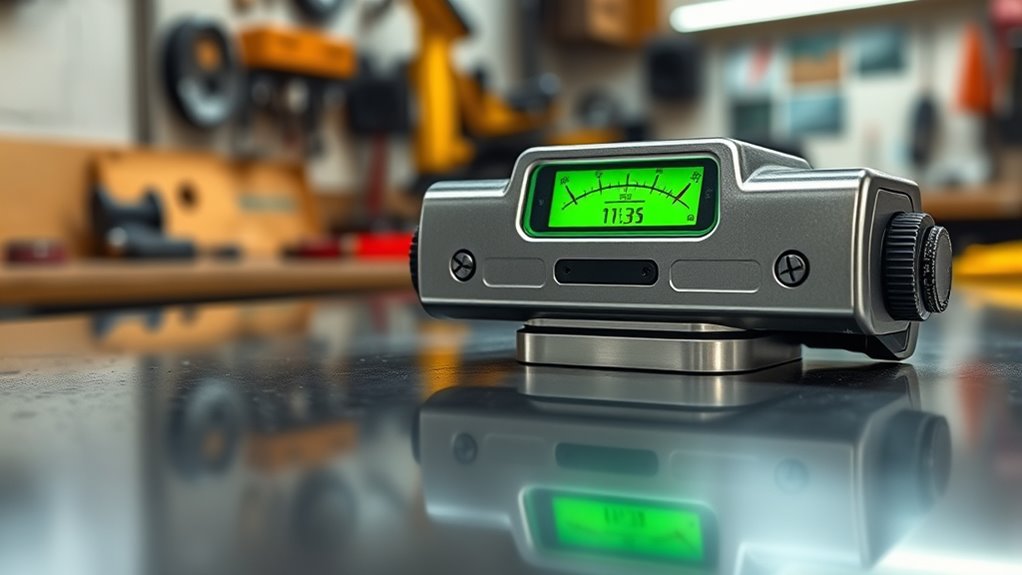
bike wheel truing stand
As an affiliate, we earn on qualifying purchases.
As an affiliate, we earn on qualifying purchases.
Gather Your Tools and Prepare

Before you begin troubleshooting your wobble, gather all the necessary tools and set up a clean workspace. Start with a tools checklist that includes a wrench, screwdriver, and possibly a torque meter, depending on your bike. Having everything within reach helps you work efficiently and avoids unnecessary interruptions. Remember to follow safety precautions—wear gloves and eye protection, and make sure your bike is stable on a flat surface. Clear the area of clutter so you can move freely and stay focused on the task. Double-check that your tools are in good condition to prevent slips or damage. Proper preparation saves time and minimizes frustration, making your wobble troubleshooting safer and more effective. Incorporating modern travel insights can also remind you to stay adaptable and resourceful during your repairs.
bike wheel balancing weights
As an affiliate, we earn on qualifying purchases.
As an affiliate, we earn on qualifying purchases.
Identify the Wobble Source
To effectively address a wobble, you need to pinpoint its origin. Start by observing when the wobble occurs—during acceleration, braking, or steady riding. This helps narrow down potential wobble causes. Check if the wobble worsens at specific speeds, indicating possible issues with the wheel, tire, or spokes. For source identification, examine the wheel for any visible damage, warping, or loose spokes. Spin the wheel and watch for uneven rotation or wobbling. Feel for any roughness or play that could signal bearing problems. Additionally, inspecting the dynamic balance of the wheel can reveal if uneven weight distribution is contributing to the wobble. Remember, the key is to systematically eliminate potential causes by observing and testing. Identifying the wobble source accurately saves time and ensures you target the right component for repair or adjustment.
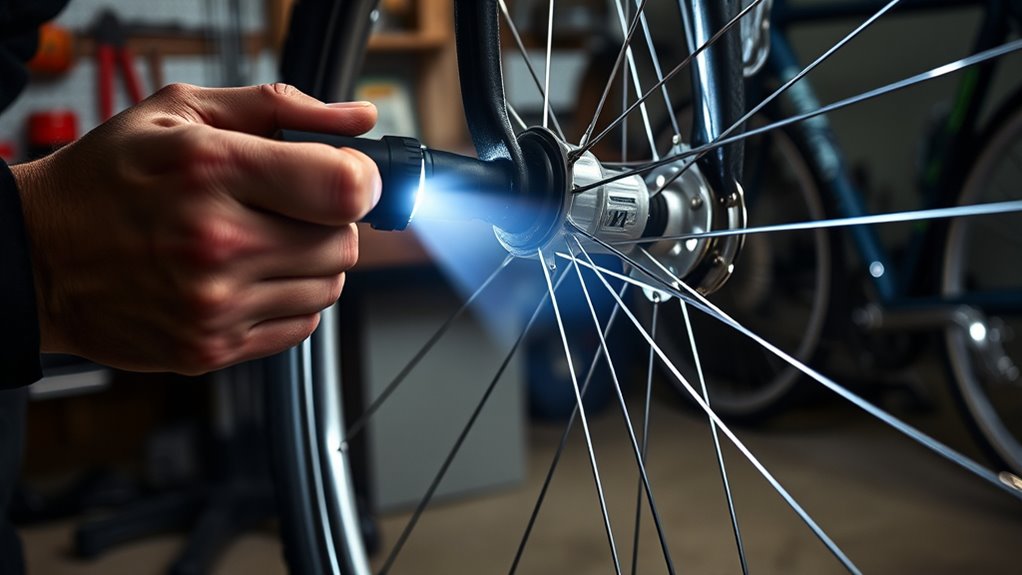
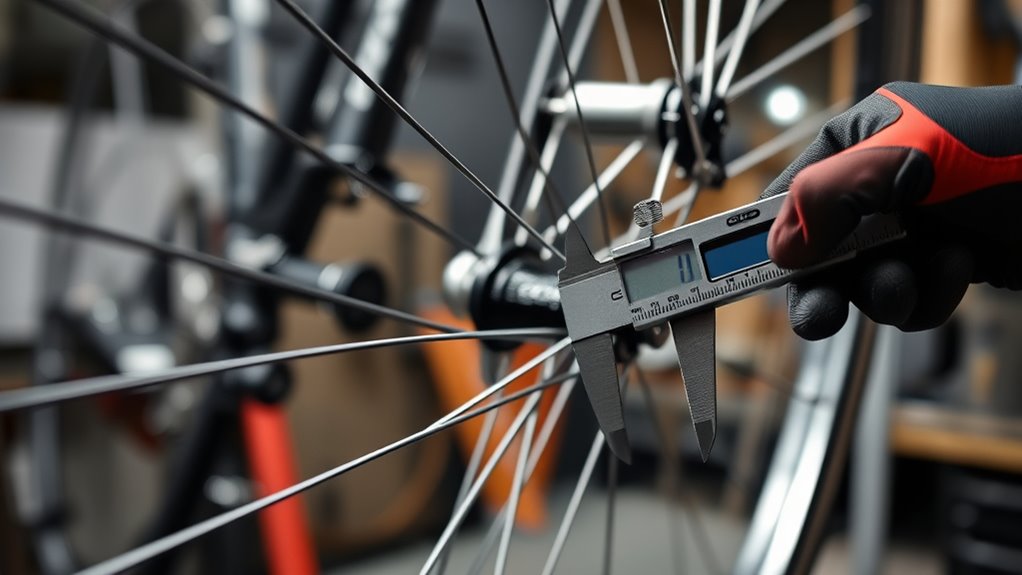
bike spoke wrench
As an affiliate, we earn on qualifying purchases.
As an affiliate, we earn on qualifying purchases.
Check for Loose Components

Loose components are often the culprit behind wobbling, so ensuring all fasteners and connections are checked thoroughly. Start by inspecting the hardware—nuts, bolts, screws, and clips—to confirm they’re tight and secure. Loose connections can compromise component stability, leading to persistent wobble issues. Pay special attention to mounting brackets, wheel assemblies, and any hardware that secures moving parts. If you notice any hardware that’s missing or damaged, replace or tighten it immediately. Maintaining good hardware integrity is key to preventing future wobble problems. Keep a wrench or screwdriver handy for quick adjustments. Regularly checking and tightening these components helps keep your equipment stable and reduces the risk of ongoing wobble, ensuring smooth operation and longevity. Additionally, proper maintenance practices can help identify potential issues early before they cause significant wobbling.
bike maintenance toolkit
As an affiliate, we earn on qualifying purchases.
As an affiliate, we earn on qualifying purchases.
Examine the Level and Surface
After tightening all hardware, it’s important to verify that the surface your equipment sits on is even. Use a level to check for any tilt or uneven spots. If the surface isn’t perfectly flat, consider surface smoothing techniques like adding shims or pads to correct minor imperfections. Proper leveling ensures that the equipment remains stable and reduces wobbling caused by an unstable foundation. When adjusting, focus on achieving a consistent bubble reading in all directions. This simple step can considerably improve stability without needing complex repairs. Remember, a well-balanced setup depends on both the equipment’s internal balance and the surface it rests on. For breeds with a refined appearance, choosing the right dog name can also enhance their overall stability and personality. Taking a few moments to examine and adjust the level and surface can save you time and frustration later.
Inspect for Warped or Damaged Parts
Inspecting your equipment for warped or damaged parts is a crucial step in wobble troubleshooting. When parts are warped or damaged, it can cause alignment issues and material deformation, leading to instability. To identify problems, check these key areas:
- Levers and arms – look for bends or cracks that could affect alignment.
- Mounts and brackets – ensure they’re straight and securely attached.
- Rotating components – inspect for dents or warps that hinder smooth movement.
- Structural frame – examine for any signs of deformation or stress fractures.
- Regularly inspecting and maintaining paint sprayer parts can prevent the buildup of damage that causes wobbling.
If you spot any warped or damaged parts, replacing or repairing them is essential. Ignoring these issues can worsen wobbling and compromise safety. Addressing material deformation early keeps your equipment running smoothly and reliably.
Tighten or Replace Faulty Hardware

Start by checking all the bolts and screws to guarantee they’re tight. If you find any worn or damaged parts, replace them promptly. This simple step can often eliminate wobbling caused by loose or faulty hardware. Additionally, inspecting signs of spoilage in any rubber or plastic components can prevent further issues.
Inspect Loose Bolts
Loose bolts are a common cause of wobbling, and addressing them promptly can restore stability. When bolts loosen, they can lead to alignment issues and increase vibration causes, worsening the wobble. To check for loose hardware: 1. Inspect all visible bolts and nuts on the wobble source. 2. Tighten any that feel slightly loose, but don’t overtighten and distort parts. 3. Look for signs of wear or damage—stripped threads or corrosion. 4. Replace any faulty hardware to prevent recurring issues. Additionally, proper maintenance can help prevent bolts from loosening over time, ensuring sustained stability.
2. Replace Worn Parts
Worn or damaged parts can substantially contribute to wobbling, so it’s essential to replace or tighten faulty hardware promptly. Inspect all components for signs of wear, such as cracks, corrosion, or deformation. Worn parts, like bearings, axles, or bushings, often cause instability. Use proper replacement techniques to ensure a secure fit. Start by removing the damaged part carefully, then match it with an exact replacement. When installing new parts, tighten bolts and nuts to manufacturer specifications to prevent future loosening. Don’t overlook small components—sometimes a worn washer or clip can cause wobble. Regularly checking for and replacing worn parts keeps your setup stable and reduces wobbling, ensuring smoother operation and extending the lifespan of your equipment. Additionally, verifying safety standards and regulations helps maintain proper installation and operation, further preventing issues.
Test Adjustments and Confirm Fixes
Once you’ve made the necessary adjustments, it’s crucial to test the wobble again to confirm the fix took effect. Start by observing if the wobble persists or if it’s noticeably reduced. To guarantee your efforts paid off, follow these steps for test adjustment and confirming fixes:
- Spin the wheel slowly, watching for any remaining wobble or irregular movement.
- Increase your speed gradually, noting if the wobble worsens or stays consistent.
- Check the alignment of the parts you adjusted to verify they’re secure.
- Repeat the process, fine-tuning as needed, until the wobble is minimized.
- Incorporate market research techniques to identify potential issues with your equipment or setup that could cause wobbling.
Reassess the Stability

After confirming that your adjustments have reduced the wobble, it’s time to reassess the overall stability of the wheel. Start by checking the balance calibration to ensure it’s properly aligned. Spin the wheel gently and observe if it maintains a steady, centered rotation without side-to-side movement. Next, assess the surface you’re riding on—uneven or rough surfaces can exaggerate wobble issues. Make sure the wheel rolls smoothly on a flat, clean surface to accurately evaluate its stability. Pay attention to any persistent side-to-side motion or uneven rotation. If the wobble persists, consider whether the tire is seated correctly or if there’s a slight imbalance still present. A thorough surface assessment combined with precise balance calibration helps confirm the wheel’s true stability. Incorporating a proper workspace setup can further assist in achieving accurate evaluations and adjustments.
Prevent Future Wobble Issues

To prevent future wobble issues, maintaining your wheel regularly and addressing minor problems before they worsen is vital. Start by checking your wheel’s balance calibration, ensuring it’s even to avoid uneven wear. Next, inspect the surface for rough spots or debris and smooth them out to promote consistent rotation. Third, tighten any loose spokes or fasteners, as loose components can cause instability. Finally, regularly clean your wheel and rim to prevent buildup that might affect balance. Incorporating fabric decorating markers can also help identify irregularities visually for easier maintenance. These steps help catch small issues early, reducing wobble over time. Staying attentive to balance calibration and surface smoothing keeps your wheel spinning smoothly and minimizes the need for major repairs down the line. Consistent care is your best defense against future wobble troubles.
Keep a Maintenance Routine

Maintaining a consistent maintenance routine keeps your wheel in top condition and helps prevent wobble issues from developing. Regularly check the balance calibration to ensure your wheel spins smoothly and evenly. If you notice any unevenness, recalibrate the balance promptly. Surface smoothing is equally important; inspect the rim and contact points for rough spots or debris that could cause wobbling. Use a soft cloth or gentle abrasive to smooth out minor imperfections. Keeping up with routine maintenance prevents small issues from escalating into major wobble problems, saving you time and frustration. Establish a simple schedule—weekly or biweekly—to perform these checks. Staying proactive with balance calibration and surface smoothing ensures your wheel remains stable, efficient, and wobble-free during every ride. Incorporating sound maintenance techniques can further enhance the longevity and performance of your equipment.
Frequently Asked Questions
How Do I Identify Subtle Wobble Causes Not Visible to the Eye?
To identify subtle wobble causes not visible to the eye, you should check for sensor anomalies and material fatigue. Use diagnostic tools to monitor sensor readings for irregularities, as faulty sensors can cause undetectable vibrations. Also, inspect the material for signs of fatigue or micro-cracks, which can weaken components over time. Regular testing and careful analysis help uncover these hidden issues before they lead to bigger problems.
What Tools Are Best for Detecting Internal Component Damage?
Think of your tools as a detective’s magnifying glass, revealing hidden secrets inside. For internal component damage, use sensor diagnostics to check for irregular signals and vibration analysis to detect unusual patterns. These tools act as your investigative allies, uncovering subtle issues that aren’t visible but impact performance. By trusting these methods, you’ll identify internal problems early, preventing bigger failures and keeping your equipment running smoothly.
Can Environmental Factors Affect the Wobble Over Time?
Environmental impact and external influences can definitely affect your wobble over time. Changes in temperature, humidity, or exposure to vibrations can cause materials to expand, contract, or weaken, leading to increased wobbling. You should regularly check for these external influences and protect your equipment accordingly. By minimizing environmental effects and addressing external influences early, you can maintain stability and reduce wobble issues in the long run.
How Often Should I Perform a Full Wobble Troubleshooting Routine?
Think of troubleshooting as your wobble’s health checkup. You should perform a full troubleshooting routine every few months or whenever you notice persistent wobbling. Regular routine maintenance keeps things smooth and prevents small issues from snowballing. By sticking to a troubleshooting frequency that matches your usage and environment, you’ll catch problems early and keep your equipment running like clockwork. Don’t wait for trouble—stay ahead with consistent checks.
Are There Specific Brands or Models More Prone to Wobble Issues?
Some brands or models are more prone to wobble issues because of their product design and manufacturing quality. Lower-quality manufacturing often leads to inconsistent parts, causing instability. Brands emphasizing durable product design and rigorous quality control tend to have fewer wobble problems. Before choosing, research reviews for specific models and consider those known for high manufacturing standards to reduce wobble troubles and guarantee a smoother experience.
Conclusion
Think of fixing wobble like tuning a guitar—small adjustments can transform discord into harmony. Just last week, I helped a friend stabilize her wobbly chair in minutes, turning it from a frustrating wobble into steady comfort. With these quick steps, you can troubleshoot and fix wobble issues in just 10 minutes, restoring stability and peace of mind. Remember, a little tune-up today keeps wobble woes away tomorrow.