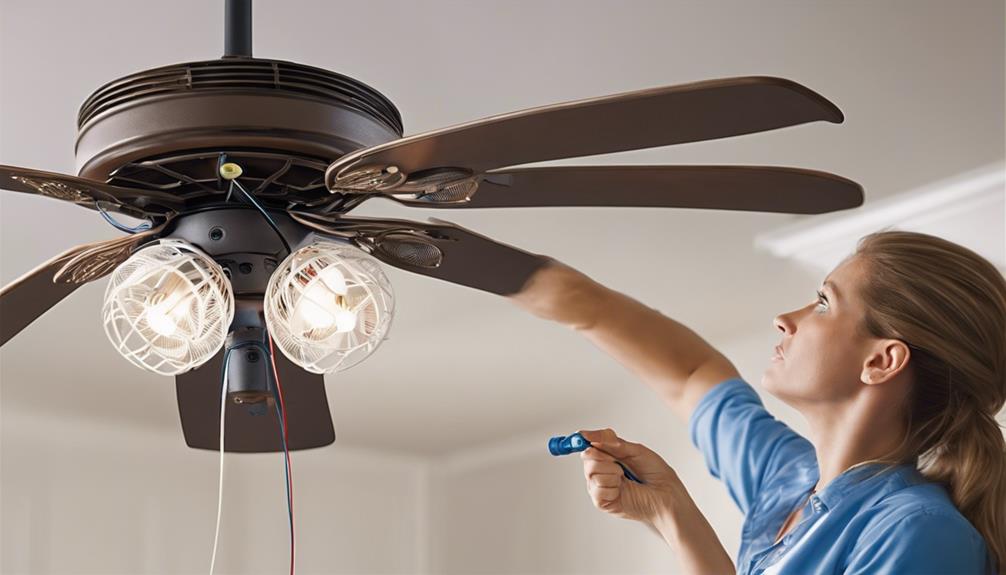
Decoding the blue wire in your ceiling fan is essential for controlling the fan and light separately. To clarify, the blue wire typically regulates the light kit. If your ceiling fan lights are flickering, check the connection of the blue wire. It may need to be securely attached to ensure stable lighting. Understanding the functions of each wire, like the blue wire, can help troubleshoot flickering lights effectively and improve your ceiling fan's performance. Mastering the basics of ceiling fan wiring can make a significant difference.
Key Takeaways
- The blue wire in ceiling fans controls the light function.
- It enables separate operation of the fan and light.
- Understanding manufacturer instructions is crucial for proper connection.
- Safety precautions like turning off power are essential for wiring.
- Differentiating between blue and black wires ensures correct installation.
Importance of the Blue Wire
The blue wire plays a crucial role in regulating the lighting function of your ceiling fan. Without the blue wire, your ceiling fan's light may not work correctly. It's like the conductor of a symphony, ensuring that the fan and light work harmoniously together.
When connecting the blue wire, you're bridging the gap between the fan, the light, and the power source. This connection allows for independent control of the fan and light, giving you the flexibility to adjust them separately.
Understanding the significance of the blue wire is paramount in ensuring that your ceiling fan functions as intended. By correctly decoding and connecting this wire, you pave the way for effective control of the lighting feature in your room.
Understanding Ceiling Fan Wiring Basics

Delving into the basics of ceiling fan wiring reveals a foundation for understanding electrical connections within this essential household fixture. When it comes to ceiling fan wiring, the blue wire plays a crucial role in enabling separate control, typically through a ceiling fan remote, of the fan and light functions. This color coding simplifies the installation process and enhances customization options for users. To better illustrate the significance of the blue wire, let's take a look at the table below:
| Feature | Description | Benefit |
|---|---|---|
| Ceiling Fan Remote | Allows for convenient control of fan and light settings from a distance | Enhances user experience |
| Blue Wire | Enables separate control of fan and light functions, improving customization | Provides flexibility |
| Separate Control | Allows users to adjust fan speed and light brightness individually | Enhances comfort and convenience |
| Color Coding | Simplifies identification of wires, aiding in correct installation and use | Facilitates troubleshooting |
Different Functions Controlled by Blue Wire
Exploring the versatility of the blue wire in ceiling fans reveals its ability to control various functions based on the wiring configuration. In most cases, the blue wire is designated to control either the fan motor or the light kit. This standard wire color plays a crucial role in regulating specific operations within your ceiling fan.
By connecting the blue wire to different wires in the ceiling box, you can determine whether it governs the fan or the light function. It's essential to note that the functionality of the blue wire may differ depending on the fan model and the manufacturer's instructions. Properly identifying and connecting the blue wire is key to ensuring that your ceiling fan operates as intended, providing you with the desired fan and light control.
Understanding the roles that the blue wire can play in your ceiling fan setup empowers you to customize its functions to suit your needs effectively.
Safety Precautions for Wiring

Always prioritize safety by turning off electrical circuit breakers before working on ceiling fan wiring. When dealing with ceiling fan installations, it's crucial to follow safety precautions to prevent accidents and ensure a smooth process. Here are some essential safety measures to keep in mind:
- Turn off the power: Before touching any wires, switch off the electrical circuit breakers to avoid the risk of electric shock.
- Use wire caps: Securely cap any unused wires to prevent them from coming into contact with other wires or surfaces.
- Double-check connections: Ensure all connections are secure and correctly matched according to the manufacturer's instructions for the blue wire.
- Consult a professional: If you encounter any challenges or uncertainties during the wiring process, seek guidance from an electrician to guarantee compliance with safety standards.
Consulting Manufacturer Instructions
Reviewing the manufacturer's instructions is essential to fully comprehend the role of the blue wire in your ceiling fan's wiring configuration. The blue wire typically controls the light function in the fan. Consulting the manual will provide specific guidance on how to connect the blue wire correctly to ensure the light operates as intended.
Different ceiling fan models may have variations in how the blue wire should be connected, so following the manufacturer's instructions is crucial for proper installation. By adhering to the guidelines provided, you can ensure that the light function of your ceiling fan works efficiently.
Understanding the manufacturer's instructions regarding the blue wire in your ceiling fan will help you troubleshoot any issues related to the lighting system. Properly interpreting these instructions will lead to a successful installation and optimal performance of your ceiling fan's light function.
Exploring Wall Switch Setups

When setting up wall switches for your ceiling fan,
it's important to understand switch wiring basics,
the different types of wall switches available,
and various wiring configurations that can be used.
This knowledge will help you determine how to control the fan and light functions independently or simultaneously.
Exploring these setups can provide convenience and customization options for operating your ceiling fan efficiently.
Switch Wiring Basics
Exploring wall switch setups for ceiling fans reveals the essential role of the blue wire in enabling separate control of the fan and light functions. Understanding switch wiring basics is crucial for optimizing your ceiling fan's functionality. Here are some key points to consider:
- Utilizing the blue wire allows for independent fan and light control.
- Combining the blue wire with the black wire enables simultaneous operation from a single switch.
- Installing two wall switches offers individual fan and light control options.
- Pull chains provide an alternative method for separate fan and light adjustments.
Mastering these switch wiring basics empowers you to personalize your ceiling fan experience and create a comfortable atmosphere in your living space.
Types of Wall Switches
To optimize the functionality of your ceiling fan, understanding the different types of wall switches available is key. In many installations, a single wall switch setup**** is common, allowing you to control both the fan and light simultaneously by combining the blue and black wires.
Alternatively, pull chains can be used for individual control. However, having two switches on the wall, known as a two-switch setup or single gang, provides independent control over the fan and light.
For added convenience, remote-controlled ceiling fans eliminate the need for manual adjustments and offer ease of operation. Choosing the right wall switch setup can enhance the usability of your ceiling fan, ensuring a comfortable and customizable experience.
Wiring Configurations Explained
Understanding the various wiring configurations for wall switch setups is essential for maximizing the functionality of your ceiling fan. When dealing with the blue wire, black wire, and wall switch, here are some setups to consider:
- Blue Wire Control: The blue wire typically controls the fan or light function.
- Combined Operation: Combining the blue wire with the black wire allows for simultaneous operation of the fan and light.
- Independent Control: Two separate wall switches can provide independent control over the fan and light functions.
- Alternative Controls: Pull chains on the fan and light can serve as an alternative to wall switches for control.
Exploring these configurations will help you tailor your ceiling fan's operation to your specific needs, enhancing your sense of belonging in your living space.
Considering Remote-Controlled Options

When considering remote-controlled options for your ceiling fan, the blue wire plays a crucial role in providing separate control for the fan and light functions. This functionality allows you to adjust the fan speed and light settings independently, enhancing the overall convenience and customization of your ceiling fan experience. By understanding how the blue wire connects to specific components in the fan based on the manufacturer's instructions, you can optimize the remote control features for your needs.
Remote-controlled ceiling fans offer a modern and efficient way to manage your comfort levels with ease. The blue wire designation for fan speed or light fixture control ensures that you can tailor the operation of your ceiling fan to suit different situations. Properly utilizing the blue wire in your ceiling fan setup not only simplifies operation but also adds a layer of control that can enhance your overall comfort and convenience. So, when setting up your remote-controlled ceiling fan, pay close attention to the blue wire to make the most of its functionality.
Tailoring Installation to Your Needs

I find that customizing the installation of your ceiling fan to fit your specific needs can greatly enhance your overall experience. When tailoring the installation to your preferences, consider the following:
- Placement: Position your ceiling fan where it provides the most comfort and airflow in your space.
- Functionality: Decide whether you want the blue wire to control the fan, light, or both for convenient operation.
- Aesthetics: Choose a fan design that complements your room's decor and enhances its ambiance.
- Control Options: Explore different control methods, such as wall switches or remote controls, to suit your convenience and preferences.
Ensuring Safe and Convenient Installation

To ensure a safe and convenient installation of your ceiling fan, prioritize identifying the blue wire's function and proper connection.
The blue wire plays a crucial role in controlling either the fan or light function, offering flexibility in how you operate your ceiling fan.
By understanding the purpose of the blue wire, you can make the right connections to enable smooth and efficient operation of both the fan and light.
It's essential to differentiate between the blue and black wires to set up independent controls for the fan and light fixture.
Ensuring the proper decoding and utilization of the blue wire not only enhances convenience but also boosts the overall functionality of your ceiling fan installation.
Making sure all connections are secure and accurate won't only guarantee safety but also provide you with a hassle-free and enjoyable experience with your newly installed ceiling fan.
Frequently Asked Questions
What Is the Blue Wire on a Ceiling Fan For?
The blue wire on a ceiling fan serves a crucial role in controlling the fan's light function. It allows for separate control of the fan and light, enabling customized operation. Properly connecting the blue wire ensures that the light on the ceiling fan functions as intended.
Understanding its purpose is vital for the correct installation and operation of the lighting feature. Following installation tips, wiring options, troubleshooting techniques, and safety precautions are key for a successful ceiling fan setup.
What Is the Blue Line on Ceiling Fan?
The blue line on a ceiling fan serves a key function in controlling either the fan or light operation. Properly connecting this wire is essential for effective electrical connection and ensuring the fan or light functions as intended.
Understanding the wire's role is crucial for troubleshooting and following the installation guide correctly. By identifying the blue wire's function, users can maximize the fan's features and troubleshoot any issues effectively.
Does Blue Wire Connect to White?
The blue wire in a ceiling fan is typically for controlling either the fan or light function. It's crucial to connect it correctly to ensure proper operation.
When it comes to confusion between wire colors like blue and white, it's essential to follow electrical wiring basics. Incorrect connections can lead to issues with your fan or light.
Make sure to troubleshoot connections carefully for a successful ceiling fan installation.
Is Blue Wire Positive or Negative?
When it comes to wire polarity, it's essential to remember that the blue wire's role isn't about being positive or negative in the electrical sense. Instead, it's all about making the right connections to ensure your ceiling fan functions correctly.
Understanding voltage, following the wiring diagram, and troubleshooting circuits can help you determine where the blue wire should go for fan or light operation according to the manufacturer's guidance.
What Should I Do With the Blue Wire When Removing My Ceiling Fan?
When looking to remove a ceiling fan easily, it’s important to know what to do with the blue wire. The blue wire is typically for the light kit, so you should disconnect it before removing the fan. Make sure to turn off the power before attempting any electrical work.
Conclusion
As you unravel the mysteries of your ceiling fan's blue wire, remember to proceed with caution and refer to manufacturer instructions for guidance.
The key to a successful installation lies in understanding the wiring basics and taking necessary safety precautions.
Stay tuned for a seamless and efficient ceiling fan setup that will keep you cool and comfortable all year round.


