The red wire in your ceiling fan connects to the light kit, allowing you to control the lights separately from the fan. If you're installing a dual switch setup, this red wire gives you the flexibility to operate each component independently. Make sure your connections are secure, and if you don't have a light kit, cap off the red wire with a wire nut for safety. Properly wiring it can prevent electrical issues and enhance your fan's functionality. If you want to know more about installation tips or troubleshooting, keep exploring the information available!
Key Takeaways
- The red wire typically connects to the light kit for independent operation of the light and fan.
- In installations without a light kit, cap off the red wire with a wire nut for safety.
- Ensure the red wire is securely connected to the fan's blue wire for proper function if using a light kit.
- Loose connections or improper wiring may cause the light kit to malfunction or flicker.
- Understanding wire functions helps prevent electrical issues during ceiling fan installation.

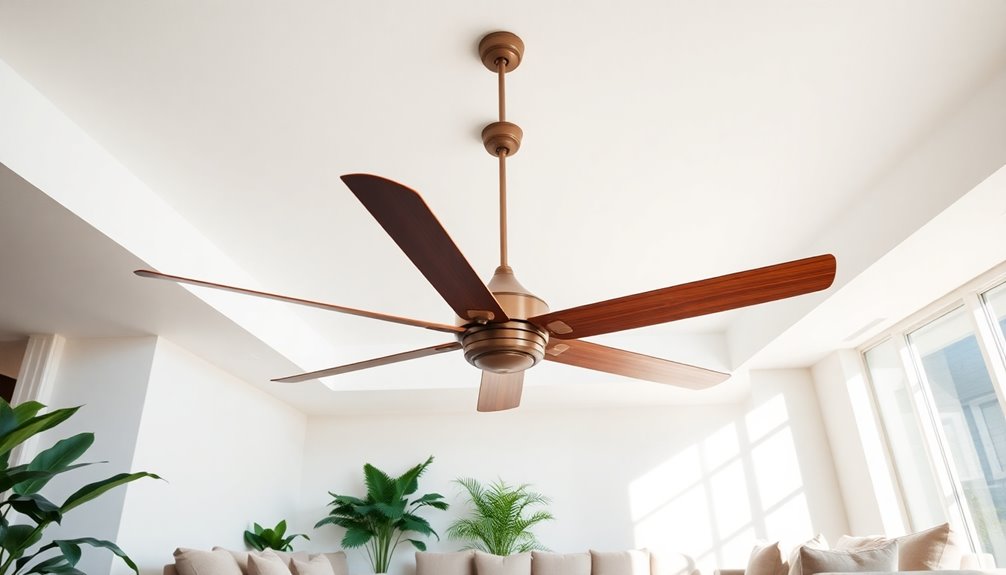
Aspen Creative 22013-1, Three-Light Ceiling Fan Light Kit with Pull Chain, Matte White Finish with Clear Glass Shades, 13-1/8" Diameter x 6-3/4" Height
Fixture Size: 13-1/8" D x 6-3/4" H | Glass Shades: 2-1/8" Fitter, 4-5/8" D x 4-5/8" H |…
As an affiliate, we earn on qualifying purchases.
As an affiliate, we earn on qualifying purchases.
Tools and Safety Precautions

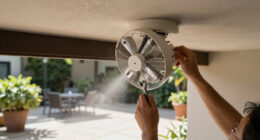
Before you begin installing your ceiling fan, it's important to prioritize safety and gather the right tools. First, make certain to turn off the power at the circuit breaker to prevent any electrical shock.
Once that's done, equip yourself with the necessary tools: a screwdriver, wire strippers, a voltage tester, and electrical tape. These will help you effectively and safely complete the installation.
Don't forget to wear safety gear! Eye protection and rubber gloves are vital while you handle electrical components, as they safeguard you against potential hazards. Additionally, ensure the workspace is dry and free from any conductive materials to minimize risks. If you’re repairing or installing one of the best window air conditioners, take extra care to follow manufacturer guidelines and disconnect the unit from its power source before starting. Prioritizing safety not only protects you but also ensures the components remain undamaged during the process.
Always adhere to local wiring codes and guidelines to make sure your installation complies with safety standards. This not only protects you but also guarantees the ceiling fan operates safely.
If you're installing multiple fans, consider using a separate junction box to keep your wiring organized and secure.
Taking these safety precautions seriously and using the right tools will help you avoid accidents and promote a smooth installation process.

LONGSHENG Ceiling Fan Pull Chain Set – 2 pieces Red Diamond Fan Pull Chains 20 Inch Ceiling Fan Chain Extender with Chain Connector Home Wedding Decor Ornament Pendant
Set of 2 fan light pulls
As an affiliate, we earn on qualifying purchases.
As an affiliate, we earn on qualifying purchases.
Understanding Wire Colors

When you're wiring a ceiling fan, understanding the red wire's purpose is key.
This wire usually connects to the light kit, giving you the ability to control the fan and light separately.
Knowing how to properly configure the wiring options guarantees your installation works safely and effectively.
Red Wire Purpose
Understanding the purpose of the red wire in a ceiling fan installation is essential for anyone looking to achieve proper functionality. The red wire coming from the ceiling is typically used to control the light kit, allowing you to connect the red wire to the fixture for separate control of your fan and light.
In a configuration with dual switches, the black wire usually powers the fan motor while the red wire provides power to the light. This setup is particularly beneficial if you plan on installing a light kit later or want to use dimmers or multiple wall switches.
If your ceiling fan doesn't have a light kit, the red wire may not be necessary and can be capped off with a wire nut for safety. Understanding this function helps guarantee proper ceiling fan wiring and prevents electrical issues during installation.
Wiring Configuration Options
Wiring configuration options are essential for a successful ceiling fan installation, as knowing how to connect the various wires can make all the difference in functionality.
The red wire typically serves as a hot wire for controlling the light kit independently from the fan. If you have separate wall switches, this red wire allows for independent operation of both the fan and the light, giving you greater control over your space.
When wiring your ceiling fan, connect the red wire to the blue wire of the fan if it includes a light kit. This setup allows the light to function properly.
However, if your ceiling fan doesn't have a light kit, you can simply cap off the red wire with a wire nut, guaranteeing it's not needed for your installation.
Also, remember to connect the black wires to the power source, and verify your neutral wires are properly connected to complete the circuit.
In setups with a remote control, follow the manufacturer's instructions for specific wiring configurations. Understanding these options will help you achieve the desired functionality and efficiency of your ceiling fan and its light kit.

FASTSTORM Dual Electric Fan Relay Kit Electric Radiator Fan Kit Temperature Sensor Switch 185 On 175 Off Automotive Wiring Kit 60 Amp Cooling Fan Relay Switch Kit 4 Pin Waterproof Relay Kit
Efficient Cooling: This dual electric fan relay kit is the perfect solution for your vehicle’s cooling system. Compatible…
As an affiliate, we earn on qualifying purchases.
As an affiliate, we earn on qualifying purchases.
Function of the Red Wire

The red wire in your ceiling fan setup plays a vital role in allowing independent control of the light kit.
With multiple wall switches, this wire gives you the option to operate the light separately from the fan, enhancing your convenience.
If you want to achieve variable light levels with a dimmer, the red wire is essential to keep everything running smoothly.
Independent Light Control
When you install a ceiling fan with a light kit, the red wire plays an important role in giving you independent control over the lighting. By connecting the red wire from the ceiling to the blue wire of the fan, you can achieve a dual-switch setup. This lets you operate the light with one switch while controlling the fan operation with another, enhancing your convenience.
If you add a light kit later, the red wire simplifies the wiring process, allowing you to enjoy independent light control without the hassle of rewiring the entire circuit. With this setup, you can even utilize dimmer switches, which enable you to adjust the brightness of the light independently from the fan speed.
However, if you don't connect the red wire, both the fan and light will operate from the same switch, limiting your control options.
In summary, the red wire is vital for maximizing your ceiling fan's functionality, giving you the flexibility to tailor your space's ambiance exactly how you want it.
Wiring Configuration Options
How can understanding the wiring configuration options enhance your ceiling fan installation? Knowing how the red wire functions is key to maximizing your fan and light kit's potential. Here are three significant aspects to take into account:
- Independent Control: The red wire typically connects to the light kit, allowing you to operate the light separately from the fan motor. This gives you greater flexibility in managing your ceiling fan's functions.
- Switch Connections: In setups with dual wall switches, the red wire connects to the switch for the light, while the black wire is linked to the switch for the fan. This configuration guarantees that each component operates independently.
- Wiring Configuration: If your ceiling fan doesn't have a light kit, you might find the red wire capped off with a wire nut. Understanding this helps avoid confusion during installation and verifies the fan's performance aligns with your needs.
When you grasp the role of the red wire in the wiring configuration, you can facilitate a seamless installation that caters to your preferences, whether you're using a remote receiver or traditional switches.

Rustark 70Pcs 7 Colors M5 Cap Nut Assortment Kit Ceiling Lamp Screw Nut Lamp Shade Screw Caps Lamp Knob Nuts Ceiling Lamp Nuts Screw Cap for Light Fixture Chandeliers Wall Lights
【 What You Get 】 — You'll receive a 70pcs 7 colors m5 screw caps assortment kit. The…
As an affiliate, we earn on qualifying purchases.
As an affiliate, we earn on qualifying purchases.
When to Use the Red Wire

Using the red wire is essential for installations where you want independent control over your ceiling fan's light kit. This wire allows you to connect the light kit separately from the fan, enabling you to operate them using different wall switches.
If you're adding a light kit to a ceiling fan that didn't have one before, the red wire simplifies the wiring process, making it easier to achieve this independent control.
In setups with multiple wall switches, the red wire enhances convenience by allowing you to turn the light on or off without affecting the fan's operation.
If your installation requires dimmer switches, the red wire is vital as it enables better control over lighting levels, letting you adjust the ambiance without interfering with the fan speed.
Connecting the Red Wire

Connecting the red wire is an essential step to confirm your ceiling fan's light kit operates effectively. This wire typically provides power to the light kit, allowing it to function independently from the fan motor.
Here's how to properly connect the red wire:
- Identify the Wires: Locate the red wire from your ceiling fan and the blue wire that controls the light kit.
- Connect the Wires: Twist the red wire together with the blue wire. This connection enables you to control the light kit separately from the fan using your wall switches.
- Safety Check: Before making any connections, always confirm the power is turned off at the circuit breaker. If you don't plan to use the light kit, cap off the red wire with a wire nut for safety.
Tips for Safe Wiring

When tackling electrical work, safety should always be your top priority. Before you start connecting any wires, especially the red wire on your ceiling fan, make certain to turn off power at the circuit breaker. This simple step can prevent serious electrical shock.
Once the power is off, grab a voltage tester to verify that the wires aren't live before making any connections.
Wearing safety gear is essential; use rubber gloves and eye protection to shield yourself from potential hazards. It's also important to follow local electrical codes and regulations. These guidelines help guarantee that your installation is both safe and compliant.
When you're ready to connect the wires, secure all connections with wire nuts and wrap them with electrical tape. This prevents shorts and guarantees a stable electrical flow, which is critical for the safe operation of your ceiling fan.
Troubleshooting Common Issues

Troubleshooting common issues with your ceiling fan can often pinpoint the source of the problem quickly. If you find your fan isn't operating after installation, start by checking the circuit breaker to confirm power is supplied to the electrical box.
Flickering lights may suggest loose connections, especially between the red wire and the light kit. Here are three common issues to investigate:
- Light Kit Malfunction: If the light kit isn't working while the fan is running, verify that the red wire from the electrical box is securely connected to the blue wire on the fan for independent light control. Additionally, ensure that the dual-flush toilet system is functioning properly to prevent any water-related issues during maintenance.
- Noisy Operation: Noisy fans may arise from misaligned blades or loose mounting. Check that the fan is securely mounted and the blades are evenly tightened.
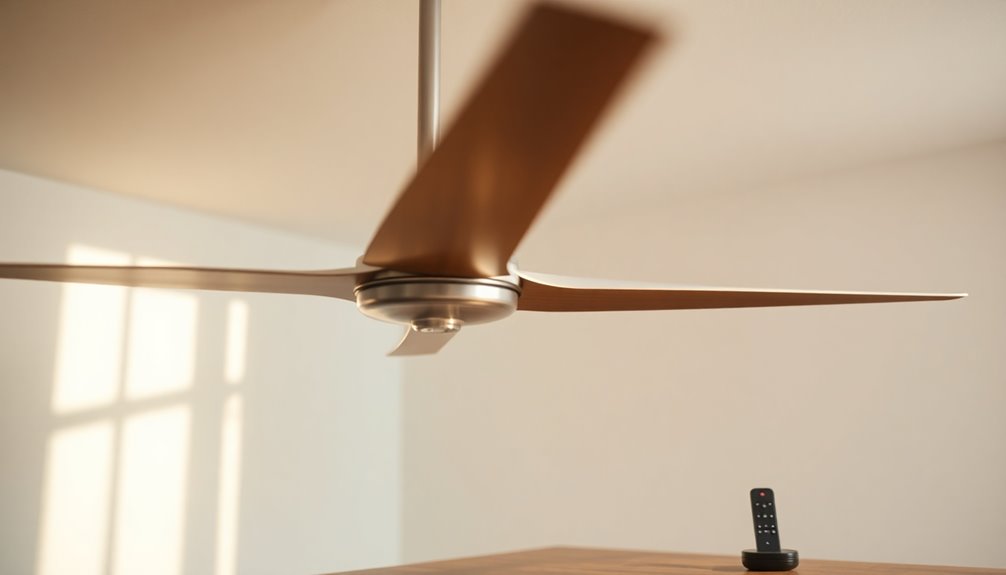
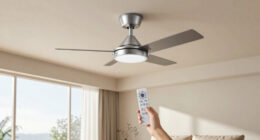
- Ceiling Fan Remote Issues: If you're using a ceiling fan remote, confirm it's properly paired with the fan. Low battery or malfunctioning remotes can lead to operational issues.
Additionally, consider integrating your ceiling fan with a home security system to enhance overall safety and convenience in your living space.
Frequently Asked Questions
Where Do I Connect the Red Wire on a Ceiling Fan?
When you're connecting the red wire on a ceiling fan, you'll want to determine whether you're controlling the fan and light separately.
If that's the case, connect the red wire to the blue wire from the fan. If you're not using the light feature, cap the red wire safely with a wire nut.
Always guarantee that you've turned off the power at the circuit breaker before making any connections to avoid accidents.
Does the Red Wire Connect to Black or White?
When you're wiring, the red wire typically connects to the black wire, not the white.
The black wire usually serves as the hot connection, while the white wire is neutral.
So, if you're using a separate switch for the light, you'll want the red wire paired with the black to control the light independently.
If you're unsure, it's always smart to consult the instructions or a professional for safety.
Where Do I Connect the Red Wire?
Think of the red wire as a bridge, connecting two worlds — light and air.
When you're looking to connect the red wire, you'll typically attach it to the black wire if you want independent control of your fan and light.
If you don't have a light kit, just cap it off safely.
Always check your fan's manual to ascertain you're making the right connections for a smooth operation.
Do I Connect My Fan to the Red or Black Wire?
When you're deciding whether to connect your fan to the red or black wire, it depends on your setup.
If you want to control the light separately using a switch, the red wire is usually the one to choose.
However, if you're just powering the fan without a light kit, connect to the black wire.
Always double-check your specific installation instructions to guarantee you're making the right connections.
Safety first!
Conclusion
In summary, understanding your ceiling fan's wiring can make installation a breeze. Did you know that about 70% of DIY home improvement projects involve electrical work? By knowing where the red wire connects, you can guarantee your fan operates efficiently and safely. Remember to always follow safety precautions and consult a professional if you're unsure. With the right knowledge, you can enjoy a cool breeze in no time!