To test your new ceiling fan, first make certain the power supply is confirmed, and the remote or wall switch is properly paired. Turn on the fan and check for smooth operation across all speeds, listening for unusual noises. Inspect blades for secure attachment and balance. Verify the light functions correctly, and test the reverse switch. If issues arise, disconnect power before inspecting components or seeking professional help; further tips will help you troubleshoot effectively.
Key Takeaways
- Verify power supply, remote pairing, and remote batteries before testing fan operation.
- Inspect blades, mounting, and motor housing for secure attachment and proper alignment.
- Turn on the fan and listen for abnormal noises; test multiple speeds and reverse function.
- Check light kit operation and compatibility with existing switches or dimmers.
- Troubleshoot irregularities like vibrations or noise, turning off power before internal inspections.
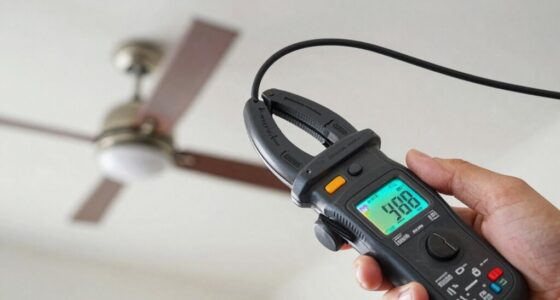
Before operating your new ceiling fan, it’s essential to conduct a thorough test to guarantee proper functionality and safety. This initial step ensures the fan operates correctly, prevents potential hazards, and confirms that installation was successful. Begin by verifying the power supply. Ensure the circuit breaker controlling the fan’s circuit is turned on and that the wall switch is functioning correctly. Use a voltage tester or multimeter to confirm power is reaching the fan’s electrical box. If the fan has a remote control or wall control, check that it’s paired properly and that the batteries are functional. Proper pairing prevents communication issues that could impair operation.
Before operating, verify power supply and proper pairing of remote controls for safe ceiling fan use.
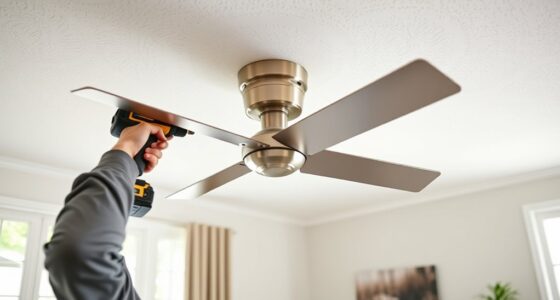
Next, visually inspect the fan. Confirm that all blades are securely attached, properly balanced, and free of debris or obstructions. Loose blades can cause vibrations, noise, or even damage to the motor. Check the mounting bracket for stability—tighten any loose screws or bolts. Ensure the fan’s downrod or flush mount is securely connected, and verify that the fan’s motor housing is properly aligned. These physical checks are critical for safe operation and minimize the risk of wobbling or falling.
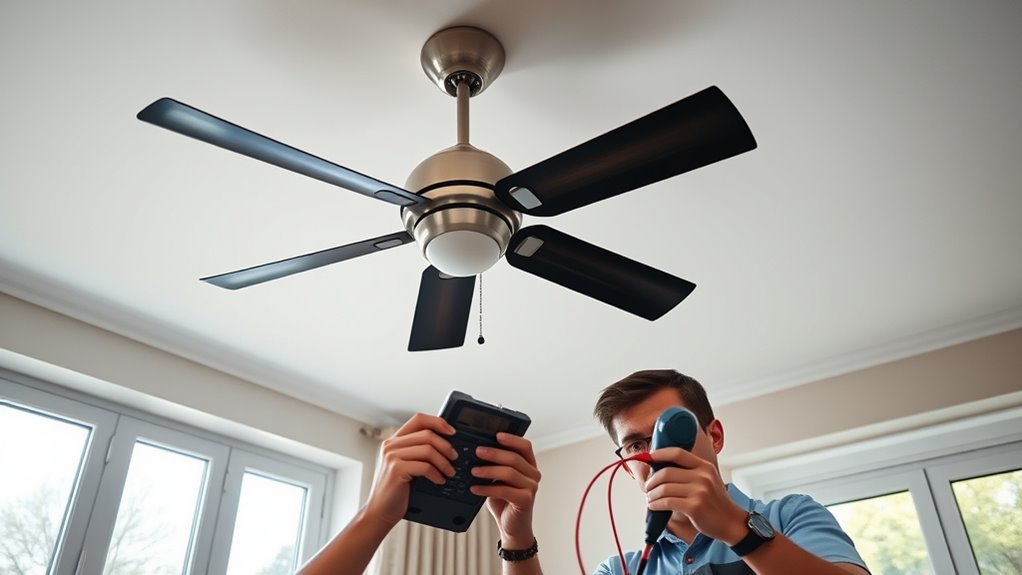
Once physical inspection is complete, proceed with the electrical test. Turn on the fan using the wall switch or remote control. Observe the initial startup for any abnormal noises such as grinding, squeaking, or rattling. These sounds may indicate misalignment or faulty components that require adjustment or repair. Confirm that the fan reaches the desired speed setting smoothly without delays or hesitation. Many fans have multiple speed options—test each to verify consistent performance across the range. Additionally, activate the reverse function if your fan includes this feature. Ensure the blades change direction smoothly and that the motor responds promptly.
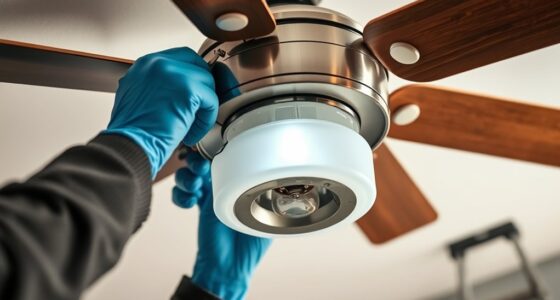
After confirming basic functionality, evaluate safety features. If your fan has integrated features like a light kit, test the light controls to ensure proper operation. Check that the light turns on and off as expected, and verify compatibility with your existing dimmer switches if applicable. If the fan includes a timer or smart controls, test these functions to confirm they operate within specified parameters. Confirm that any safety chains, pull cords, or manual switches are functioning correctly and are accessible.
Finally, document any irregularities or issues encountered during the test. If the fan exhibits excessive vibration, unusual noises, or doesn’t respond to control inputs, initiate troubleshooting procedures. Turn off power before inspecting internal components or making adjustments. Address issues promptly by consulting the manufacturer’s instructions or seeking professional assistance, especially if electrical or structural concerns arise. Conducting a comprehensive test and troubleshooting early ensures your ceiling fan operates safely, efficiently, and reliably over its lifespan. Additionally, consider cost-effective options for repairs or upgrades if needed, to optimize performance and safety.

BISSELL TurboClean, Upright Carpet Cleaner, Pro Max Clean & Protect + Oxy Urine Eliminator Formula Included, 3952
EVERY PURCHASE SAVES PETS. Every purchase makes it possible for BISSELL to continue our support of BISSELL Pet...
As an affiliate, we earn on qualifying purchases.
Frequently Asked Questions
How Do I Install a Ceiling Fan Safely?
To install a ceiling fan safely, turn off the power at the circuit breaker before starting. Use a sturdy ladder and make certain your ceiling box is rated for fans. Connect the wiring according to the manufacturer’s instructions, matching the color-coded wires securely with wire nuts. Mount the fan securely to the ceiling bracket, then restore power and test the fan’s operation. Always follow safety guidelines and consult a professional if unsure.
What Tools Are Needed for Ceiling Fan Installation?
You’ll need a Phillips and flat-head screwdriver, adjustable wrench, wire strippers, voltage tester, and ladder for ceiling fan installation. Additionally, having wire nuts, mounting brackets, and electrical tape is essential for secure connections. Make sure your power is off before starting. These tools enable precise mounting, wiring, and safety checks, guaranteeing a proper, secure installation. Always follow manufacturer instructions and local electrical codes for maximum safety and performance.
Can I Install a Ceiling Fan Myself?
Installing a ceiling fan yourself is feasible if you possess basic electrical skills and follow safety protocols. Think of it as assembling a complex puzzle—meticulous and precise. You’ll need essential tools like a screwdriver, voltage tester, and possibly a ladder. Carefully turn off power at the circuit breaker, follow manufacturer instructions, and make certain all wiring connections are secure. If unsure, consulting a professional ensures safety and proper operation.
How Often Should I Clean My Ceiling Fan?
You should clean your ceiling fan every two to four weeks, depending on dust accumulation and environmental factors. Regular cleaning prevents dust buildup on blades, which can affect efficiency and air quality. Use a microfiber cloth or a damp cloth with a gentle cleaner, and turn off the fan before cleaning. Make certain blades are dry before turning the fan back on to avoid imbalance and noise issues.
What Is the Lifespan of a Ceiling Fan?
A ceiling fan typically lasts between 10 to 15 years with proper maintenance. Factors like usage frequency, quality of parts, and environmental conditions influence its longevity. Regularly cleaning the blades and motor components helps prevent dust buildup that can impair performance. Additionally, addressing minor issues promptly ensures ideal operation, extending the fan’s lifespan. Once the motor or bearings show significant wear, replacement or professional servicing becomes necessary to maintain efficiency.

JORAIR Brush Replacement Compatible with Bissell CrossWave, 3 Multi-Surface Brush Roll 1868 + 3 Vacuum Filter 1866 Vacuum Filter, Compare to Part 1608683, 160-8683, 1608684
【Compatibility】The filter and brush replacement compatible with Bissell CrossWave 1785G,1785B,1785F,2328,2305,2305K,1785,17853,17854,17855,17856,1785Q,1785A,17852,17858,17859,1785P,1785R,1785T,1785V,1785W,2303,2306A,2306,23062,23068,2551,3888A (Please note:this kit is only compatible with Bissell...
As an affiliate, we earn on qualifying purchases.
Conclusion
By systematically testing your new ceiling fan and addressing any issues promptly, you guarantee peak performance and safety. Always double-check connections, settings, and installation procedures. Remember, a stitch in time saves nine—early troubleshooting prevents future complications. Regular maintenance and careful inspection keep your fan functioning efficiently, minimizing downtime. With attention to detail and proactive measures, you can enjoy reliable airflow while extending the lifespan of your ceiling fan, guaranteeing it remains a dependable component of your space.